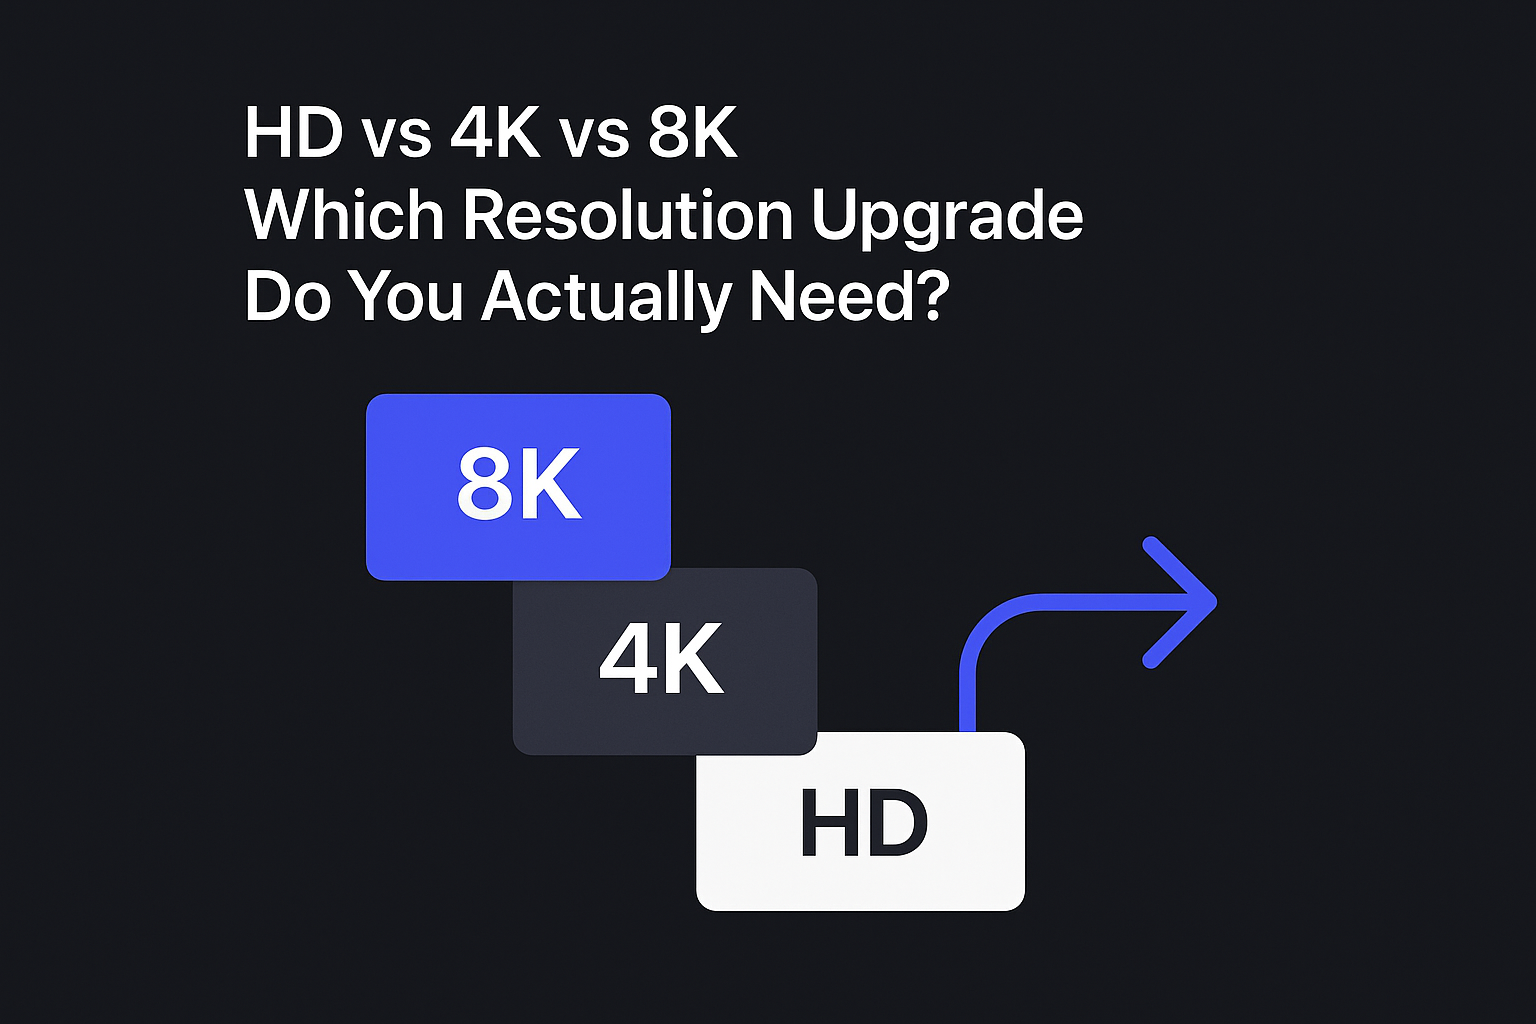
Why an HD-Converted Photo Still Looks Blurry (and How to Fix Blurry Photos)
HD conversion boosts size, not sharpness. Diagnose motion blur, focus blur, compression, and choose the right fix to restore clarity.
Key takeaways
“Convert to HD” usually increases pixel dimensions, but it doesn’t automatically remove blur. If the original is blurry, HD conversion can make that blur look bigger.
Motion blur (camera shake) and out-of-focus blur need a deblurring step, not just upscaling.
Low resolution plus heavy compression (WhatsApp/social re-uploads) often needs an enhance + noise/artifact cleanup workflow.
The most reliable workflow is: unblur first → enhance if needed → export to HD last.
Fix blurry photos: the expectation gap behind “HD conversion”
If you’re comparing HD converters, upscalers, and “photo enhancer” tools, here’s the key idea:
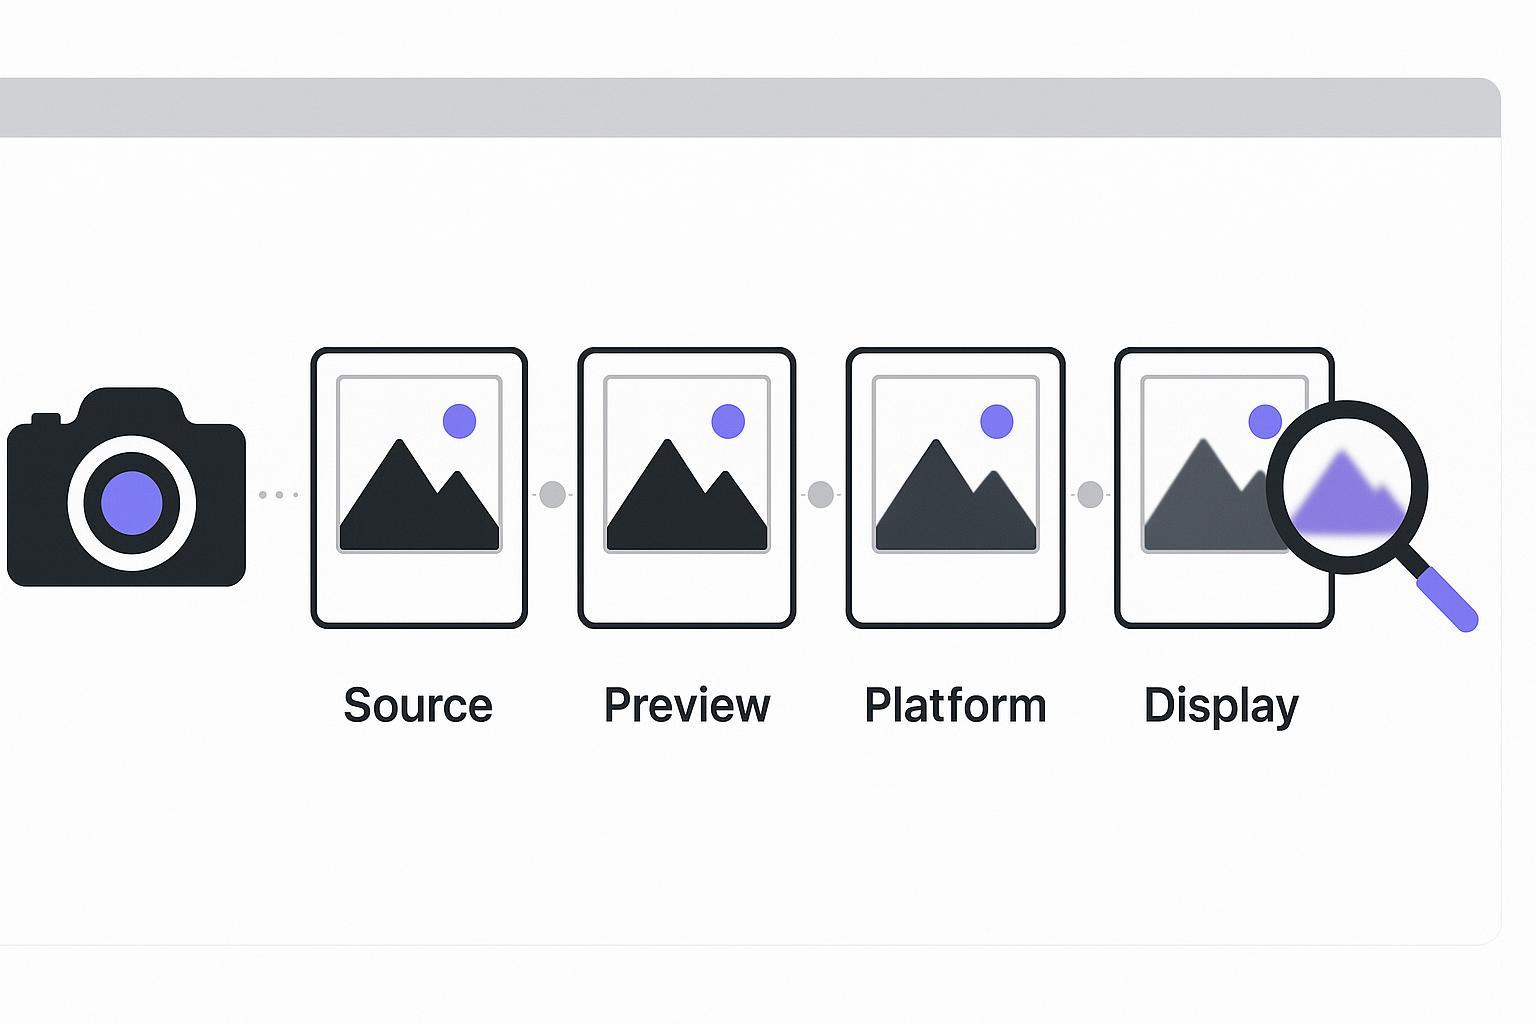
HD conversion is mainly about resolution. Blurry photos are mainly about lost detail.
Upscaling adds pixels. Blur smears the information inside those pixels. If the original edges were already smeared, a converter can’t always recover the missing edge detail—it can only make the image larger and try to make it look more natural.
According to Shotkit’s overview on the limits of AI upscaling, even modern AI upscalers are ultimately predicting new pixels from patterns—they don’t have access to the true detail that wasn’t captured.
A quick diagnosis: what kind of “blurry” are you seeing?
Most “still blurry after HD” complaints fall into one of these buckets:
1) Motion blur / camera shake
What it looks like
The whole image looks smeared in one direction.
Edges have a dragged look.
Fine details (eyelashes, text, product textures) look like they’re “pulled.”
Why it happens Motion blur is typically caused by subject movement or camera movement during exposure. DPReview breaks down the practical causes in “Why are my images blurry and how do I fix them?” (DPReview).
What to do instead of “HD conversion only” You need a deblurring step that targets blur patterns.
CTA — Fix motion/focus blur first: Use Artedge AI Unblur Image to recover sharpness before you upscale.
Pro Tip: If the image was sent to you through a chat app, ask for the original file (or a cloud link). Re-sent images are often compressed, which makes deblurring harder.
2) Out-of-focus blur (missed focus)
What it looks like
Blur is not directional; it looks like a soft “haze.”
One plane might be slightly sharper than another (e.g., background sharp, subject soft).
Text looks mushy even if nothing seems “shaken.”
Why it happens The camera focused on the wrong place, or the depth of field didn’t cover what you needed.
Best next step Start with a dedicated unblur tool. Upscaling first usually makes the softness more obvious.
3) Low resolution (not enough pixels)
What it looks like
The image is small, and when you zoom in, it looks blocky or painterly.
Faces and product details don’t hold up when enlarged.
Why “HD conversion” helps—but may still disappoint Upscaling can make low-res images usable at larger sizes, but it can’t recreate true detail that was never captured.
Best next step
If the photo is basically sharp but just small, upscaling can be the right first move.
If it’s both small and messy (noise/compression), enhancing first often produces a more natural upscale.
4) Compression artifacts (WhatsApp / social media / re-uploads)
What it looks like
“Wormy” textures, crunchy edges, blocky gradients.
Details look smeared even when the photo isn’t obviously shaken.
Skin, hair, fabric, and backgrounds look “over-processed.”
Why it happens Lossy compression throws away information. Then when you upscale, the artifacts can become more visible.
Best next step Treat it like a quality-recovery job (reduce artifacts/noise + rebuild detail), not just “make it bigger.”
CTA — When low-res + compression stack together: Use Artedge AI Photo Enhancer to improve clarity while reducing noise/artifacts.
If you specifically want a dedicated blur-removal page, you can also try Remove Blur From Image.
The workflow that usually wins (and why competitors often get it wrong)
If you’re evaluating tools, here’s a simple way to compare them:
Step 1: Recover sharpness first (when blur is the real problem)
If you see motion blur or focus blur, prioritize a deblur/unblur tool.
Success looks like: edges become cleaner, facial features/text become more defined.
Failure mode: if blur is extremely severe, results may stay soft—because the original detail is truly missing.
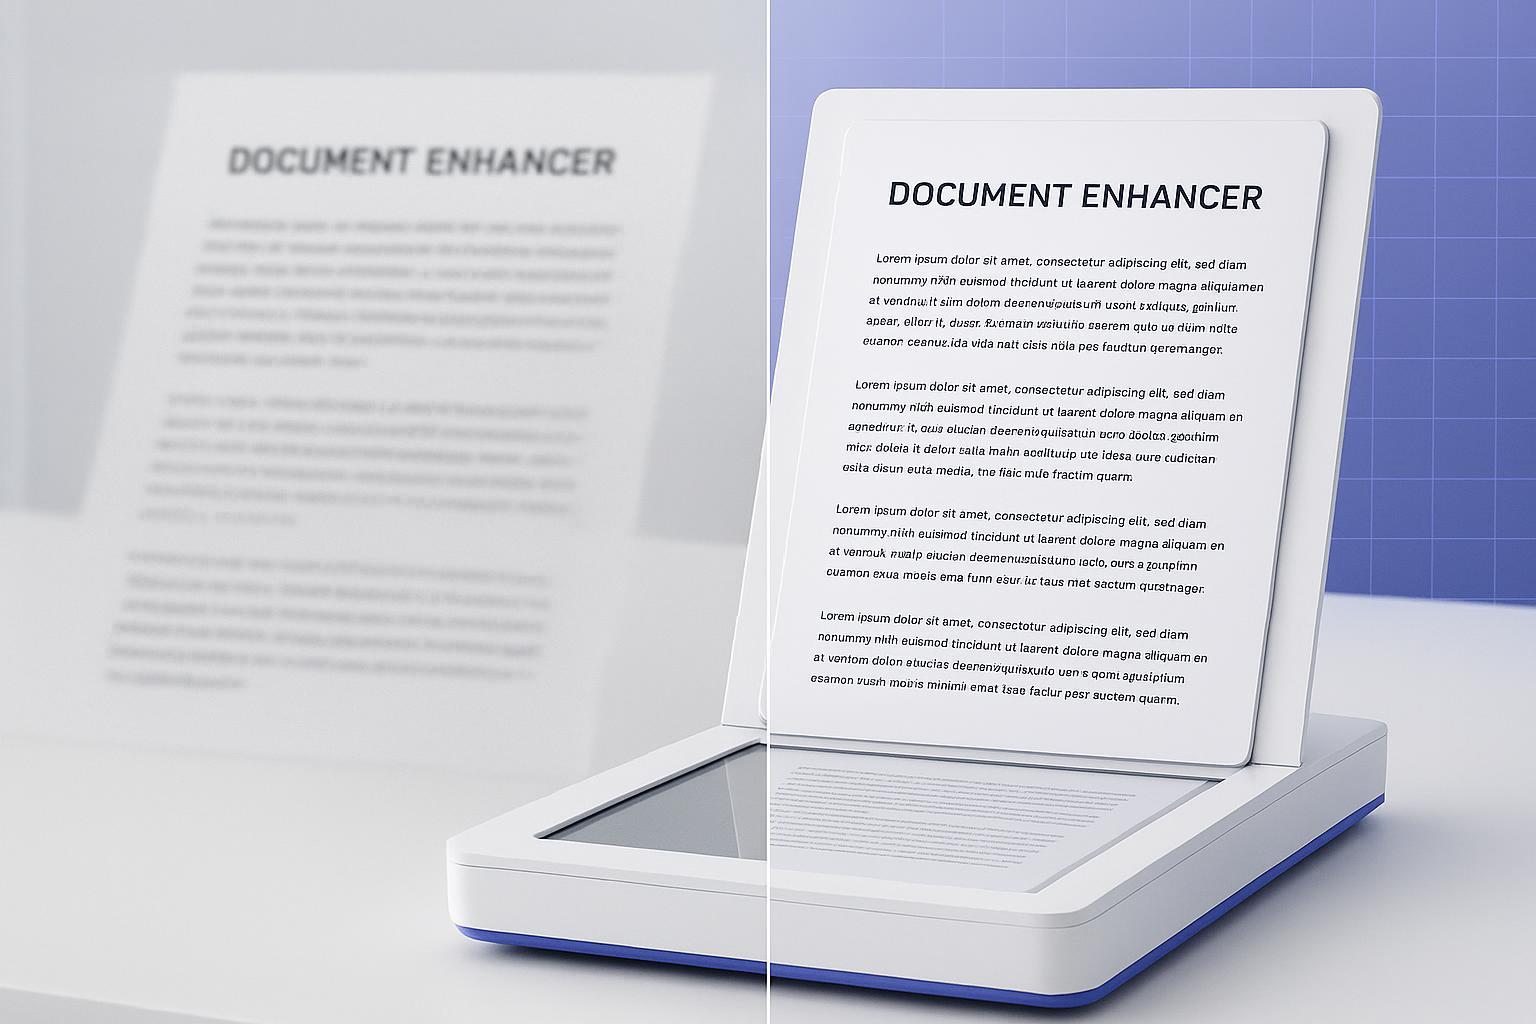
Step 2: Enhance and clean up “quality damage” (when the file is messy)
If the image has compression damage, noise, or low-contrast details, enhancement can help restore a more natural look.
Success looks like: less crunchiness, more even textures, more readable details.
Failure mode: overly aggressive enhancement can introduce halos or make textures look fake.
Step 3: Export to HD last (when you need a larger output)
Once the image is as sharp and natural as it can be, then HD conversion becomes the finishing step.
If your goal is a larger file for sharing, printing, or platform requirements, use Artedge AI HD Photo Converter as the final export step.
Key Takeaway: If you upscale first and then try to fix blur, you’re often asking the tool to fix a larger, more complex mess.
“HD conversion vs unblur vs enhance”: a fair comparison framework
Use this when comparing Artedge AI to other tools.
Your main problem | What “HD conversion” does | What to use first | Why |
|---|---|---|---|
Motion blur / camera shake | Makes the blur bigger | Unblur / Remove blur | You need to reverse the blur pattern, not just add pixels |
Out-of-focus softness | Enlarges the softness | Unblur / Remove blur | Focus blur is “baked in”; deblur helps recover perceived edge detail |
Low resolution but image is mostly clean | Helps a lot | HD conversion or Enhance | Upscaling can improve usability at larger sizes |
Compression artifacts + noise | Can amplify artifacts | Enhance first | Reduce artifacts/noise before enlarging |
Common mistakes that make the result look worse
Viewing at extreme zoom (200%+): judge at 100% for on-screen use, or at intended print size.
Upscaling repeatedly (upscale → upscale again): quality can drift into fake textures.
Sharpening too hard: halos around edges make images look unnatural.
Using a compressed copy: chat apps and social platforms often reduce quality.
FAQ
Why does my photo look blurrier after converting to HD?
Because HD conversion usually increases size. If the original contained blur (motion or focus), that blur is still there—just spread across more pixels, which can make it easier to notice.
To fix blurry photos in these cases, you generally need a deblur step first, then upscale/export.
Can an upscaler “fix blurry photos” by itself?
Sometimes it can improve perceived clarity for mild issues, but it’s not the most reliable fix for real motion blur or missed focus. For those cases, a dedicated unblur step is a better starting point.
What’s the fastest workflow if I don’t want to learn Photoshop?
In most cases: run an unblur tool first (if blur is the main issue), then enhance if the file is noisy/compressed, then export to HD when you need a larger result.
When is the only real fix to reshoot?
If the blur is extremely severe (heavy movement, very missed focus) or the original is extremely low resolution, no tool can guarantee a perfect recovery. In those cases, reshooting (when possible) is still the gold standard.
Next steps
If you suspect motion blur or focus blur, start with Artedge AI Unblur Image (or Remove Blur From Image).
If your image is low-res and looks “crunchy” from compression, try Artedge AI Photo Enhancer.
Once it’s clean and sharp, export a larger HD version using Artedge AI HD Photo Converter.

Dr. Katherine L. Whitmore
Dr. Katherine L. Whitmore specializes in AI-powered image enhancement and e-commerce visual optimization. She writes practical, data-driven guides on improving product image clarity, meeting marketplace standards, and increasing conversions through high-quality visuals.
Ready to Enhance Your Photos & Videos?
Improve clarity, restore old images, and upscale to 4K with natural, artifact-free detail — in seconds.
Start Creating