AI Image Enhancer vs Photo Enhancer: Are They Actually Different?
AI image enhancer vs photo enhancer: same idea, different expectations. Use this decision tree to pick the right tool for blur, noise, or low-res.
Key takeaways
Most of the time, “AI image enhancer” and “photo enhancer” refer to the same kind of tool: something that makes a picture look clearer, sharper, and more usable.
The difference is usually about scope and expectations, not a strict technical definition: image can imply “any visual” (photos, screenshots, graphics), while photo implies “camera pictures.”
What matters more than the label is the task you need: deblur, upscale, denoise, sharpen, fix compression artifacts, or a mix.
If you want a fast baseline result, start with a one-click workflow, then switch to a specialized tool only if the output still has a specific problem (faces, text, motion blur).
Quick comparison: AI image enhancer vs photo enhancer
Dimension | AI image enhancer | Photo enhancer |
|---|---|---|
What the term usually means | A tool that improves any image (photos + screenshots/graphics) | A tool that improves photos specifically |
How marketers use it | Often emphasizes “AI” and breadth | Often emphasizes “photo” and simplicity |
Typical features | Upscale, denoise, deblur, sharpen, artifact removal, basic color fixes | The same set, especially for common photo issues |
When you’ll feel a real difference | When you’re enhancing screenshots, text, UI, or mixed assets | When you’re focused on portraits, product photos, lifestyle shots |
What you should choose | Choose based on your goal (clearer vs larger vs both) | Choose based on your goal (clearer vs larger vs both) |
Key Takeaway: In practice, the terms overlap heavily. Your best “enhancer” is the one that matches your input type and the specific problem you want to fix.
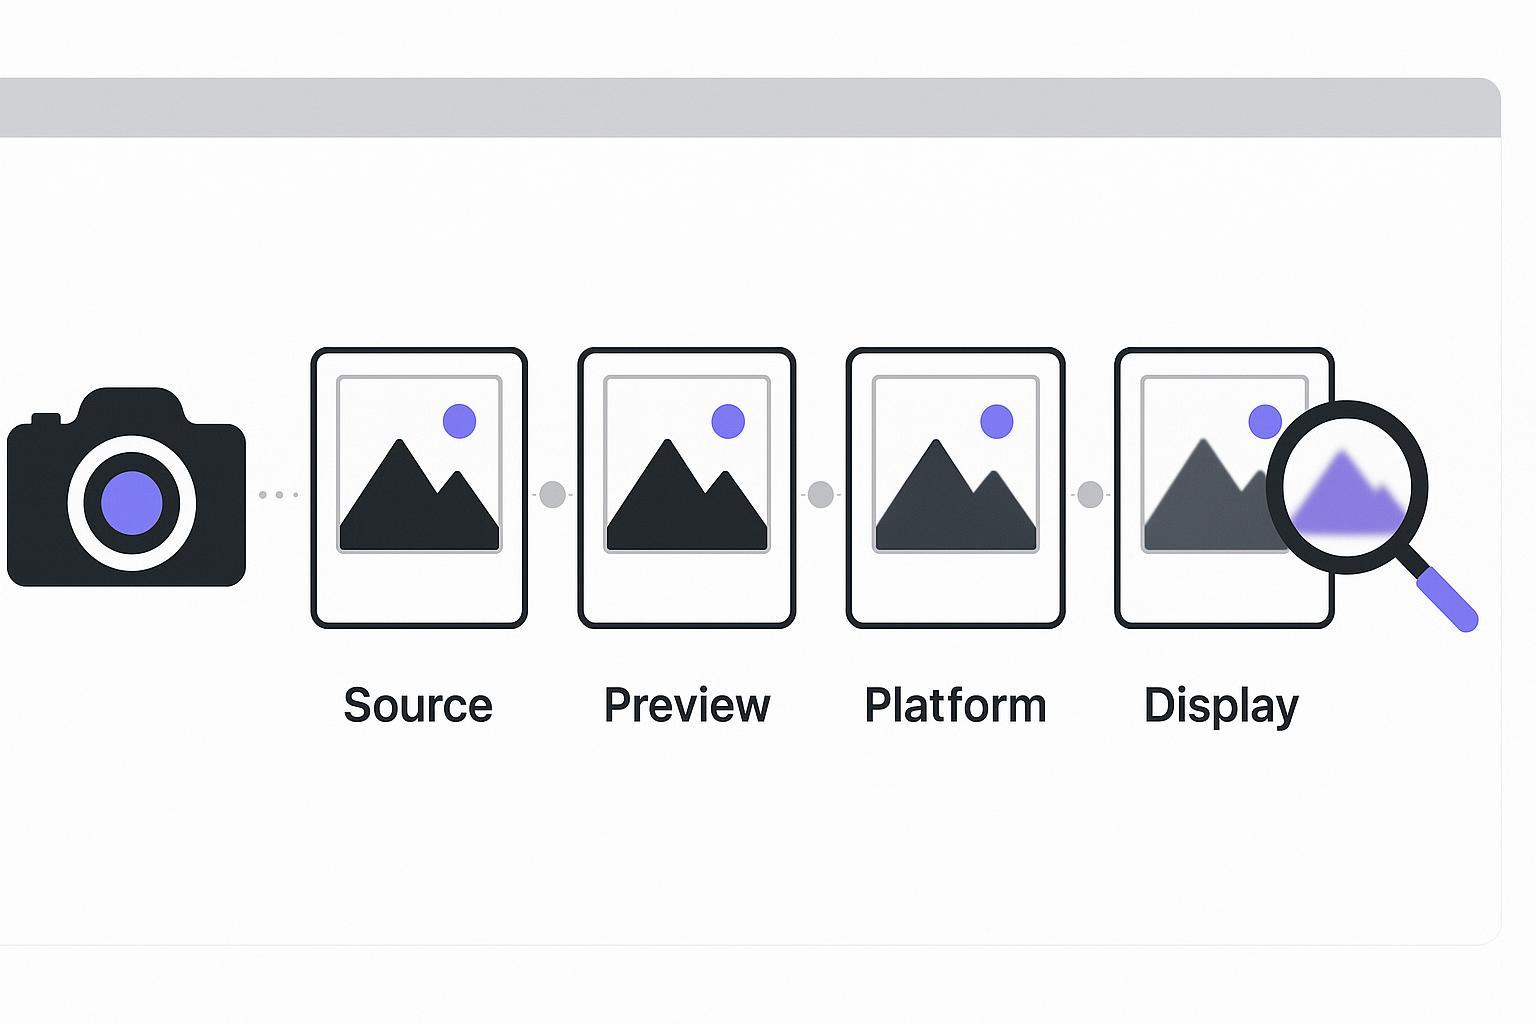
What does “enhance” actually mean?
When you see “enhance photo quality,” it often includes a mix of these operations:
Denoise: reduce grain and speckles (especially from low light)
Deblur: recover sharpness from motion blur or missed focus
Upscale: increase resolution so the image holds up on larger screens or prints
Sharpen: improve edge clarity (easy to overdo)
Compression artifact removal: reduce blockiness from heavy JPEG or platform compression
Basic color/contrast fixes: make the image look more natural and balanced
Practical guides from tools like CapCut describe common enhancement steps such as denoising and sharpening as core parts of AI enhancement workflows (see CapCut’s AI enhance image guide).
Are they different technically?
Usually: not in a meaningful way.
The “AI image enhancer vs photo enhancer” debate is mostly a language problem:
Some brands say image enhancer to signal “this works for more than just photos.” Canva, for example, positions its enhancer as something you can use across different asset types (not only camera photos) on its image enhancer feature page.
Some brands say photo enhancer to match how most people search when they just want a picture to look “better.”
Under the hood, both may rely on similar AI approaches. Articles like Deep-Image’s explainer on how AI image enhancers work describe AI enhancement as using machine learning to improve perceived quality, often by learning patterns for sharpness, noise, and details.
The decision tree: what should you pick based on your goal?
Use this quick decision tree to avoid wasting time on the wrong tool.
1) If the photo is blurry: pick a deblur-first tool
Choose this path if you see:
motion blur (hand shake)
missed focus (soft edges)
faces that look “mushy”
text that smears into the background
Start with deblur, then upscale only if you still need more resolution.
For general blur fixes: Artedge AI Unblur Image
For blurry text specifically: use a text-focused deblur option (many tools label this as “deblur text”)
2) If the photo isn’t blurry but it’s too small: pick an upscaler
Choose this path if you see:
pixelation when you zoom in
jagged edges
details that disappear at posting size
Upscaling is about adding usable resolution—not just stretching pixels.
3) If the photo is noisy or heavily compressed: pick a denoise/artifact tool
Choose this path if you see:
blocky textures
“mosquito noise” around edges
low-light grain
A good enhancer will reduce noise without turning skin or textures into plastic.
4) If you don’t know what’s wrong (you just need it to look better): start with a one-click photo enhancer
For most everyday cases, you don’t need to overthink the label.
A solid one-click enhancer should handle a blend of common issues: mild blur, low resolution, noise, and “flat” contrast.
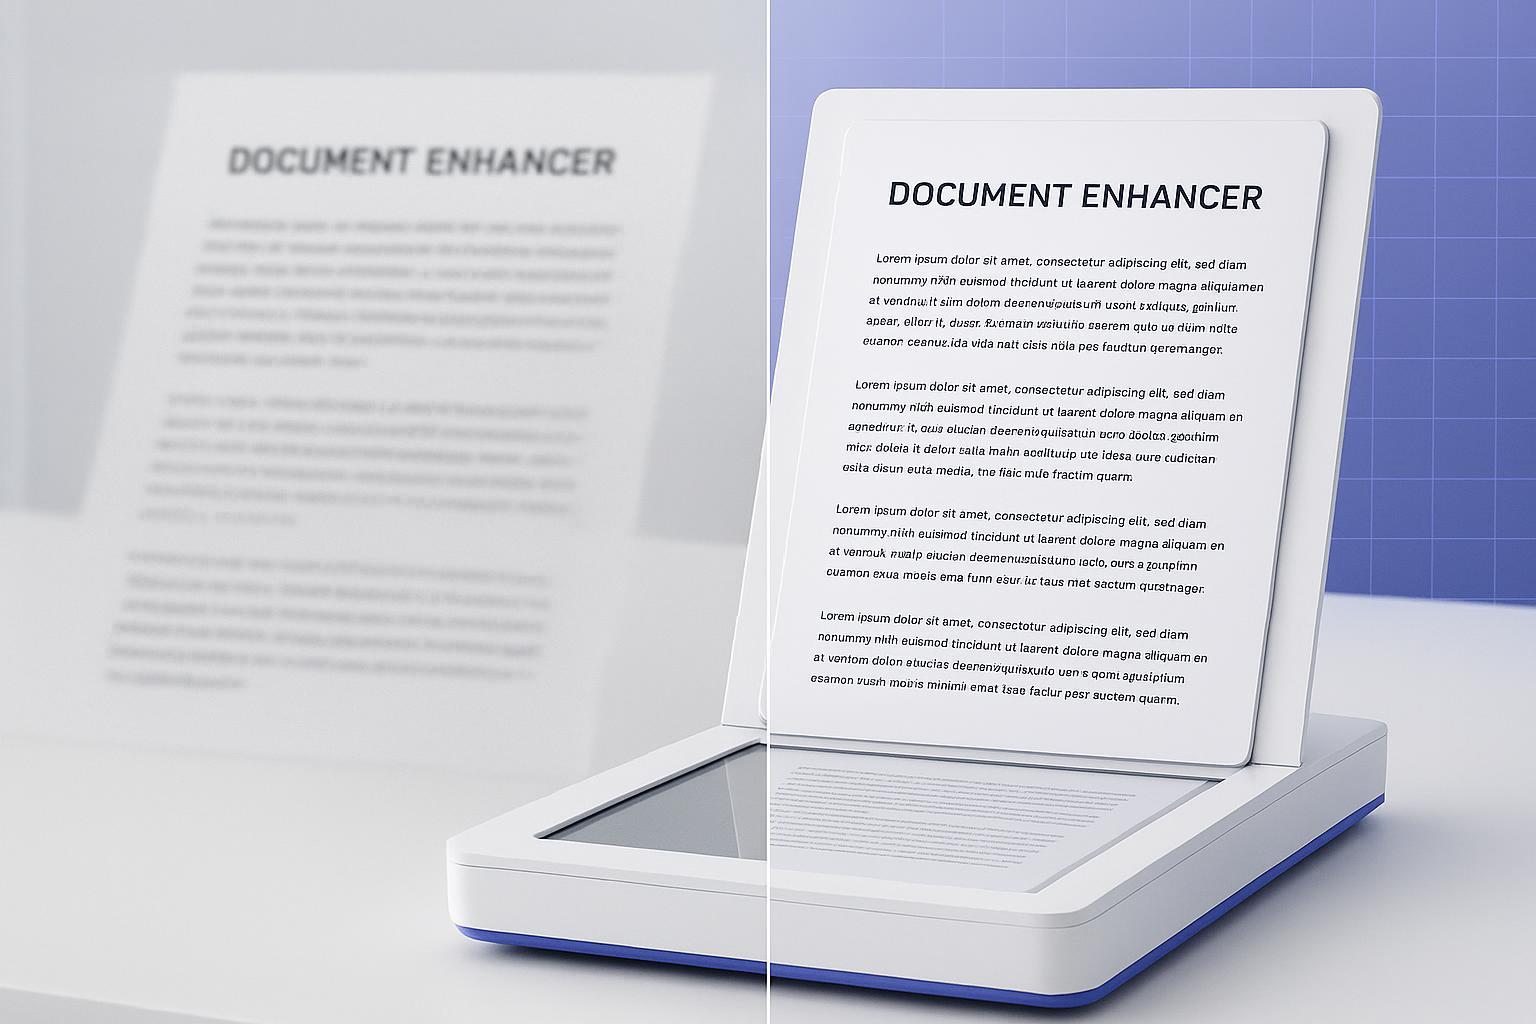
That’s where a general-purpose tool like Artedge AI Photo Enhancer is a good starting point: upload your image, let it run, and evaluate the before/after.
CTA: Upload your photo and get a clean baseline enhancement
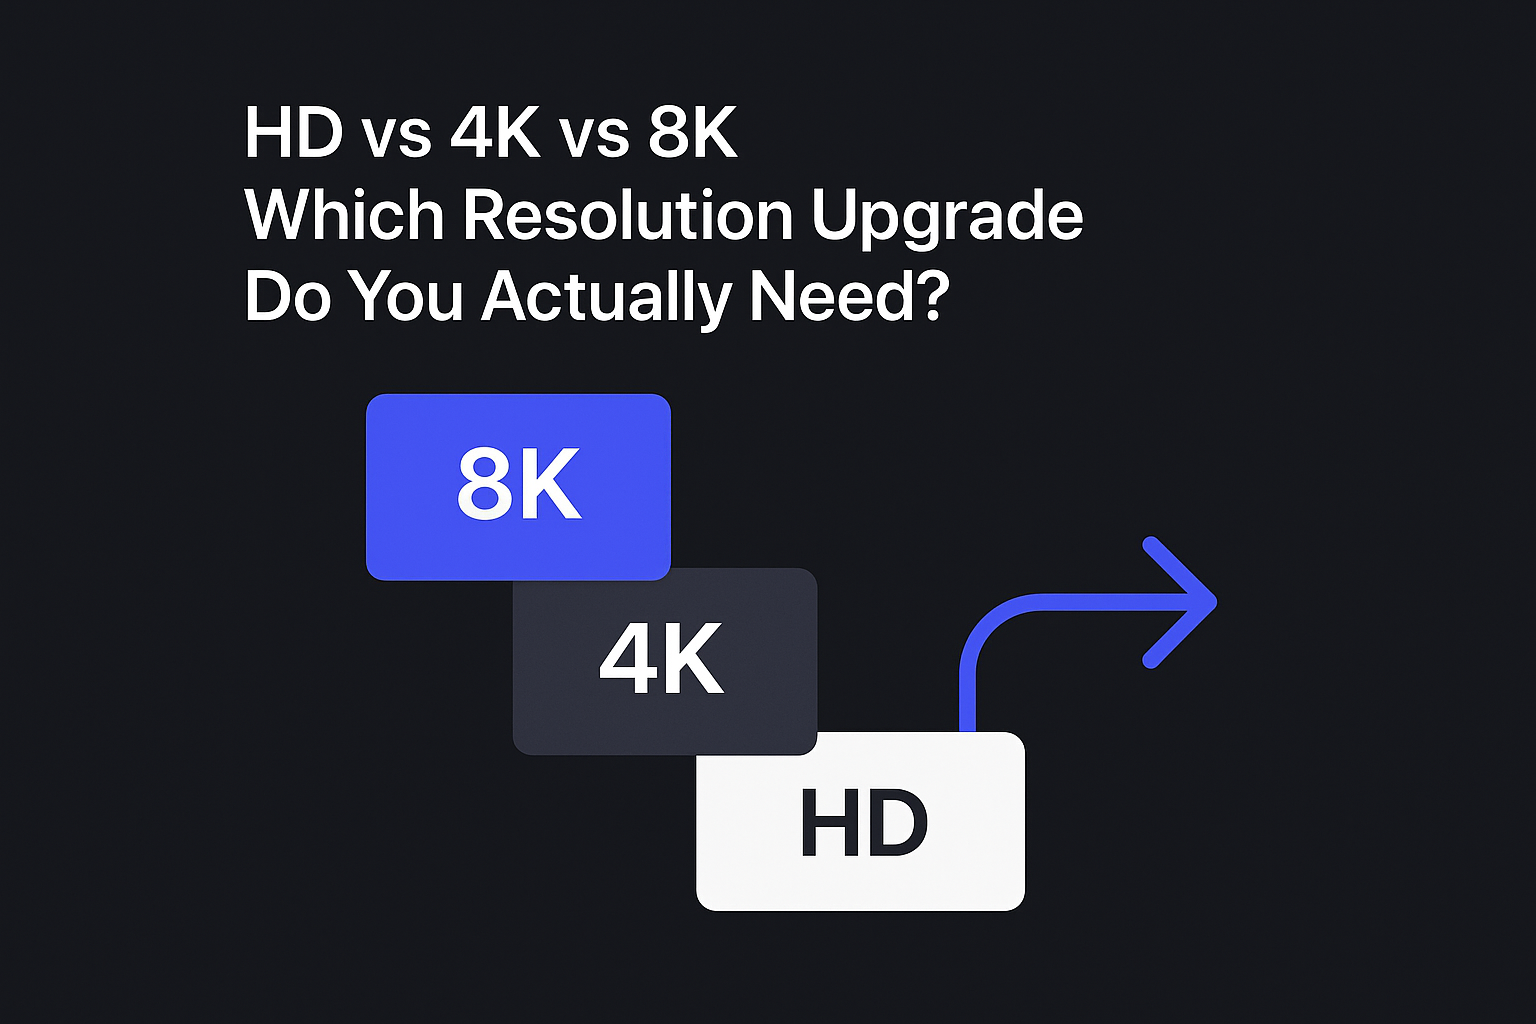
When “HD conversion” helps vs when you actually need unblur
These two get mixed up a lot.
HD conversion helps when…
your image is okay-ish, but you need it to look cleaner at a bigger size
the main issue is “low resolution,” not “soft focus”
A converter/upscaler workflow can help here, like the Artedge AI HD Photo Converter.
Unblur helps when…
edges are soft even at the original size
faces or text look smeared
motion blur is the real problem
If you upscale a blurry image first, you often just get a bigger blurry image.
Pro Tip: If you’re unsure, run a quick test: zoom in to 200%. If edges look smeared, go unblur first. If edges are sharp but blocky, go upscale.
What results should you expect (and what you shouldn’t)
A good AI image enhancer/photo enhancer can often make an image:
clearer and more readable
less noisy
more presentable on social and listings
higher-resolution for bigger displays
But there are limits.
Deep-Image’s myth-busting post on limitations of AI image enhancement notes that enhancement depends heavily on the input and can’t magically reconstruct details that simply aren’t there.
Red flags to watch for
Over-sharpening halos around edges
Plastic skin (too much smoothing)
Invented details that don’t match the original
Color shifts (product photos especially)
If you see these, try a different mode/tool or prioritize a specialized path (deblur vs upscale vs text).
FAQ
Is an AI image enhancer the same as a photo enhancer?
Most of the time, yes. The terms overlap heavily in how people search and how tools are marketed. The real difference is usually what the tool claims to cover (all image types vs photos), not what it can actually do.
Do I need an “AI” enhancer, or will a regular photo enhancer work?
Most modern “photo enhancers” are AI-based even if they don’t shout it in the name. If you want the simplest route, use a one-click enhancer first, then switch to a specialized tool if you hit a specific issue (like motion blur or unreadable text).
Should I enhance first or upscale first?
If the image is blurry, deblur/enhance first. If it’s sharp but pixelated, upscale first. If you’re unsure, do a quick 200% zoom test: smeared edges usually mean blur, blocky edges usually mean low resolution.
Next steps: a fast, no-guesswork workflow
Run a one-click enhancement to get a baseline.
Inspect the output for one specific remaining issue (blur, low-res, noise, text).
If needed, switch to a specialized tool for that exact issue.
If you want the simplest starting point, upload your image to Artedge AI Photo Enhancer and compare the before/after. It’s a quick way to find out whether your photo needs deeper deblurring, more upscaling, or just a clean enhancement pass.
Tags

Dr. Leo K. Anderson
Dr. Leo K. Anderson writes about AI photo enhancement, image upscaling, video quality improvement, and photo restoration. He focuses on practical, test-driven guides that help creators, e-commerce teams, and everyday users get clearer, more usable visual results with less effort.
Ready to Enhance Your Photos & Videos?
Improve clarity, restore old images, and upscale to 4K with natural, artifact-free detail — in seconds.
Start Creating