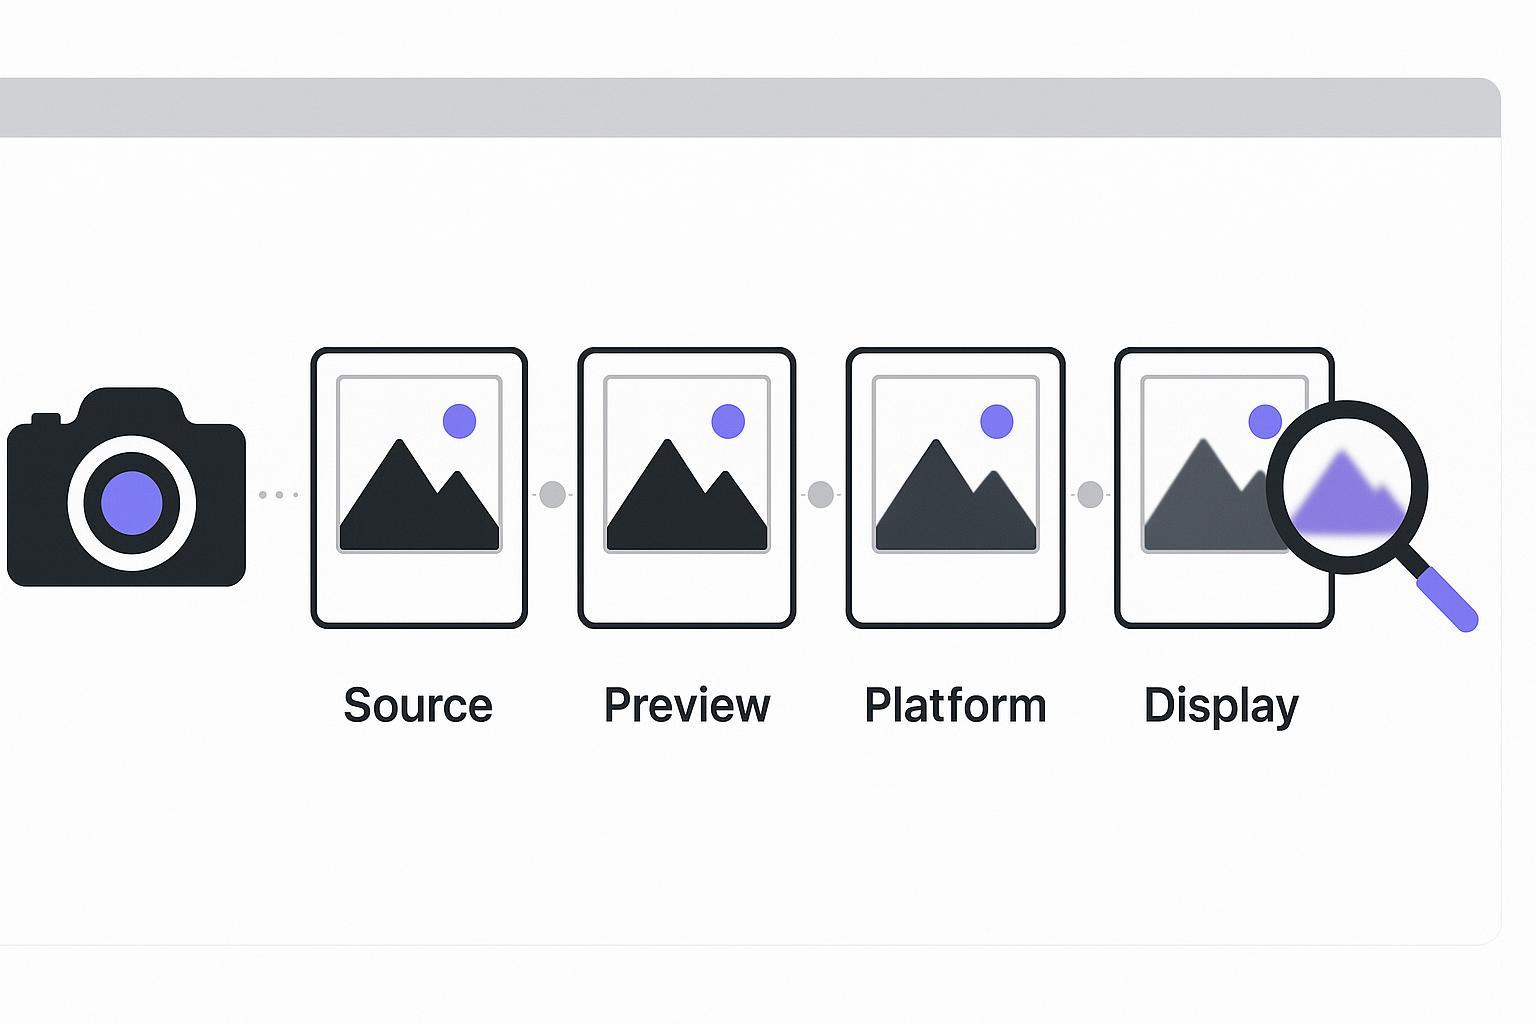
Fix Blurry Photos: Why Your HD-Converted Image Still Looks Soft
HD conversion boosts resolution, not sharpness. Learn why your photo is still blurry and the fastest way to unblur it.
Key takeaways
HD conversion increases resolution, not sharpness. More pixels can make a photo bigger, but it can’t automatically recreate detail that wasn’t captured.
If your image has motion blur or is out of focus, you’ll usually need a deblur/unblur step.
If your image is mainly blocky, pixelated, or too small, an HD photo converter can help.
Fast path: unblur first (if it’s blur), then upscale (if you still need more resolution).
Fix blurry photos: HD conversion isn’t the same as sharpness
If you used an HD converter and the result still looks blurry, the tool probably didn’t “fail.” Most of the time, the photo is blurry for a reason HD conversion can’t solve by itself.
Here’s the clean mental model:
Resolution = how many pixels your image has.
Sharpness = how well edges and fine details are defined.
Upscaling can increase resolution. But sharpness depends on whether the original image contained usable detail in the first place.
Quick diagnosis: what kind of “blurry” are you dealing with?
Use this 30-second check before you try random settings.
Edges look smeared, like the camera moved → motion blur
Everything looks softly “foggy,” even at the center → out of focus
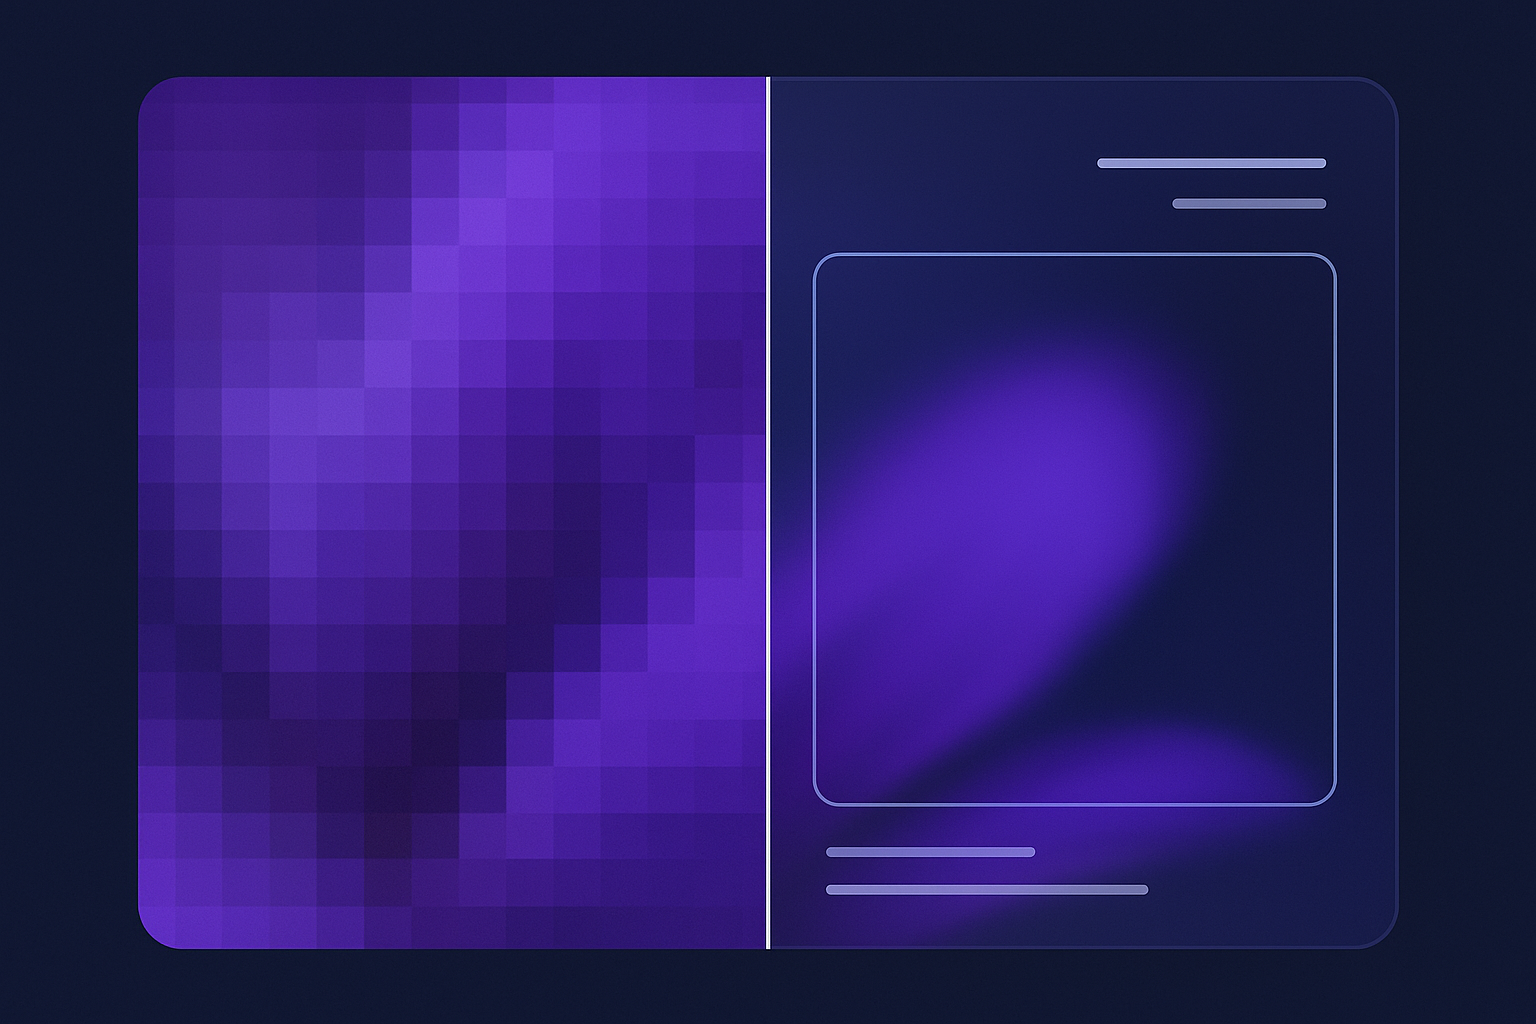
Details look blocky or jagged → low resolution / pixelation
Textures look waxy or “melted” → heavy compression + over-smoothing
Text is unreadable after upscaling → blur + compression (often needs deblur + enhance)
Pro Tip: Zoom to 100% (actual size) when judging results. Zoomed-out views can hide blur, while zoomed-in views can exaggerate it.
Why an HD-converted photo can still be blurry
1) Upscaling can’t recover “missing information”
If the original photo is blurry due to motion, focus, or extreme exposure issues, the image is missing real detail. Upscaling can make the blur larger, but it can’t reliably recreate what wasn’t captured.
Runway puts it bluntly in its guide on when upscaling won’t help (2025): severe motion blur and extreme out-of-focus areas are “missing information,” not just low resolution.
2) Bigger image ≠ more detail
A bigger file (or a higher “HD/4K” label) only tells you pixel dimensions. It doesn’t guarantee the photo contains more real-world detail.
A helpful analogy from video: Atoto explains in its interpolation vs true detail overview (2026) that increasing pixel count doesn’t increase the “resolving power” of what was captured. The same logic applies to photos.
3) Blur and low resolution are different problems
Low resolution is about not having enough pixels to represent detail.
Blur is about edges and textures being smeared.
If blur is the core issue, the fix is usually deblurring / unblurring, not only upscaling.
Most common causes (and what to do next)
Cause A: Motion blur (hand shake, moving subject)
What it looks like: double-edges, streaks, “dragged” details.
What works: deblur/unblur first.
Do next: Use a dedicated deblurring tool like Artedge AI Unblur Image to recover edge definition, then upscale if you still need a higher resolution.
Cause B: Out-of-focus blur
What it looks like: soft everywhere; nothing has a crisp edge.
What works: unblur can help, but expectations matter. If the focus was far off, no tool can perfectly reconstruct fine details.
Do next: Start with Artedge AI Unblur Image for edge recovery. If you also see noise or compression, consider a broader restoration pass afterward.
Cause C: Low-resolution / pixelation (the image is just too small)
What it looks like: blocky edges, jagged diagonals, “Minecraft” texture.
What works: upscaling.
Do next: Run it through the Artedge AI HD Photo Converter to increase resolution and improve overall clarity.
Cause D: Heavy compression (messy textures, waxy skin, smeared detail)
What it looks like: details look “mushed,” especially in hair, fabric, grass, or text.
What works: a combo approach: reduce artifacts / enhance, then upscale (and unblur if needed).
FixAnyPhoto summarizes the core limitation well: upscaling a blurry photo often just makes a bigger blur. If compression + blur is your mix, you need a tool that targets blur, not only size.
Do next: If blur is obvious, unblur first. If the image is both noisy and blurry, a broader restoration pass can help.
A fast workflow that actually fixes the problem
If you’re trying to fix blurry photos efficiently, this order prevents frustration:
Decide if it’s blur or pixelation (use the quick diagnosis above).
If it’s blur → unblur first.
If it’s pixelation / too small → upscale.
If it’s both → unblur first, then upscale.
Re-check at 100% zoom after each step.
⚠️ Warning: Don’t judge quality after uploading to social apps right away. Many platforms recompress images, which can reintroduce softness.
FAQ
Why does my photo look sharper in preview but blurry after download?
Previews are often scaled, sharpened, or displayed at a size that hides blur. After download, you may be viewing at 100% (or a different viewer) where softness is more visible. If the file is re-compressed during export or upload, that can also soften fine detail.
Can an HD converter make a blurry photo sharp?
Sometimes a little—but if the photo is truly blurred (motion/out-of-focus), upscaling alone usually won’t fix it. The most reliable path is to unblur first, then upscale.
Will unblurring make my photo look “fake” or over-sharpened?
It can if pushed too far. The goal is natural edge recovery, not harsh halos. If the result looks crunchy, dial back sharpening intensity (or try a different enhancement path) and prioritize readability over aggressive texture.
Should I use the Photo Enhancer instead?
If your photo has multiple issues at once (blur + noise + compression artifacts), a broader tool like Artedge AI Photo Enhancer can be a good follow-up. But if the main problem is blur, the dedicated unblur route is usually the fastest first step.
Next step: unblur the image first
If you already converted to HD and it’s still blurry, don’t keep retrying the same step.
Go straight to Artedge AI Unblur Image to recover sharpness. If you still need more resolution after that, run the result through the Artedge AI HD Photo Converter.

Dr. Leo K. Anderson
Dr. Leo K. Anderson writes about AI photo enhancement, image upscaling, video quality improvement, and photo restoration. He focuses on practical, test-driven guides that help creators, e-commerce teams, and everyday users get clearer, more usable visual results with less effort.
Ready to Enhance Your Photos & Videos?
Improve clarity, restore old images, and upscale to 4K with natural, artifact-free detail — in seconds.
Start Creating