HD Photo Converter Workflow: Make a Picture HD for Ecommerce, Social Media, and Marketplaces
Make a picture HD fast with a simple workflow for ecommerce, social posts, and marketplace listings—plus batch tips and common mistakes.
You don’t need a photoshoot. You don’t need Photoshop.
Most of the time, you already have an image—you just need it to look clearer, sharper, and more “ready to publish” before you post it, list it, or run it as an ad.
This guide is built for real operator workflows: small stores, marketplace sellers, and people who need to ship content fast.
Key takeaways
“Make a picture HD” usually means one of three jobs: upscale, enhance, or deblur—pick the right one first.
If your image looks fine but is too small, upscale is often enough.
If it’s soft, noisy, or looks like a screenshot, you’ll usually get better results with enhancement.
For ecommerce and marketplaces, the goal isn’t “hyper sharp.” It’s clear + natural + trustworthy.
Batch workflows matter: if you’re updating a catalog, you need consistent settings and quick QA.
The 60-second triage: upscale vs. enhance vs. deblur
Before you touch any tool, do this quick check. It saves you from wasting time (and from making images look weird).
1) Upscale (when the image is clean but too small)
Use upscaling if:
the photo already looks good
edges are mostly clean
you just need more pixels for zoom, cropping, or a bigger placement
A good upscaler should add resolution without turning textures into plastic.
2) Enhance (when the image is “okay” but not publish-ready)
Use enhancement if you see:
grain/noise (especially from low light)
compression artifacts (blocky edges, smeared gradients)
dull lighting (flat, gray-ish product photos)
Enhancement is the “make it look like a better photo” option—still natural, just cleaner.
3) Deblur (when blur is the real problem)
Use deblurring if:
your product edges look soft from motion or focus issues
text on packaging is hard to read
the whole image looks like it was captured mid-move
Pro Tip: Don’t try to “fix blur” by only resizing bigger. Upscaling can make blur bigger, not clearer.
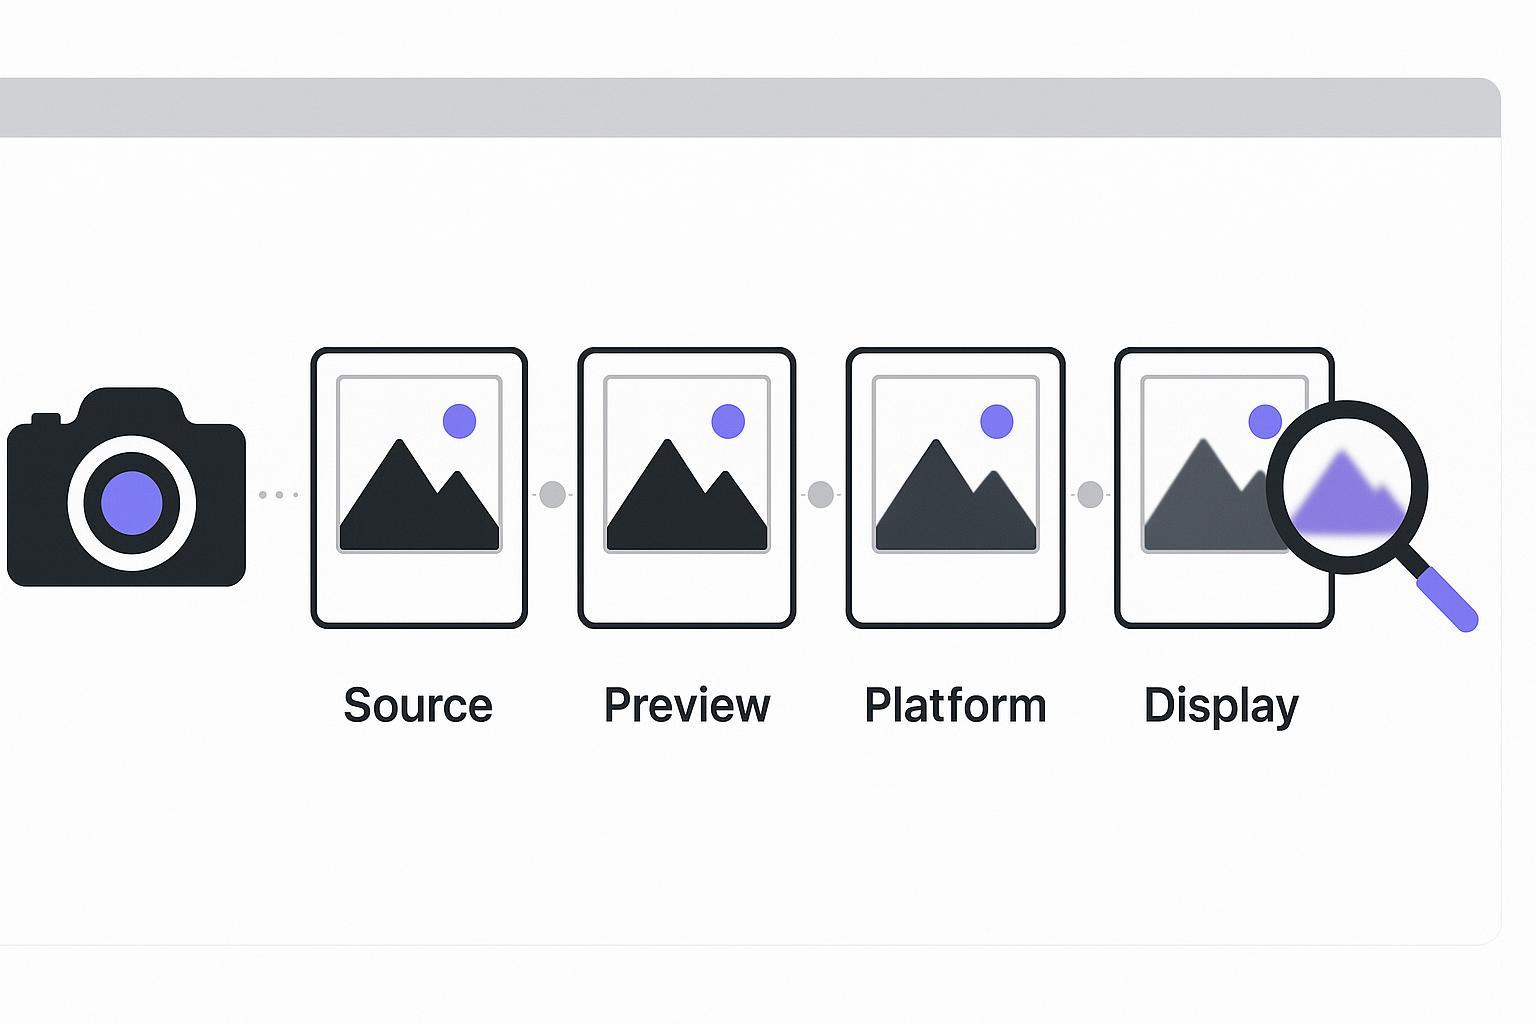
HD photo converter workflow: make a picture HD (step by step)
This is the simplest “operator SOP” for converting an existing image into something you can confidently publish.
Step 1: Start with the best version of the file you have
If you have options, pick the one that’s:
least compressed (avoid images that have been re-saved multiple times)
not a screenshot (unless that’s all you have)
closest to the original export
Done when: you’ve found the cleanest available file—even if it’s still low-res.
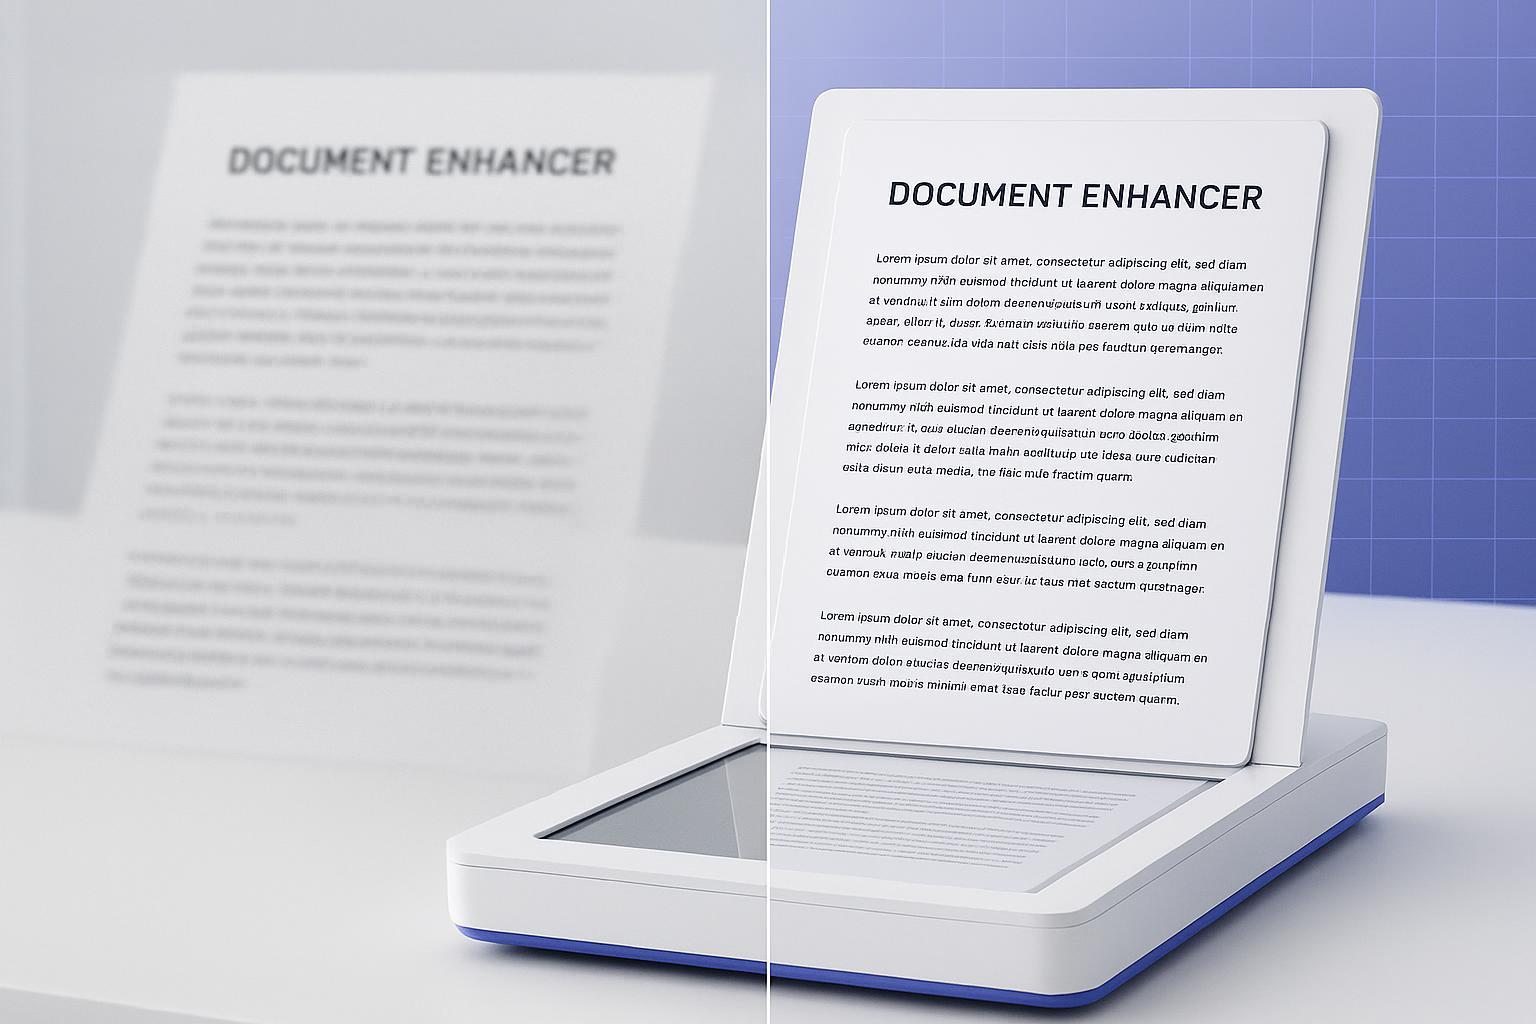
Step 2: Convert photo to HD (upscale + clean-up)
Use an HD photo converter to increase resolution and improve perceived clarity.
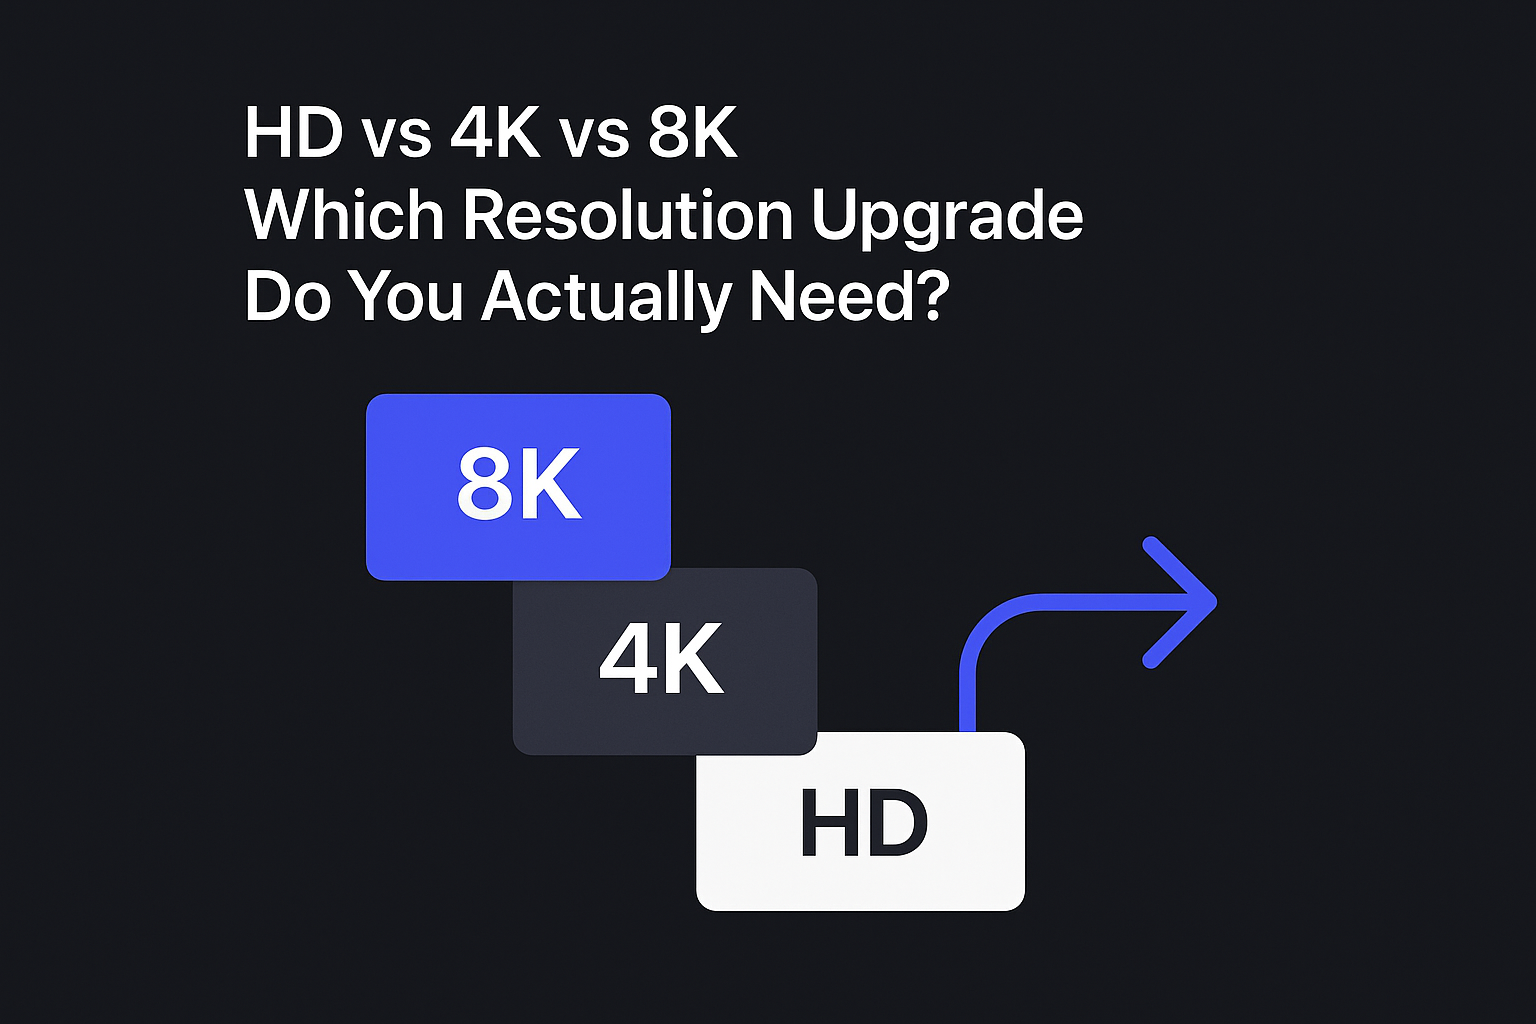
For example, the Artedge AI HD Photo Converter supports common formats (JPG/PNG/WebP) and lets you upscale images up to 4K, including batch processing when you’re working through multiple listings.
If you specifically need “upscale image to 4K” outputs for large placements or deeper zoom, it’s worth double-checking your export from the HD master before you upload.
Done when: the image looks clearer at 100% zoom, and edges don’t look “crunchy” or over-sharpened.
Step 3: Do a 10-second “trust check” (especially for product images)
Before you publish, zoom into:
logos and printed text
textures (fabric, wood, food, skin)
edges with high contrast
Look for:
halos (glowy outlines)
invented micro-textures that weren’t there
weird color shifts
Done when: the image still looks like the real product.
Step 4: Export for the channel you’re posting to
You don’t need to memorize every platform’s specs. Use a simple rule:
Keep a high-resolution master (your “HD version”)
Export the final size you’ll upload from that master (don’t repeatedly resize the same small file)
Done when: you have one clean HD master and one upload-ready version.
Key Takeaway: Your goal isn’t maximum sharpness. It’s clear after upload.
Ecommerce: make product photos look crisp on your storefront
Ecommerce images don’t need to look “artsy.” They need to answer buyer questions fast.
What “HD” actually solves for ecommerce
A better HD version can help:
make details easier to see (materials, stitching, textures)
make your product page look more trustworthy
reduce the “this looks low quality” vibe that kills clicks
Studios like Squareshot emphasize consistency basics—simple backgrounds, consistent framing, and avoiding heavy compression in their ecommerce image standards guide.
A quick ecommerce checklist (before you upload)
Product fills most of the frame (but nothing important is cropped)
Background is clean and consistent
Color looks like the real product (no weird warm/cool shifts)
Details still look natural at zoom
If your images are consistently too small, you may want a dedicated upscaling flow like an image upscaler (especially when you need different output sizes for different placements).
Social media: survive compression without looking soft
Social platforms compress images. That’s why something that looks sharp on your desktop can look a little mushy after posting.
The operator move: upload from a higher-quality master
Instead of posting the smallest version you have:
Convert your image to a clean HD version first
Export your posting size from that HD master
This won’t “beat” compression—but it can help your image keep more detail after the platform squeezes it.
Watch-outs that make social images look cheap
tiny text overlays (they turn into unreadable fuzz)
heavy sharpening (it creates crunchy edges after compression)
uploading a screenshot of a screenshot
If the image needs more than resolution (for example, it’s noisy or flat), start with AI photo enhancement before you resize for posting.
Marketplaces: make image clearer for listing without breaking rules
Marketplaces reward clarity and consistency. But they’re also picky—especially on main images.
What marketplace-ready “HD” looks like
Clear edges and readable details
Natural textures (no plastic look)
Consistent look across your catalog (same vibe, same framing)
Keep it honest
Yes, an HD conversion can make your listings look more professional and can help improve CTR/conversion—but don’t push it so far that your image no longer matches the real product.
If blur is your main issue, use a dedicated tool like Remove Blur from Image rather than forcing aggressive sharpening.
Batch workflow: when you have 20–50 images to fix
If you’re updating a catalog or refreshing old listings, the real win is consistency.
Here’s a batch flow you can actually keep up with:
Pick 3 representative images (easy / average / worst)
Run them through your HD conversion settings
Check the results at 100% zoom (textures + labels)
If they look natural, run the rest of the batch
Do a fast spot-check on 5–10 outputs
Artedge AI HD Photo Converter supports batch processing (up to 50 images), which fits this kind of operator workflow.
Done when: your batch outputs look consistent, and none of them have obvious artifacts.
Common mistakes (and how to spot them fast)
Mistake 1: Upscaling a heavily compressed image and expecting miracles
If the file is a tiny, blocky JPEG, you might need enhancement (or a better source file) before it looks clean.
Mistake 2: Over-sharpening until edges glow
If you see a bright outline around products, back off. “Sharper” isn’t always “better.”
Mistake 3: Changing the product’s real texture or color
If a sweater suddenly looks like a different fabric, or wood grain becomes weirdly uniform, it’s not publish-ready.
Mistake 4: Posting without checking the final upload preview
Always check the platform preview if you can—especially for marketplaces.
FAQ
What does an HD photo converter do?
An HD photo converter increases the resolution of an image and improves perceived clarity so it looks sharper and more usable for publishing, listings, or promotion.
Can I make a picture HD if it’s blurry?
Sometimes. If the blur is mild, enhancement can help. If it’s true motion/defocus blur, you’ll usually get better results with a dedicated deblurring workflow.
Will an HD conversion make my listing images look “fake”?
It can if you push it too hard. The safest approach is: convert to HD, then do a quick zoom-in trust check (labels, edges, textures). If anything looks invented, dial it back.
What file types should I use?
For most operator workflows:
JPG is fine for photos
PNG is useful when you need transparency
WebP can be efficient for web
Tools like Artedge support common uploads such as JPG/PNG/WebP (and may support additional formats depending on the tool).
Do I need to sign up?
Some tools let you run quick conversions without signup. For example, Artedge AI’s HD Photo Converter supports no-signup usage for standard conversions and provides watermark-free results.
Next steps
If you’ve got one image you want to make clearer right now, try the Artedge AI HD Photo Converter (search it on our site) and do the 10-second trust check before you publish.
Once that looks good, use the same settings to clean up the rest of your catalog or listing batch.

Dr. Katherine L. Whitmore
Dr. Katherine L. Whitmore specializes in AI-powered image enhancement and e-commerce visual optimization. She writes practical, data-driven guides on improving product image clarity, meeting marketplace standards, and increasing conversions through high-quality visuals.
Ready to Enhance Your Photos & Videos?
Improve clarity, restore old images, and upscale to 4K with natural, artifact-free detail — in seconds.
Start Creating