Unpixelate Image Online: Fix Pixelated Photos and Tiny Web Images
Learn how to unpixelate image files, diagnose pixelation causes, and fix tiny web images, screenshots, and thumbnails—without overpromising.
If you’ve ever zoomed in on a tiny web image (or a cropped thumbnail) and watched it turn into chunky squares, you already know the problem: pixelation.
The good news is that you can often unpixelate an image enough to make it look cleaner, less blocky, and more usable for the web. The honest caveat: if the file is extremely small or heavily compressed, no tool can recreate detail that was never there—your best outcome may be “less ugly,” not “like the original.”
The 60-second quick fix (try this first)
Find the best source you can (original upload, camera file, or the largest version on the site).
Run a de-pixelation (deartifact) pass first (not just a resize).
Then upscale only as much as you need.
Export once, and avoid re-uploading/re-downloading the same JPG repeatedly.
Done right, this workflow reduces blocks, jagged edges, and “mosquito noise” (the fuzzy ring around edges that comes from compression).
⚠️ Warning: If your input is a 50×50 avatar, a heavily compressed screenshot from a chat app, or a thumbnail that’s been re-saved many times, you may not get a truly “sharp” result. You can still often get a version that looks more natural at normal viewing size.
Key takeaways
Pixelation usually comes from low resolution, over-compression, or displaying an image larger than its real pixel size.
If you only do one thing: unpixelate/deartifact first, then use an image upscaler second.
Screenshots and UI images often look worse when saved as JPG—use PNG when text and crisp edges matter.
Prevention beats repair: proper sizing and responsive delivery reduce pixelation on the web.
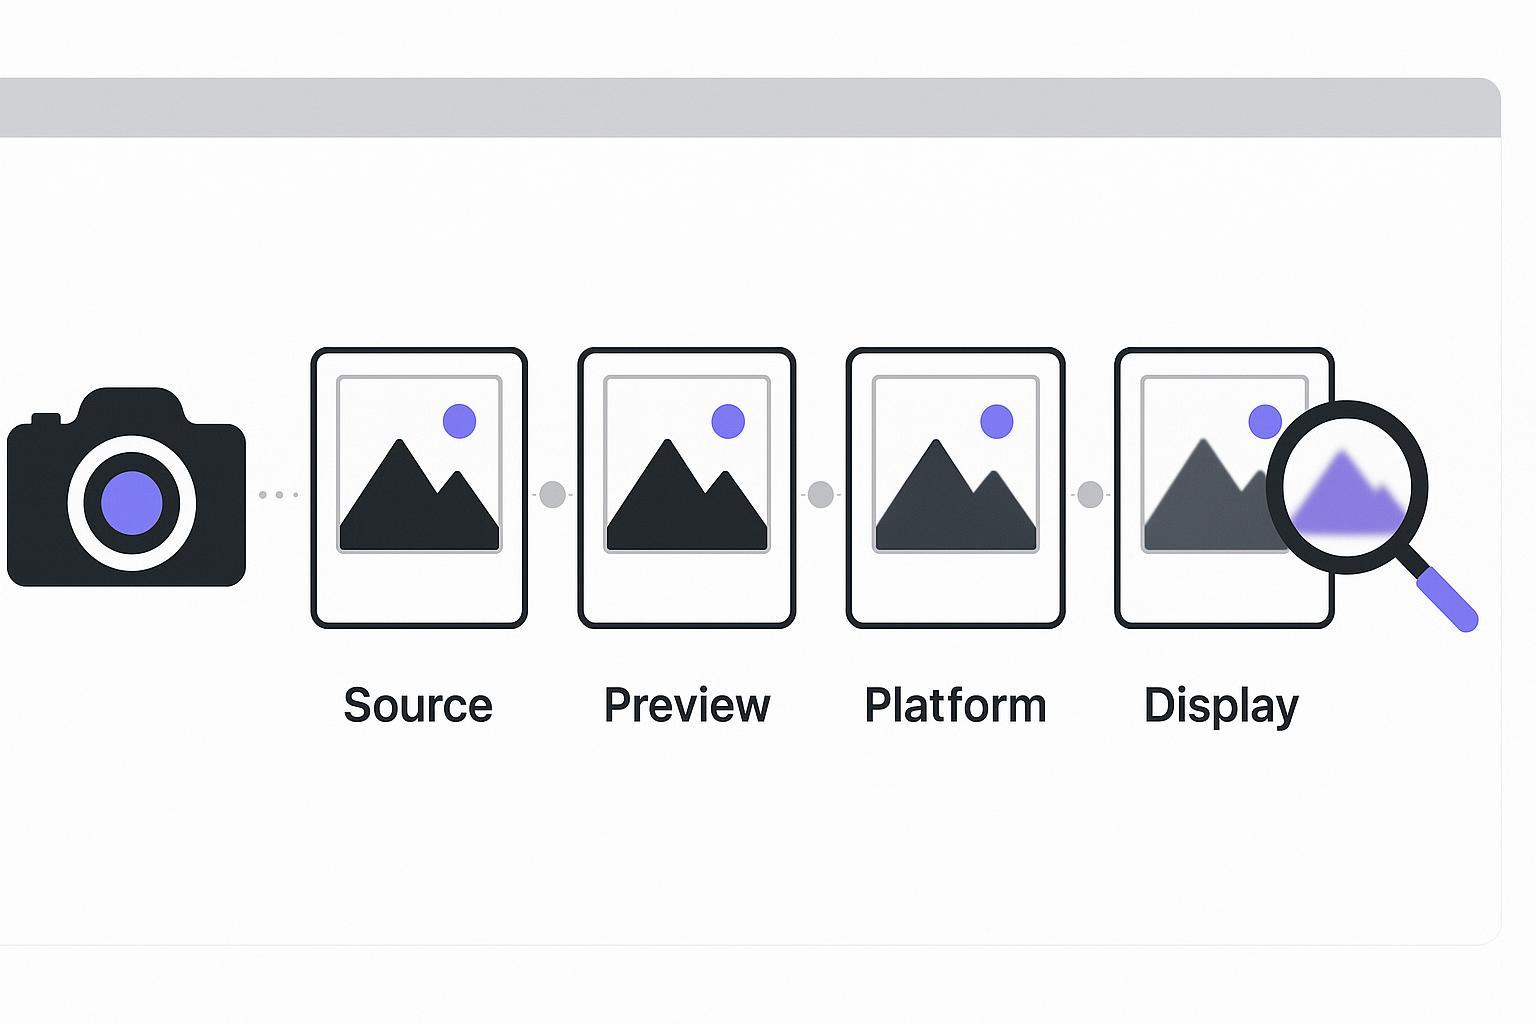
How to unpixelate an image (quick + deep workflow)
This section is the core “unpixelate image” process, with a quick path and a deeper troubleshooting path if your first attempt doesn’t look good.
This is the workflow that tends to work best when you’re trying to fix pixelated image files for web, social, or product use:
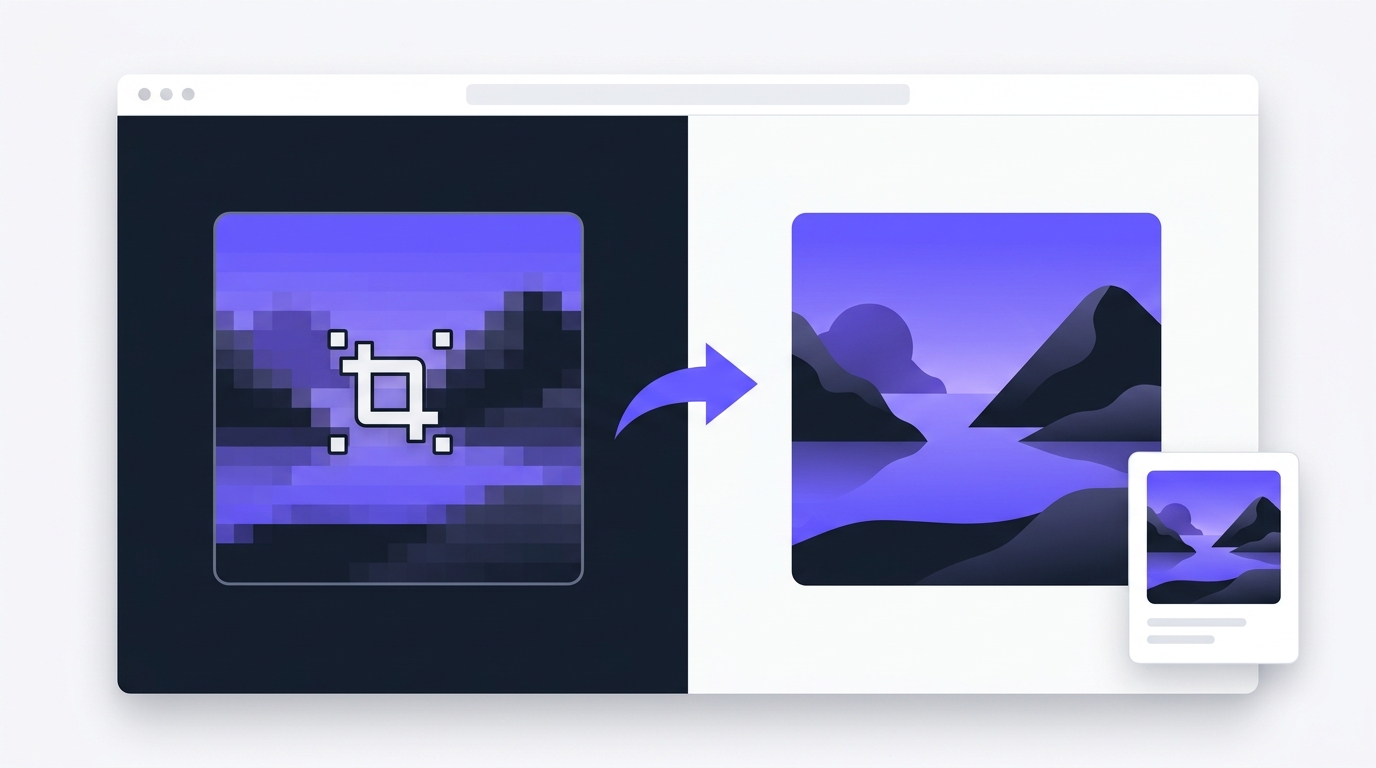
Unpixelate / deartifact (remove blockiness and compression artifacts)
Upscale (increase pixel dimensions only after cleanup)
Optional cleanup (denoise or deblur, depending on what you’re seeing)
One reason this order works: upsizing first often just creates bigger blocks. In upscaling workflows, it’s common to pair depixelation with upscaling (LetsEnhance describes this “depixelate + upscale” approach in their guide on unpixelating images).
Step 1: Confirm it’s pixelation (not blur)
“Bad quality” isn’t one problem. Fixes vary depending on what you’re actually seeing.
Pixelation (blocky squares)
Looks like visible square blocks—especially around edges
Often shows up when a tiny image is enlarged
Compression artifacts (ringing, speckles, banding)
Looks like fuzzy halos around edges, color bleeding, or “dirty” textures
Often comes from saving JPG/WebP at low quality—or saving multiple times
Blur (softness, smearing)
Looks smooth but out of focus—no visible blocks
Often from motion, missed focus, or aggressive noise reduction
If the image is mostly soft (not blocky), you’ll get better results by deblurring first rather than trying to unpixelate.
Step 2: Unpixelate image results checklist (remove blocks and artifacts)
When the issue is blockiness or compression artifacts, start here.
A practical first pass is to use an unpixelation tool that focuses on deartifacting (instead of simple resizing). When you’re done, verify at 100% zoom—not just “fit to screen.”
Done when:
Edges look less stair-stepped
Flat areas (skin, sky, walls) look less “patchy”
Text (if any) looks more consistent, even if not perfect
For a clear breakdown of how low resolution and over-compression create pixelation, see imgKonvert’s overview of common causes of pixelated images.
Step 3: Upscale only after you unpixelate (where “image upscaler” fits)
An image upscaler increases pixel dimensions. That’s useful—but if you upscale a blocky image first, you often just get bigger blocks.
A safer sequence is:
Unpixelate / deartifact
Then use an image upscaler if you need a larger file for a product grid, social post, or website banner
Pro Tip: Upscale just enough to match the real display size. For web use, oversizing can backfire if the platform re-compresses the file aggressively.
Troubleshooting: why your image is pixelated (and what to do)
Cause 1: The image is being displayed larger than its real size
This is common on websites: the layout asks for a 600px-wide image, but the file is only 300px wide.
What to do:
Check the image’s actual dimensions (e.g., 300×300).
Replace it with a larger source (best), or unpixelate → upscale to the display size.
Cause 2: You only have a tiny thumbnail or cropped version
This is the hardest scenario. If the image is tiny, there’s a hard ceiling on how much detail can be recovered.
What to do:
Try unpixelation first to reduce the blocky look.
Upscale conservatively.
If the subject is simple (logos, shapes), consider recreating it as a vector (SVG) instead of forcing a photo workflow.
Cause 3: The file was compressed (and re-compressed) too many times
Repeated saves in JPG (or repeated uploads/downloads from platforms) can permanently remove detail.
What to do:
Go back to the earliest version you can find.
Avoid “saving over” the same JPG.
If you must share, keep a lossless master and export a final delivery copy once.
Cause 4: Wrong format for the content (especially screenshots)
If your image contains UI, text, or sharp lines, JPG compression can make it look crunchy fast.
What to do:
Prefer PNG for screenshots and UI assets.
If you need smaller file sizes, test WebP—but keep the quality high.
After unpixelating, export once and avoid repeated platform re-compression.
Fix it by scenario (practical workflows)
Scenario: low-resolution web images (blog images, hero sections)
Goal: stop pixelation at normal viewing size.
Workflow:
Unpixelate/deartifact.
Upscale to match real display width.
Export once.
Prevention:
Use responsive images (
srcset) so browsers don’t upscale a too-small image on large screens.Follow modern best practices like web.dev’s guidance on image performance to avoid unnecessary scaling and reduce quality loss.
Scenario: cropped images (zoomed-in faces, clipped details)
Cropping reduces pixel count. A “small crop” can become tiny even if the original was decent.
Workflow:
Start from the original (pre-crop) if possible.
If you only have the crop: unpixelate first.
Upscale modestly.
Reality check:
If the crop removed detail, no tool can recover what wasn’t captured.
Your goal is often a cleaner-looking image, not perfect fidelity.
Scenario: screenshots (text looks jagged)
Workflow:
Unpixelate to reduce blockiness and compression artifacts.
If the issue is softness rather than blocks, use an unblur workflow.
Export as PNG when you can.
If your screenshot is mostly blur (not pixel blocks), try an unblur workflow (for example: unblur an image) before you upscale.
Scenario: product thumbnails (marketplace listings, PLP grids)
Goal: clean, consistent images that don’t look low-effort.
Workflow:
Unpixelate/deartifact.
Upscale to the platform’s recommended size.
If grain/noise is part of the problem, reduce it (e.g., denoise an image).
Prevention:
Export once from the source image.
Avoid uploading a file that’s already heavily compressed.
Prevention: how to avoid pixelation next time
Most “unpixelate image” requests are actually prevention failures upstream.
Here’s a simple prevention checklist:
Start with a larger source than your final display size.
Resize once to the final dimensions you need.
Avoid repeated lossy exports (don’t keep re-saving JPGs).
Use the right format:
JPG for photos (keep quality high)
PNG for text/UI/graphics
If you’re building a website, use responsive delivery and modern formats when possible.
For a broader overview of choosing formats and serving efficient images, Request Metrics has a practical guide on high-performance website images.
FAQ
Can you unpixelate an image perfectly?
Not always. If an image is extremely tiny, heavily compressed, or has been re-saved many times, some detail is permanently missing. Unpixelation can often make it look cleaner and more natural, but it won’t reliably recreate original fine detail.
Should I upscale first or unpixelate first?
In most cases, unpixelate/deartifact first—then upscale. Upscaling a blocky image can make the blockiness bigger.
Why does my image look fine in one place but pixelated on my website?
A common cause is a size mismatch: the website displays the image larger than its actual pixel dimensions. Responsive images and correct sizing help prevent that.
What’s the best format for screenshots with text?
PNG is usually the safest choice because it preserves crisp edges. JPG compression can create artifacts around text and UI lines.
Next steps
If your image looks blocky, tiny, or full of compression artifacts, start by running it through Artedge AI Unpixelate Image, then upscale only if you still need a larger file.

Dr. Katherine L. Whitmore
Dr. Katherine L. Whitmore specializes in AI-powered image enhancement and e-commerce visual optimization. She writes practical, data-driven guides on improving product image clarity, meeting marketplace standards, and increasing conversions through high-quality visuals.
Ready to Enhance Your Photos & Videos?
Improve clarity, restore old images, and upscale to 4K with natural, artifact-free detail — in seconds.
Start Creating