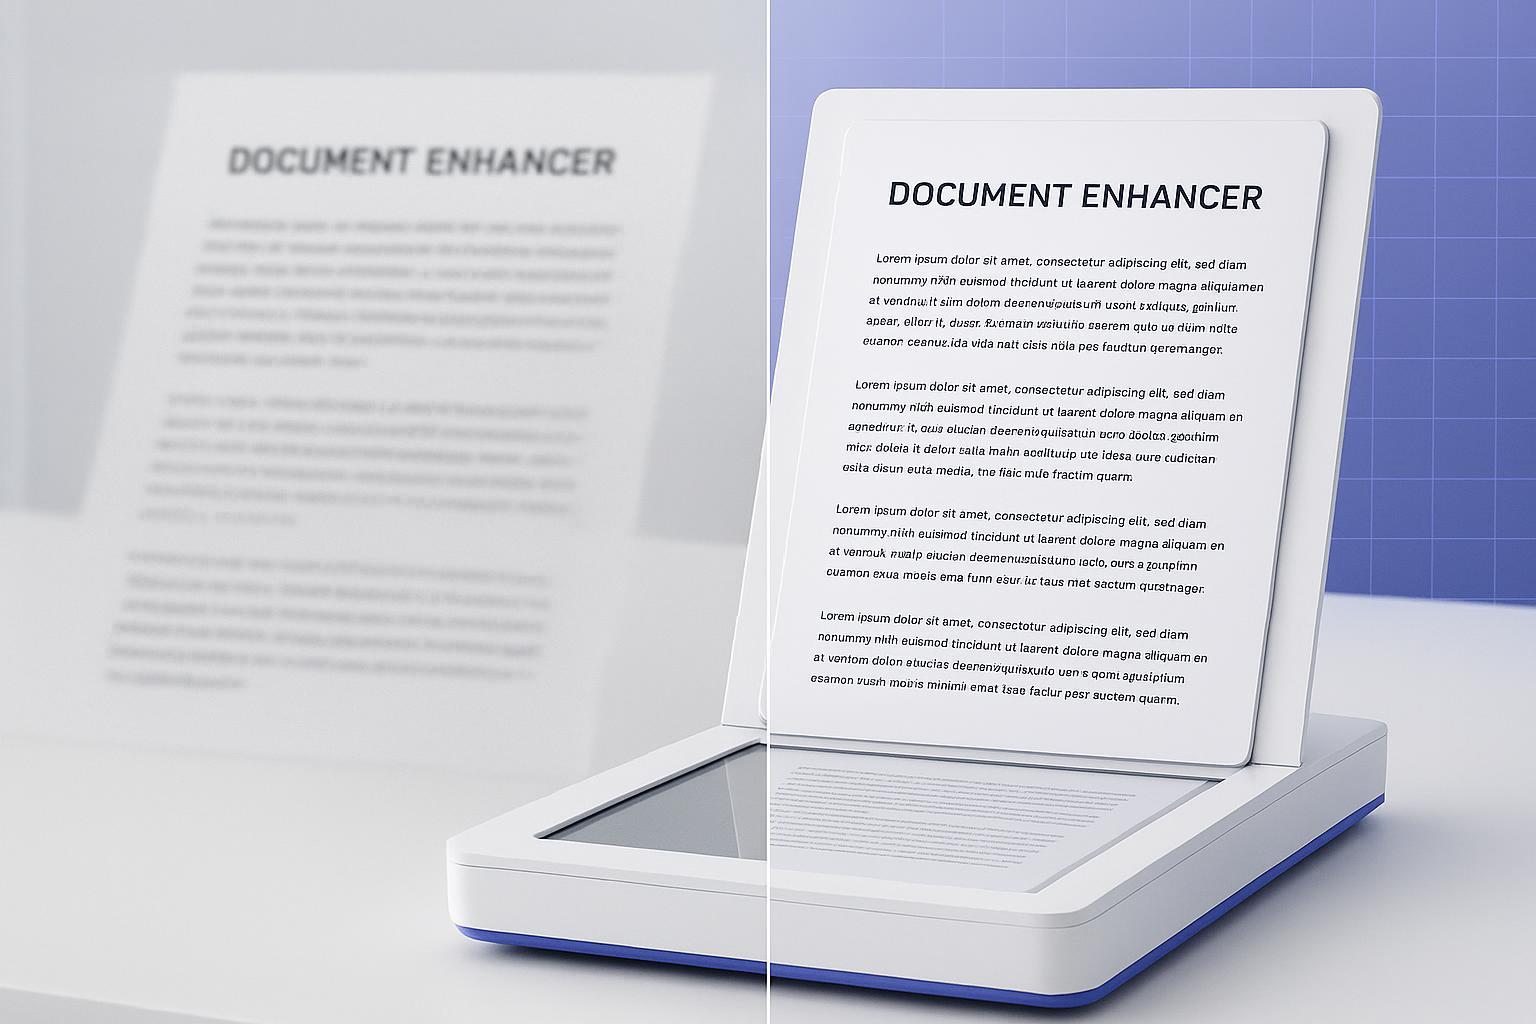
Blurry Photo After Upload? Diagnose the Exact Step That Softened It
Your photo didn’t “just go blurry.” Diagnose the upload chain—source, export, preview, platform, display—then fix only what’s broken.
A photo doesn’t “just go blurry.” It loses sharpness at one of five specific points along the upload chain. Identify the point, and you can either prevent the loss—or fix only what was lost.
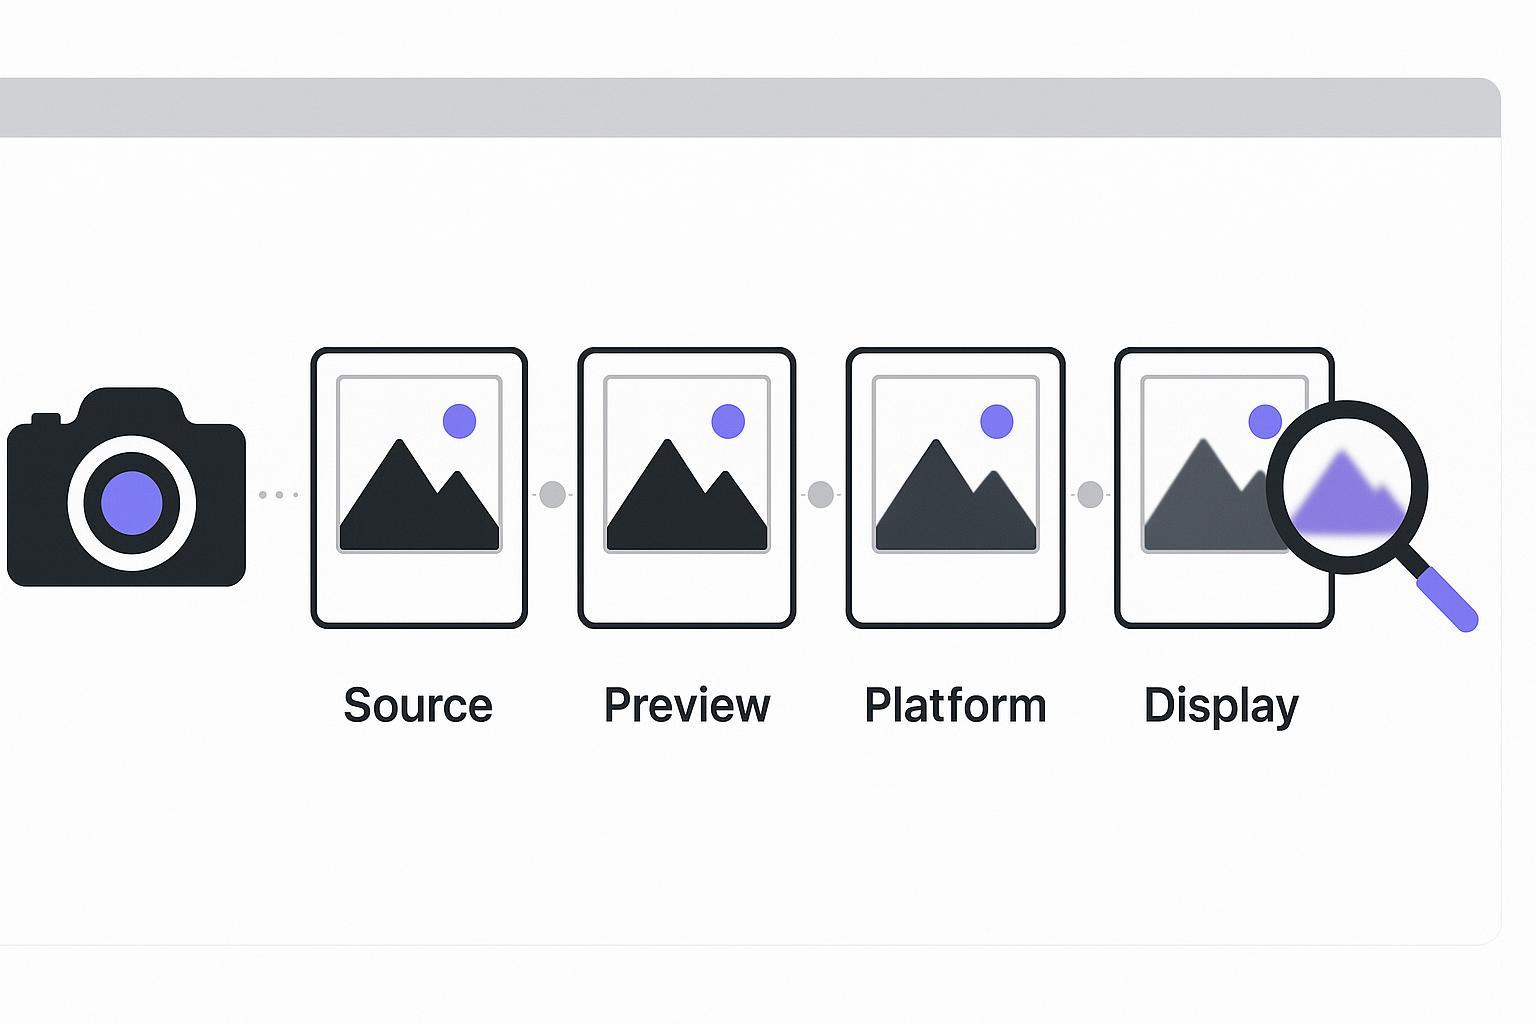
This guide is written for creators and photographers who care about export settings. We’ll diagnose the chain in order:
Source → Export → Preview → Platform → Display
Key takeaways
If your original is already soft at 100% zoom, no export setting can magically recover missing detail—start with repair (deblur) instead.
Export is where most “avoidable blur” happens: wrong long-edge size, an aggressive JPEG quality slider, or the wrong format/profile can set you up for platform recompression.
“It’s blurry” is sometimes a preview problem, not a file problem—download the uploaded image before you change your workflow.
Platforms may recompress your upload. You can minimize damage, not prevent it completely.
1) Source-side problems: the blur existed before the upload
If you’re seeing a blurry photo after upload, start with the unglamorous question: was the original already borderline?
Fast self-check (takes 20 seconds)
Open the original file locally.
View at 100% (1:1).
Look at high-contrast edges (eyelashes, hairline, product labels, street signs).
If those edges are already soft, you’re dealing with a source limitation, not an upload problem.
The two most common source-side culprits
Small source image: If the original doesn’t have enough pixels for the size you’re viewing/posting, it’ll look soft the moment it’s displayed larger.
Heavy crop or zoom: Cropping throws away pixels. If you crop aggressively and then upload, the platform may resize/recompress what’s left—and softness becomes obvious.
Key Takeaway: If the blur is in the original, your “fix” isn’t a better export—it’s repairing the original.
What to do if the original is already blurry
Use a deblur tool on the original file before you export anything. Artedge AI Unblur Image is designed for motion blur, focus softness, and “digital mush” from prior compression.
Keep expectations honest: deblurring can restore perceived sharpness and edge definition, but it can’t perfectly recreate detail that never existed.
2) Export-side problems: why a blurry photo after upload often starts here
This is where creators unintentionally sabotage their own uploads.
A platform can only compress what you give it. If your export is already under-sized, over-compressed, or in an awkward profile/format, the platform’s processing often makes that weakness louder.
2.1 JPEG quality slider vs. real quality (and why file size can mislead you)
Most export dialogs tempt you to think:
Higher quality slider = always visibly sharper
Smaller file = always worse
This is the heart of JPEG quality vs file size: you can double the file size and barely see an improvement—or cut the file size a lot and only lose detail in specific textures.
Reality: the slider controls how aggressively JPEG throws away detail, but perceived sharpness doesn’t increase linearly with file size.
Two practical rules:
Avoid repeated JPEG exporting. JPEG is lossy; saving a JPEG, editing it, then exporting another JPEG compounds damage (generation loss). Uploadcare’s explainer on “JPEG quality loss” lays out why this “photocopier effect” happens.
Don’t export at “tiny file” settings and hope the platform will be kind. Platforms typically re-encode anyway.
Safe creator defaults (start here, then adjust):
Photos: JPEG quality ~80–85 is often a strong balance for web uploads.
If your work has lots of gradients (sky, studio backdrops) or fine texture: test 85–95.
Pro Tip: Your “best” JPEG quality is the highest one that still keeps your upload workflow reliable (fast enough, no timeouts)—not the highest number because it feels safer.
2.2 JPEG vs PNG vs WebP: choose based on what’s in the image
The fastest way to get “mysterious blur” is choosing a format that’s wrong for the content.
Use JPEG when:
It’s a photo (portraits, landscapes, products with natural texture).
You can tolerate lossy compression.
Use PNG when:
It’s a screenshot, UI, text overlays, logos, or sharp vector-ish edges.
You need crisp typography.
Use WebP when:
Your destination supports it reliably.
You want smaller files at comparable visual quality.
Important nuance: many platforms will convert everything to their own format anyway. Your goal is to export a file that survives that extra step with minimal harm.
2.3 The hidden sharpness killer: chroma subsampling
Even when your JPEG “looks fine,” it may be throwing away color detail in a way that makes edges feel softer—especially around colored text, neon signage, UI elements, and high-saturation transitions.
This is partly due to how JPEG commonly reduces color resolution (chroma) compared to brightness (luma). If you want the deep technical background, Nigel Tao explains what’s going on in “JPEG chroma upsampling”.
Creator takeaway:
If you export a photo with sharp colored edges (or a photo with text overlays), test a higher-quality export or a different format (PNG/WebP).
2.4 sRGB vs Display P3 / DCI-P3: why sRGB vs Display P3 can change perceived sharpness
Sometimes the “blur” you’re perceiving is actually contrast and micro-contrast changing because the image is being interpreted in a different color space.
For web uploads, sRGB is still the safest default.
Wide-gamut images (Display P3 / DCI-P3 / Adobe RGB) may render differently depending on browser/app color management.
WebKit’s guide to wide-gamut color with Display P3 is a good overview of why support varies.
Safe export rule:
Convert to sRGB before uploading unless you know the destination is fully color-managed end-to-end.
2.5 Long-edge pixels: export to what the platform can actually display
Platforms typically resize images to their own “max display” sizes. If you upload something far larger (or oddly sized), you’re letting the platform pick the downsampling method.
Instead:
Export your image so the long edge roughly matches the platform’s common display cap, or at least isn’t wildly beyond it.
If you don’t know the cap, a reliable approach is: export a version that’s 2× your intended viewing size, so downsampling works in your favor.
⚠️ Warning: Don’t judge sharpness by zooming to 200–400% in a web viewer. Many viewers aren’t showing you a true 1:1 pixel render.
Export-side “best practice” mini-checklist
Before you re-upload, confirm:
You’re exporting once from the best source (not repeatedly saving JPEGs).
Format matches content (JPEG for photos, PNG for text/UI).
Color space is sRGB.
Long edge is sized for the destination.
If your original is sharp but you want it to hold up better after upload, you can also run it through a light enhancement pass before export (think: improve clarity and reduce noise so compression has less to destroy). Artedge AI Photo Enhance can help you create a cleaner, higher-quality starting point for re-uploading—without pretending it can “prevent all compression.”
3) Preview-side confusion: the “fake blur” that tricks experienced creators
A lot of “upload blur” reports are actually this:
The app/browser shows a low-resolution cached preview (thumbnail/proxy)
The full-res version loads later—or is only visible after download
The one test that ends the argument
If you think your upload is blurry:
Download the image from the platform.
Open it locally.
Check at 100% zoom.
If the downloaded file is sharp, you don’t have an export problem—you have a preview problem.
This is why it’s risky to keep re-exporting “sharper” files: you can end up over-sharpening a perfectly fine upload based on a misleading preview.
(If this is the situation you’re in, it’s basically: browser preview blurry but downloaded is sharp.)
4) Platform-side compression: unavoidable, but you can design for it
Many platforms recompress uploads to save bandwidth and standardize delivery. That step is partly outside your control.
What you can control is how well your export survives the hit.
If you want a deeper, step-by-step guide focused specifically on post-compression recovery (without repeating it here), read: How to Improve Image Quality After Compression.
5) Display-side issues: your screen and settings can make a sharp image look soft
If the file is sharp after download, but still looks blurry in one place, check the display chain:
Browser zoom / OS scaling: 110–125% zoom or aggressive scaling can introduce interpolation softness.
High-DPI vs standard displays: an image can look different on a Retina display vs a 1080p monitor.
Color-managed vs non-color-managed viewers: some apps handle profiles better than others.
Practical workflow:
Evaluate at 100% in a reliable viewer.
Cross-check on one other device before you re-edit.
Upload Chain Diagnostic (the 60-second version)
Upload chain stage | What you’re seeing | Fast test | Best fix |
|---|---|---|---|
Source | Original already soft | Open original at 100% | Deblur the original (Path A) |
Export | Looks fine locally, soft after upload | Compare exported file vs original at 100% | Fix size/format/profile/quality (Path B) |
Preview | Looks blurry only in-app/web view | Download and re-check locally | Ignore preview, or wait/refresh |
Platform | Everyone sees it softer after upload | Download platform version and compare | Export to survive recompression; accept limits |
Display | Only one device/browser looks soft | Check at 100% on another device | Adjust scaling/zoom/viewer |
A 5-question self-check that routes you to the right fix
Answer these in order (don’t skip ahead):
Is the original blurry at 100% zoom?
Yes → Path A
No → go to #2
Is the exported file blurry before upload (local view at 100%)?
Yes → Path B (export)
No → go to #3
Is it only blurry in preview, but sharp after download?
Yes → Preview issue (no re-export needed)
No → go to #4
Does the platform download look softer than your export?
Yes → Platform recompression is happening → Path B + accept limits
Not sure → go to #5
Does it look blurry on only one device/browser?
Yes → Display-side issue
No / still unsure → Path C
Path A — The blur happened before the upload
Your export didn’t cause the blur; it inherited it.
Start by repairing the original with Artedge AI Unblur Image.
Path B — The original is fine; fix it at export before you re-upload
Your job is to export a file that:
matches the destination’s size behavior,
uses a sensible format,
stays in sRGB,
and isn’t already over-compressed.
If you want extra resilience before re-uploading, run a light improvement pass first (clean noise, boost clarity) with Artedge AI Photo Enhance—then export with the recommendations above.
Path C — You’re not sure which step caused it
Take the safest recovery route:
Download the “blurry” version you’re seeing on the platform.
Run that file through Artedge AI Unblur Image to salvage sharpness.
FAQ
Can you fully restore photo quality after upload compression?
Not completely. Compression is lossy—once detail is discarded, you can’t perfectly reconstruct it. What you can do is minimize future loss (export correctly) and compensate for what was lost (careful deblur/enhance).
Why does my photo look blurry on Instagram but fine on my computer?
Often it’s one of three things: your export is under-sized, Instagram is recompressing/resizing, or you’re judging a cached/low-res preview. The fastest way to know is to download the posted image and inspect it at 100%.
What export settings should I use so my uploads stay sharp?
Use the Export-side checklist in this guide: export once from the best source, keep sRGB, pick the right format (JPEG vs PNG), and size the long edge for the destination so the platform does minimal resizing.
Author: Dr. Leo K. Anderson.

Dr. Leo K. Anderson
Dr. Leo K. Anderson writes about AI photo enhancement, image upscaling, video quality improvement, and photo restoration. He focuses on practical, test-driven guides that help creators, e-commerce teams, and everyday users get clearer, more usable visual results with less effort.
Ready to Enhance Your Photos & Videos?
Improve clarity, restore old images, and upscale to 4K with natural, artifact-free detail — in seconds.
Start Creating