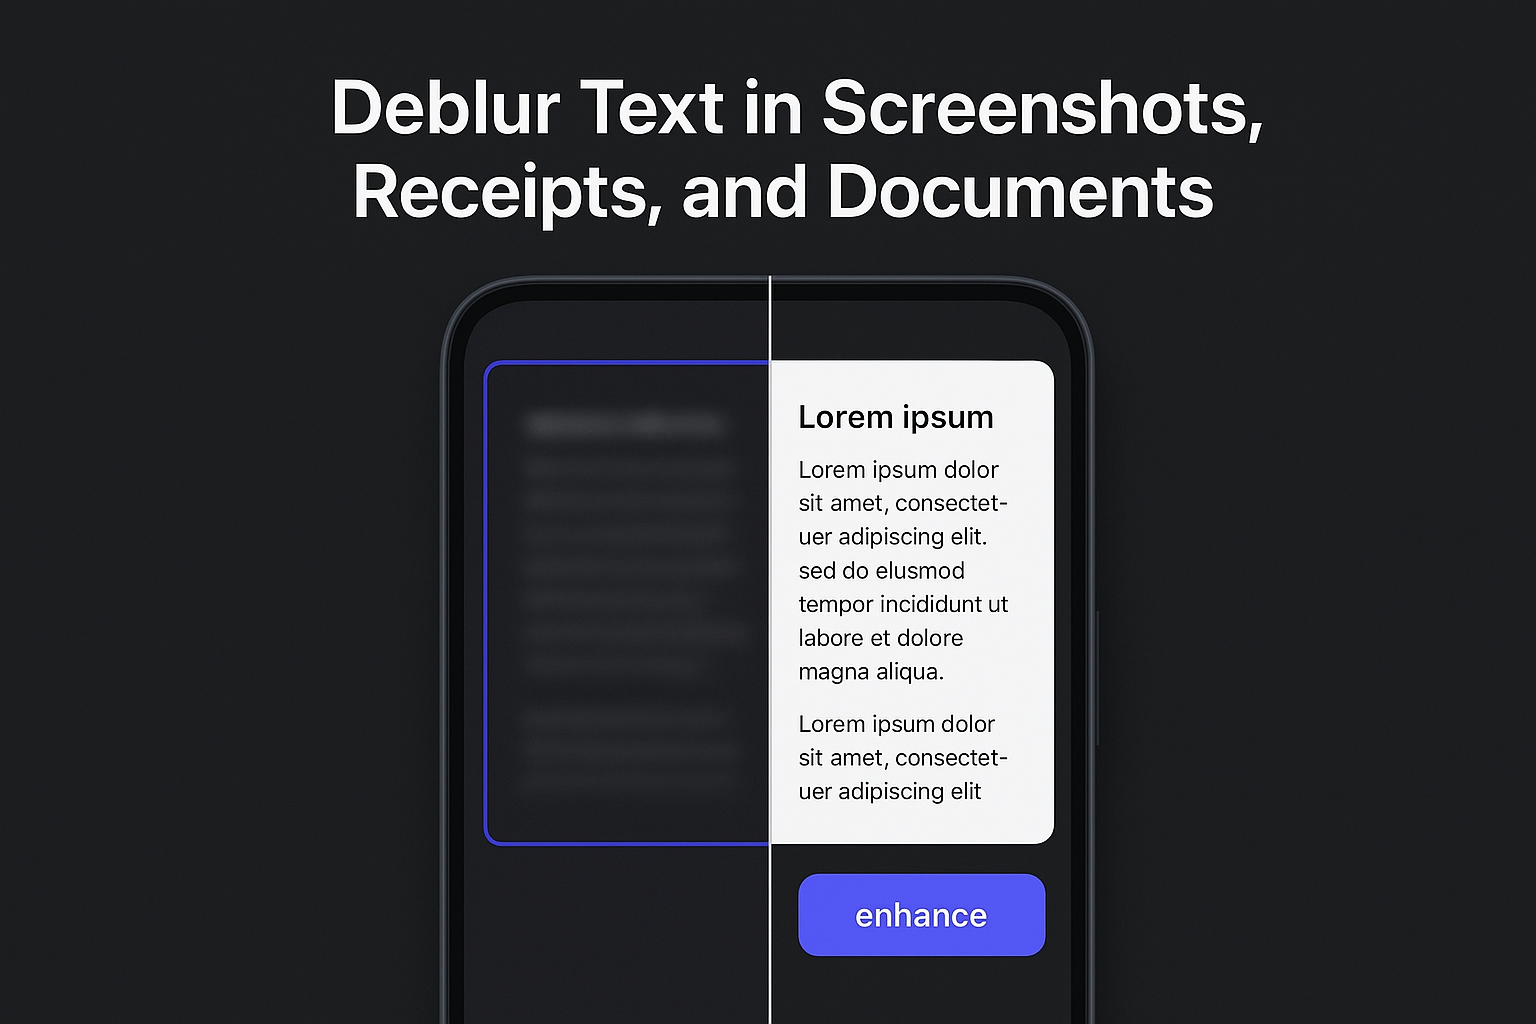
Deblur Text in Screenshots, Receipts, and Documents
Make blurry text readable in seconds. Crop, deblur, verify, and download clean results with Artedge AI Text Deblurring.
Blurry text is one of those problems that feels small—until you’re staring at a screenshot you need to read right now.
Maybe it’s a chat snippet you saved for later. A course slide you can’t re-open. A shipping label in a customer message. The letters are there, but the edges are soft, and your brain keeps guessing.
This guide is a fast, practical playbook to deblur text and make blurry text readable again—without turning the image into a crispy, halo-filled mess.
Key takeaways
If the text is tiny or the screenshot has been recompressed, fix your input first (crop + zoom) before you try any enhancement.
Deblurring and sharpening aren’t the same: deblur first, then only sharpen lightly if needed.
Use a workflow that preserves character shapes and avoids artifacts—then verify at 100% zoom.
If you need editable text (copy/search), pair deblurring with OCR—they solve different problems.
A 20-second checklist: should you deblur, reshoot, or run OCR?
Use this before you waste time.
Deblur (best case): you can mostly tell what the letters are, but the edges are soft or slightly smeared.
Reshoot/recapture (faster than any tool): the text is microscopic, the screenshot is zoomed way out, or the photo is shaky and low-light.
OCR (different goal): you don’t just want to read it—you want to copy/search/edit the text.
Pro Tip: If you can’t read the text at all, neither you nor an AI has enough signal to “recover” it. Great results come from improving what’s already there, not inventing missing characters.
How to deblur text in a screenshot (fastest workflow)
This is the straight path when your goal is readable text with natural edges.
Step 1: Crop to the text (don’t feed the whole screenshot)
Before you upload anything, crop tightly around the text region.
Why it matters:
The model has fewer distractions (icons, photos, gradients).
You effectively increase the “pixels per character,” which improves reconstruction.
Done when: the text area fills most of the image.
Step 2: Deblur the text (keep edges clean, avoid halos)
Open the Artedge AI Text Deblurring page and upload your cropped image.
Artedge AI Text Deblurring is built for exactly this use case: it reconstructs character edges, suppresses compression artifacts around letters, and is designed to avoid common sharpening problems like halos and distortions.
Note: It’s designed to improve clarity without changing the meaning of the text—so if the source image is too damaged to read, the right fix is usually a better capture (zoom + reshoot), not stronger processing.
Done when: the output looks readable at normal viewing size and still looks natural when you zoom in.
Step 3: Verify at 100% zoom (this prevents “fake clarity”)
Don’t trust the thumbnail.
Zoom to 100% and check:
Letter edges: are they crisp without bright outlines (halos)?
Similar characters: did “O” become “0”, “I” become “1”, “S” become “5”?
Background noise: does the area around text look clean instead of crunchy?
Key Takeaway: A good deblur improves readability without changing the meaning of what’s written. If the enhancement starts “redrawing” characters, dial it back by improving the input (crop/zoom) and re-run.
Step 4: Save the clean version (and keep the original)
Download the result and keep the original file too.
That way you can:
compare quickly if anything looks off,
run OCR later if you need selectable text,
reprocess with different prep if you capture a better source.
How to get better results (especially for tiny text)
Most “deblur text didn’t work” complaints are really input problems. Fix these and you usually get a bigger jump than switching tools.
Zoom before you screenshot
If the screenshot is from:
a web page,
a PDF,
a course platform,
…zoom in until the text is comfortably readable before you capture. More pixels per character = better deblur.
Avoid double-compression
Blurry text often gets worse when it’s:
sent through chat apps,
saved multiple times as JPEG,
reposted or screenshotted again.
If possible, work from the earliest version you have.
Clean noise before deblurring (when letters look “grainy”)
If your text is surrounded by grain or blocky artifacts, deblurring alone can make it look harsh.
Run a quick cleanup first with a denoise step (Artedge provides a dedicated denoise image tool), then deblur the text.
If you’re trying to sharpen text in an image as a last step, keep it light—too much sharpening is what creates halos around letters.
Upscale after deblurring when characters are still too small
Upscaling won’t magically fix blur—but it can make a readable result easier to view and share.
If the deblurred text is correct but still small, upscale the final image using the Artedge image upscaler.
Deblur vs sharpen: why sharpening alone often fails for text
Sharpening increases edge contrast. That can make soft text look clearer—but it doesn’t reliably restore real blur. Push it too far and you’ll get:
bright halos around letters,
jagged strokes,
“crispy” noise that hurts readability.
Deblurring aims to reverse motion/defocus patterns first, then you can apply very light sharpening if needed.
If you want the deeper breakdown, Artedge has a practical guide on deblur vs sharpen: which fixes soft photos?.
Receipts and documents: make them OCR-ready (not just readable)
Even if you came here for screenshots, the same workflow applies to:
receipts,
invoices,
scanned notes,
printed documents.
Two quick notes:
Deblur improves visual clarity. It helps humans read what’s there.
OCR makes text selectable. It helps you copy/search/edit.
They’re complementary.
If you’re working with PDFs, Smallpdf’s guide explains the difference between improving visual readability and adding searchable text via OCR: Improving text quality in PDFs (Smallpdf).
Troubleshooting: why your deblurred text still looks wrong
Problem: halos or glowing outlines around letters
Cause: aggressive sharpening-style enhancement.
Fix: start from a tighter crop; clean noise first; avoid repeated JPEG saves.
Problem: the text is still unreadable
Cause: the characters are too small or too smeared.
Fix: zoom in and recapture if possible. If not, upscale the best version you can get and try again.
Problem: blocky JPEG artifacts around letters
Cause: heavy compression.
Fix: find the earliest image version; denoise first; then deblur.
Problem: it looks “sharp” but letters are incorrect
Cause: the enhancement is over-interpreting low-signal strokes.
Fix: re-run with a better crop/zoom; verify key characters (0/O, 1/I, 5/S).
Problem: you only need to copy the text (not keep the image)
Fix: deblur first to improve character clarity, then run OCR to extract selectable text.
FAQ
Can you unblur text in an image if it’s completely unreadable?
Not reliably. If the original has no recognizable character shapes, there isn’t enough information to reconstruct the text accurately. Your best move is to recapture at higher zoom/resolution.
What file types does Artedge AI Text Deblurring support?
The /deblur-text/ tool supports common formats like JPG/JPEG, PNG, WebP (up to 50MB), and BMP (up to 30MB). See the latest details on the Artedge AI Text Deblurring tool page.
Is “unblur text image” the same as OCR?
No. Unblurring improves visual readability. OCR extracts the text as selectable characters. Often the best workflow is: deblur first (so characters are clean), then OCR.
Should I use a general deblur tool instead of a text-focused one?
If the entire image is soft (not just the text), a general deblur workflow can help—try Artedge’s remove blur from image tool. If your main problem is unreadable letters, the text-focused tool is the faster starting point.
Next step: deblur your screenshot now
If you have a blurry screenshot open right now, don’t overthink it. Crop to the text and run a quick test.
Start here: Artedge AI Text Deblurring — upload your image and check the result at 100% zoom.
If you want the general tool for non-text blur, use remove blur from image instead.

Dr. Leo K. Anderson
Dr. Leo K. Anderson writes about AI photo enhancement, image upscaling, video quality improvement, and photo restoration. He focuses on practical, test-driven guides that help creators, e-commerce teams, and everyday users get clearer, more usable visual results with less effort.
Ready to Enhance Your Photos & Videos?
Improve clarity, restore old images, and upscale to 4K with natural, artifact-free detail — in seconds.
Start Creating