Batch HD Photo Converter for Ecommerce Catalogs and Team Workflows (A Practical Bulk Photo Enhancer Playbook)
A practical workflow to batch-convert product images to HD-ready quality with QA checks for natural, consistent catalog results.
Ecommerce teams don’t lose time because they can’t make an image sharper. They lose time because they can’t do it consistently across hundreds of SKUs—without breaking marketplace rules, introducing weird textures, or creating a new QA bottleneck.
If you’re searching for a bulk photo enhancer to clean up a catalog before a launch, what you usually need is more specific: a batch HD photo converter workflow that your team can run the same way every week.
This guide walks through a realistic, team-ready process (no made-up numbers) for upgrading product images to HD-ready quality—plus the acceptance checks that keep results looking natural.
Key Takeaway: “Batch” only helps if you standardize settings and add a lightweight QA gate. Otherwise, you just create faster inconsistency.
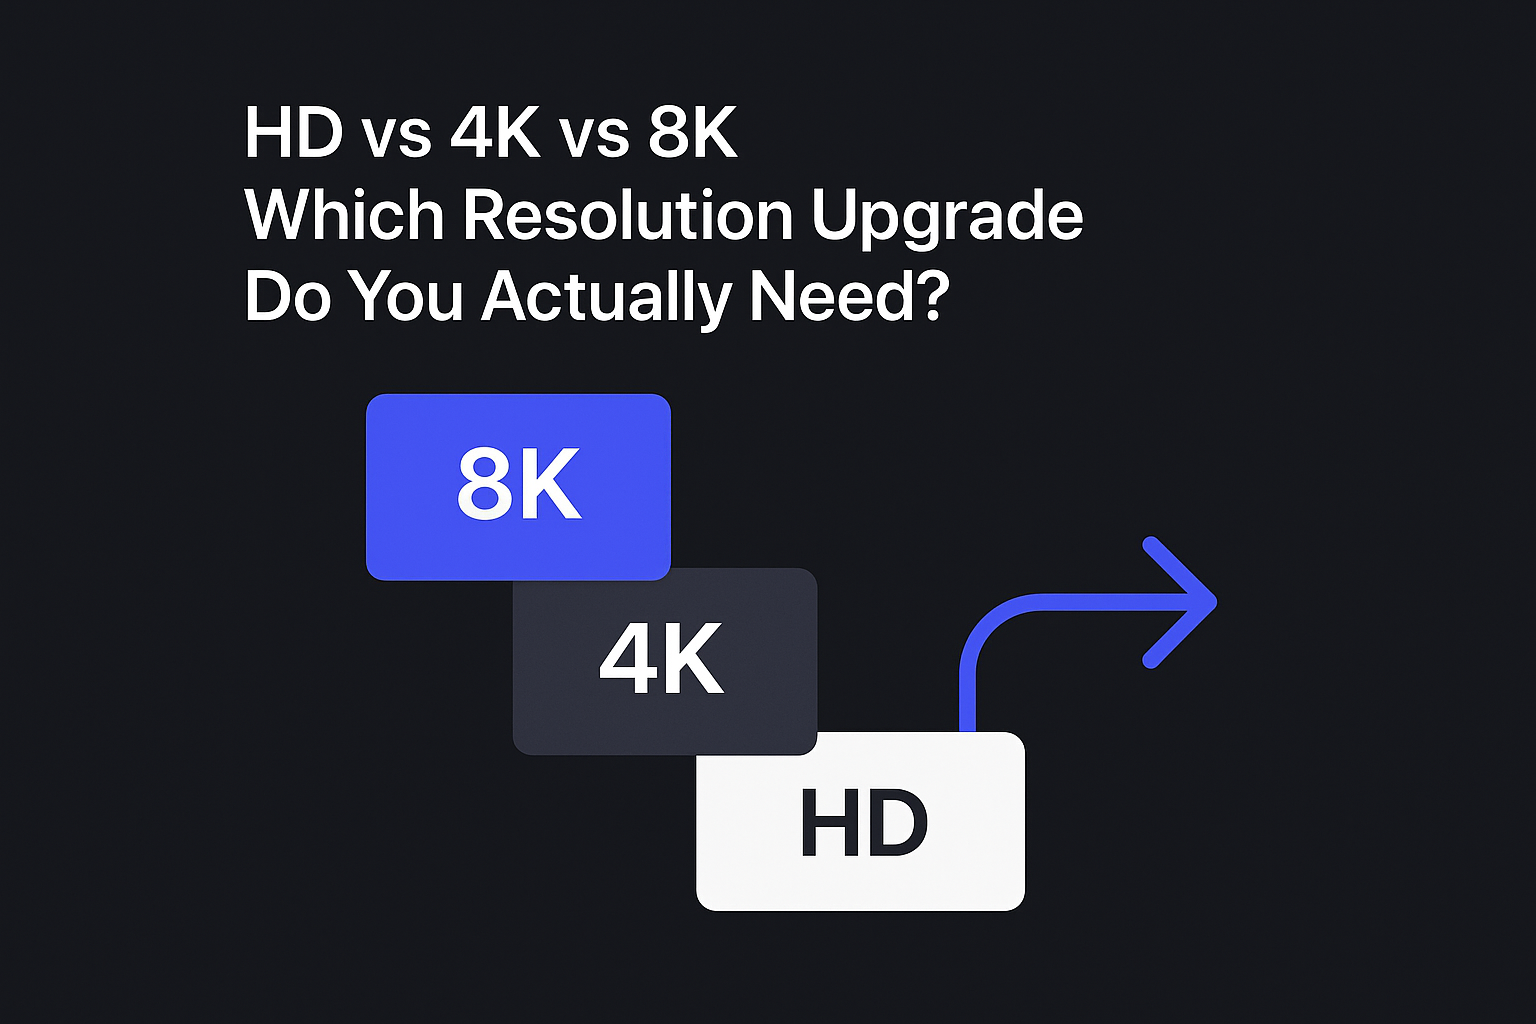
What “HD-ready” means for an ecommerce catalog (resolution, zoom, and consistency)
“HD-ready” is less about hitting a magical resolution and more about meeting zoom + consistency + compliance expectations.
Here’s the practical definition most catalog teams use:
Zoom holds up at 100%: buyers can zoom into stitching, texture, labels, and edges without seeing jagged artifacts.
The catalog looks uniform: similar products have similar framing, scale, and sharpness so the grid doesn’t look messy.
You don’t trigger marketplace rejection or suppression: technical rules (background, file type, minimum dimensions) are satisfied.
For example, Amazon enables zoom once images meet certain size thresholds and has strict rules for main-image backgrounds and overlays. A quick place to review those constraints is Photoroom’s breakdown of Amazon product image requirements (zoom thresholds and white-background rules).
Across channels, many teams aim for “large enough for crisp zoom” and then optimize file size for performance. Squareshot’s ecommerce image size best practices for zoom and channel consistency summarizes the usual targets across Shopify, marketplaces, and social commerce.
The real bottleneck: batch inconsistency (and the QA debt it creates)
Batch processing fails in predictable ways:
One setting doesn’t fit every SKU photo: mixed lighting, mixed camera sources, mixed compression levels.
Artifacts show up unevenly: a small percentage of images get halos, crunchy edges, or “too perfect” textures.
Teams skip QA to hit deadlines: then customer trust takes the hit when materials look fake.
This is why many ecommerce-focused tool discussions emphasize consistency and artifact control—not just raw upscaling power. Claid’s roundup notes common ecommerce upscaling pitfalls (consistency and artifacts) and why teams still need review gates even with AI.
The fix isn’t “more editing.” It’s a repeatable SOP with a clear acceptance checklist.
A realistic team SOP: batch HD conversion for catalogs (end-to-end)
The workflow below assumes you’re a content manager coordinating with a designer, a marketplace operator, or an agency—and you need a process that survives handoffs.
Step 1: Define the “done” spec before anyone touches the images
Write a one-page spec your team can reuse:
Target channels: Amazon / Shopify / Ads / Social
Required aspect ratio and cropping rules (e.g., consistent 1:1 for grids)
Minimum output dimensions for zoom-ready use
File format (JPG/PNG/WebP) and color profile expectations (usually sRGB)
Background rules (especially for marketplace main images)
This prevents the classic failure mode: “We enhanced everything… and then had to redo it for a different channel.”
Step 2: Sort inputs into two buckets (this keeps batch results stable)
Before you run any batch job, split images into:
Bucket A — minor upgrades: already decent photos, just need higher resolution / light cleanup.
Bucket B — problematic sources: heavy compression, motion blur, tiny originals, inconsistent lighting.
You can still process both buckets, but you’ll avoid judging the whole tool by your hardest 10%.
Step 3: Run a controlled batch conversion (start with a small pilot)
For the first pass, pick a representative set:
a few hero images
a few detail shots (labels, seams, texture)
a few “hard cases” (low-res, noisy, compressed)
Then run your batch conversion using one preset so you can evaluate consistency.
If you’re evaluating Artedge AI specifically, this is where a product-positioned tool matters: Artedge AI’s Batch HD Photo Converter supports batch conversion (up to 50 images per batch), common ecommerce formats (JPG/PNG/WebP), and export options like 2×/4×/custom resolution.
Keep the goal simple: “Does this get us to a catalog-ready baseline without introducing distrust?”
Step 4: Add a 10-minute “zoom QA” gate (the acceptance checklist)
This is the step that keeps AI from quietly damaging your listings.
Have one owner review a sample from each batch at 100% zoom, looking for:
Edges: halos around product boundaries, jagged cut lines, oversharpened outlines
Textures: fabric/weave looks natural (not plastic), wood grain isn’t “invented,” leather isn’t waxy
Small text & labels: doesn’t turn into mush or fake glyphs
Color stability: no weird shifts (especially whites, skin tones, brand colors)
Specular highlights: metal and glossy surfaces don’t get crunchy or sparkly
If you want a simple rule: reject anything that makes a buyer feel “this looks edited.” Product authenticity beats “extra detail.”
Pro Tip: Save 5–10 “gold standard” SKUs as your internal reference set. Every new workflow change should be tested against them.
Step 5: Decide what gets manual retouch (and what doesn’t)
A batch HD photo converter is ideal for:
upgrading legacy resolution for zoom
reducing light noise / compression damage
normalizing baseline clarity
Manual retouch (or Photoshop) is still the right choice for:
complex composites
precise product cutouts that must be perfect
brand-critical color correction where absolute accuracy is required
This isn’t a weakness—it’s a realistic division of labor that protects your catalog.
Step 6: Publish with versioning (so you don’t lose track)
After QA approval:
store originals and outputs in a consistent folder/version structure
keep a short change log (what was processed, what settings/preset)
publish per-channel variants (marketplace vs site vs ads) intentionally
This is what makes the workflow “team-friendly” instead of a one-off batch job.
How to evaluate a bulk photo enhancer (without drifting from HD conversion)
When a vendor claims “bulk enhancement,” ask these questions:
Batch stability: Do results stay consistent across different SKUs?
Artifact control: Can you avoid fake texture and oversharpening?
Format + export fit: Are output formats and dimensions aligned with your channels?
QA friendliness: Can you review and approve without friction?
Time-to-baseline: Can a non-designer run it reliably?
If the answer is “yes” to 1–3, you’re usually 80% of the way to a workable SOP.
Objections you should address internally (before rollout)
“What if AI makes the product look fake?”
That’s a real risk. Your defense is the zoom QA checklist and a conservative setting/preset. If in doubt, prefer natural texture over maximum sharpness.
“What about privacy and customer data?”
If you handle sensitive assets (unreleased products, regulated categories), define who is allowed to upload files and where outputs are stored. Keep a simple policy: what’s acceptable for cloud tools vs what must be handled locally.
“Will this work across the whole catalog?”
Assume you’ll need at least two buckets (clean vs problematic). If a tool only looks good on easy images, it’s not ready for catalog-wide use.
Next steps: run a pilot that proves the workflow (not a single image)
If you want to test whether a batch HD photo converter is a fit, don’t start with one “hero” image. Start with a mini-batch that represents your real catalog: hero, detail, texture, and a few ugly legacy files.
When you’re ready, you can start a free trial with Artedge AI’s HD Photo Converter and validate the workflow end-to-end: batch → QA → publish.
FAQ
What’s the difference between a batch HD photo converter and a bulk photo enhancer?
In practice, a batch HD photo converter focuses on getting images to HD-ready outputs (resolution, clarity, export formats) in a repeatable workflow. “Bulk photo enhancer” is a broader term that can also include creative edits. For ecommerce catalogs, the converter framing keeps you aligned to compliance and consistency.
How many images should we test in a pilot?
Enough to represent your catalog variety. Include both hero shots and detail images, plus a handful of low-quality legacy assets. The goal is to see stability across different sources.
How do we avoid halos and over-sharpening?
Use conservative settings/presets and enforce a zoom QA gate. If edges start glowing or textures look painted, dial back and accept a slightly softer (but more authentic) result.
When is Photoshop still the right tool?
When you need precise manual control: complex composites, exact cutouts, or brand-critical color work. Batch tools are best for baseline upgrades and consistency at scale.
What file formats matter most for catalog workflows?
Most teams rely on JPG for size/compatibility, PNG when needed (e.g., transparency), and modern formats like WebP where supported. Pick formats based on your channels and keep them consistent.

Dr. Leo K. Anderson
Dr. Leo K. Anderson writes about AI photo enhancement, image upscaling, video quality improvement, and photo restoration. He focuses on practical, test-driven guides that help creators, e-commerce teams, and everyday users get clearer, more usable visual results with less effort.
Ready to Enhance Your Photos & Videos?
Improve clarity, restore old images, and upscale to 4K with natural, artifact-free detail — in seconds.
Start Creating