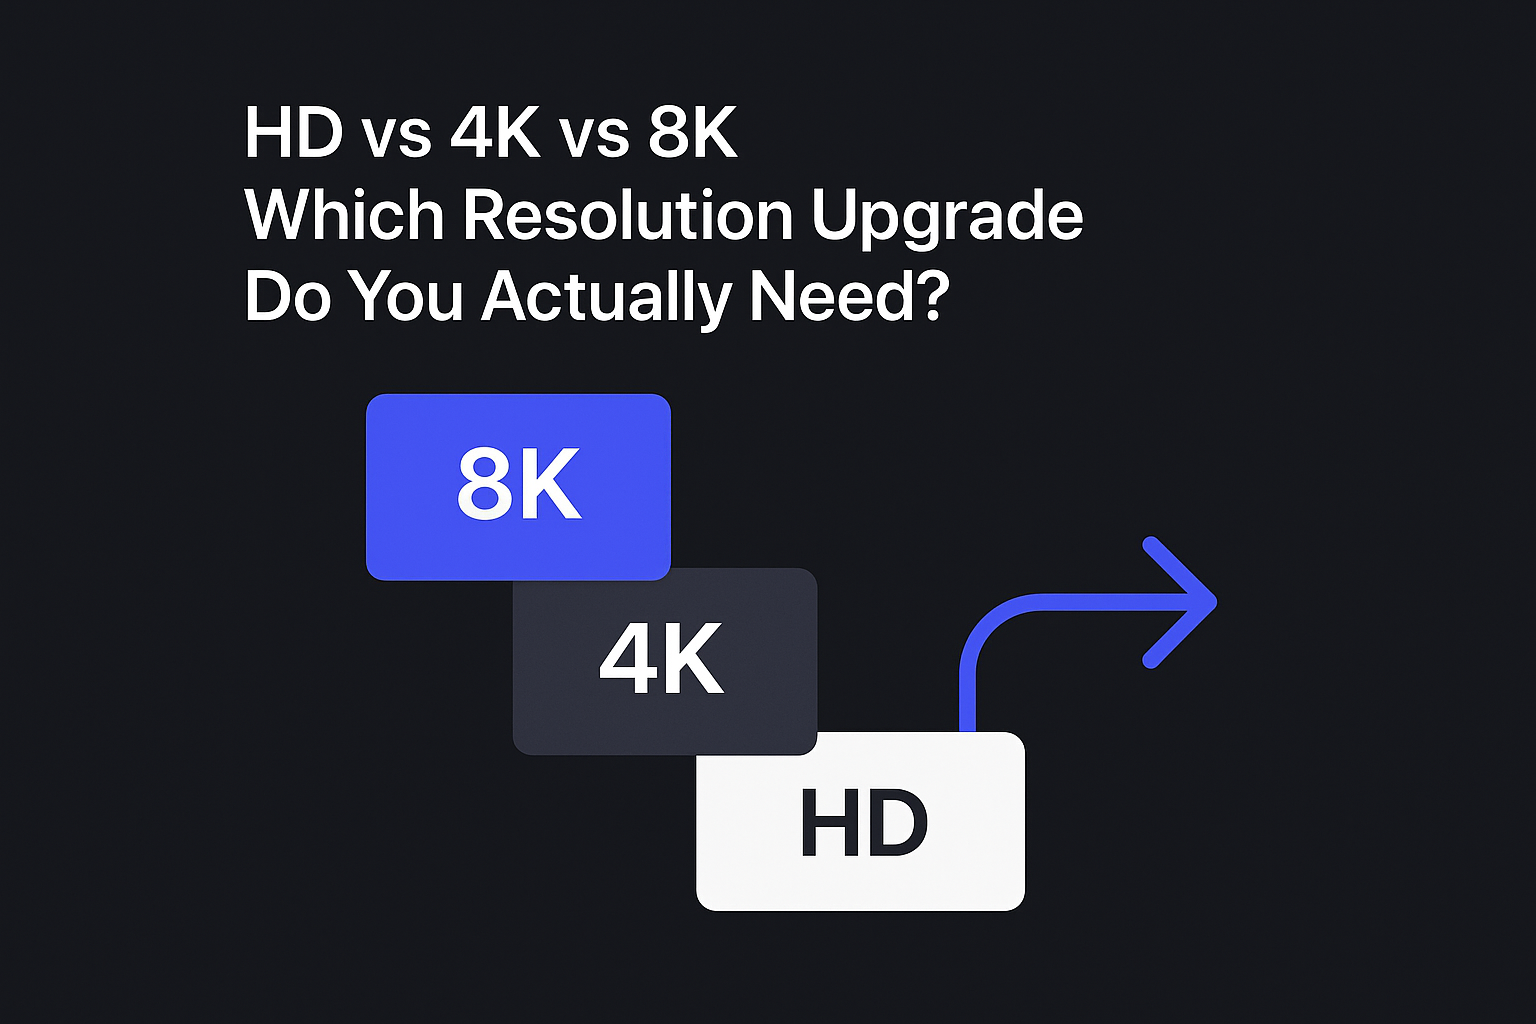
PNG Upscaler: Keep Logos, UI, and Transparent Assets Clean
Upscale PNG UI screenshots and transparent assets without halos. Step-by-step workflow, checks, and fixes for clean edges and readable text.
Key takeaways
If you can re-export from Figma/Sketch (or you still have the original SVG), do that first. Upscaling is for when the source is gone.
For UI work, “good” isn’t just more pixels—it’s readable text, clean icon edges, and no halos on transparency.
Upscale in smaller jumps (often 2× first), then inspect at 100% and test on light + dark backgrounds.
The most common transparent-PNG failure mode is edge fringing/halo—fixable, but easier to prevent with a clean export and careful review.
A 60-second diagnosis: should you re-export or upscale?
Before you run any png upscaler, ask these questions to upscale PNG without losing quality:
Do you still have the source file?
Yes (Figma/Sketch/Illustrator) → re-export at the size you need (or export SVG).
No → proceed with upscaling.
Is this asset supposed to be scalable forever (icons, logos)?
Yes → try to recover an SVG or vector version first.
No (it’s a screenshot, UI mock, or baked raster) → upscaling is appropriate.
Is transparency required? (overlay icons, stickers, UI components)
Yes → your workflow must preserve the alpha channel and avoid edge halos.
Pro Tip: If your goal is “make UI text readable,” don’t chase extreme scaling. A modest upscale plus a clean export often beats an aggressive 4× that introduces artifacts.
PNG upscaler workflow for UI screenshots (step-by-step)
This walkthrough assumes you’re starting from a PNG screenshot, icon set, or transparent UI asset you can’t conveniently re-export.
If your goal is to upscale UI screenshot assets for specs, QA tickets, or stakeholder decks, the checks below will save you from the most common “looks HD but feels wrong” failures.
Step 1: Prep the PNG (30 seconds)
Input: your original PNG
If it’s a UI screenshot, crop out irrelevant margins so the model focuses on the UI.
If it’s a transparent icon/logo, make sure it’s truly transparent (not a checkerboard baked into the pixels).
If the asset is extremely tiny (e.g., 16×16), consider finding a larger source first—AI can’t reliably reconstruct missing shapes from almost no signal.
Done when: you have the cleanest, smallest-necessary PNG that still contains all required elements.
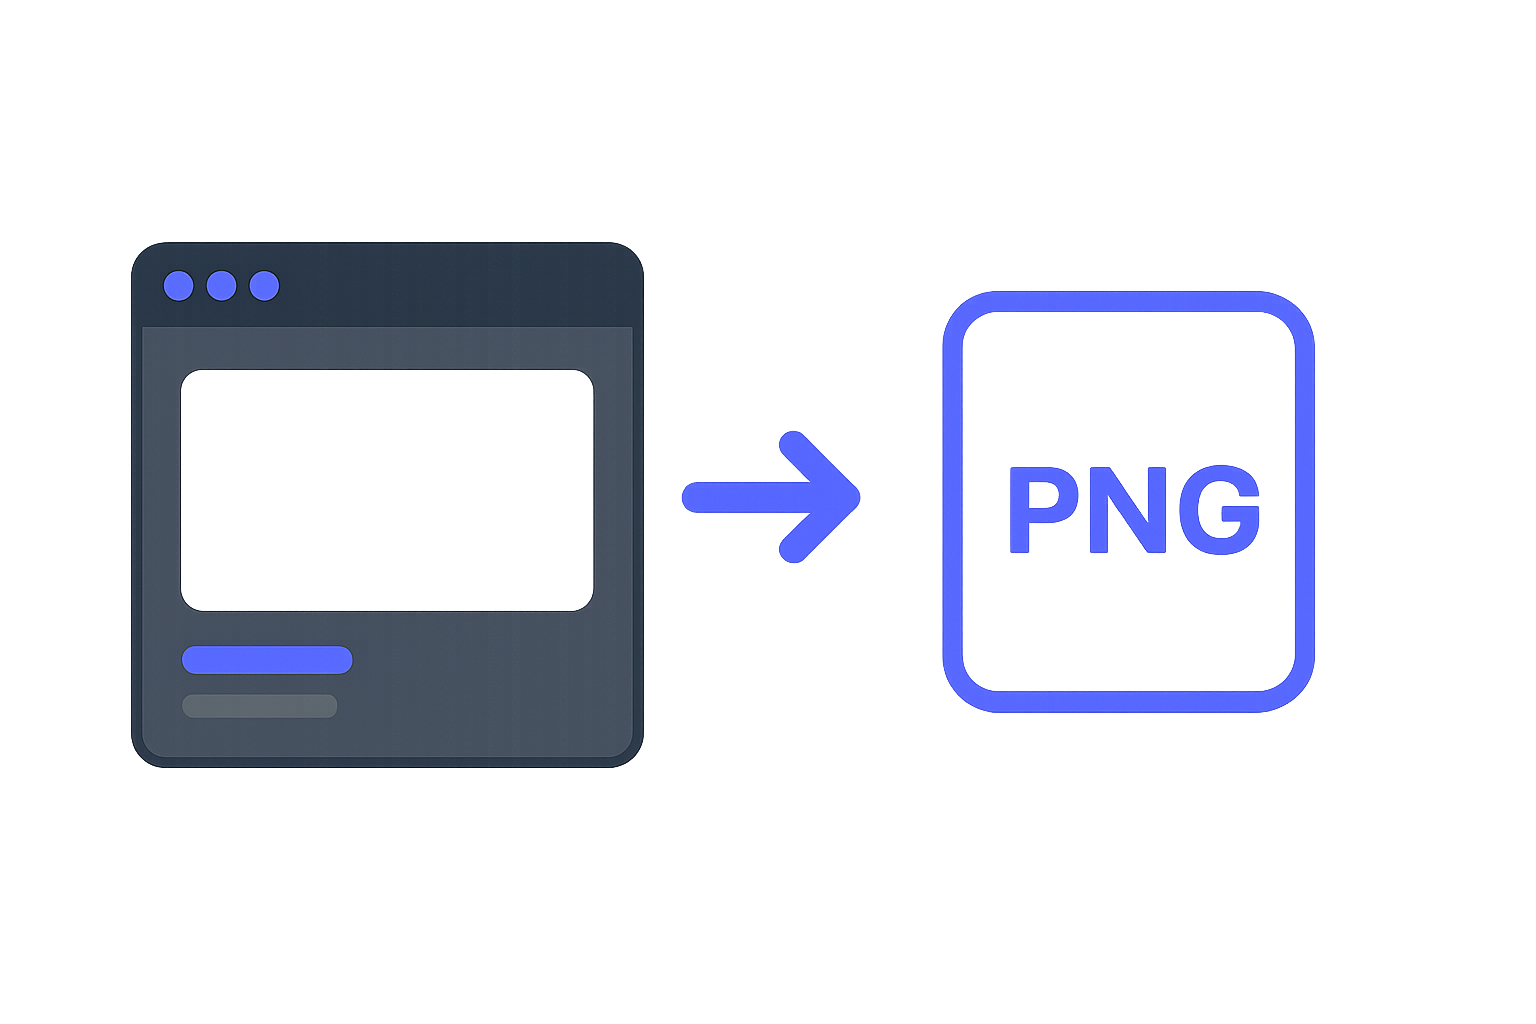
Step 2: Upscale with a PNG-first workflow
Action: open Artedge AI PNG Upscaler and upload your PNG.
Choose a conservative upscale first (often 2×) when your asset contains:
UI text
thin icon strokes
sharp corners (chevrons, carets, arrows)
Why: UI assets are unforgiving. Over-processing shows up as crunchy edges, fake texture, or weird halos.
Done when: you’ve generated the first upscaled result and downloaded it.
Step 3: Verify the result like a UI designer (not like a photographer)
Open the output in your design tool (or any viewer that supports transparency) and check:
Text readability
Look at small labels (12–14px equivalents), table text, and numbers.
If strokes look “melted,” you may be pushing too far.
Icon edges and corners
Zoom to 200–400%.
Look for stairsteps (jaggies) or rounded corners that used to be sharp.
Transparency sanity check
Place the PNG on white, black, and a mid-tone color background.
Halos often only reveal themselves on one of these.
Done when: the asset passes the background test and looks correct at 100% and 200%.
Step 4: Only then decide if you need another upscale pass
If 2× isn’t enough:
try one more pass (or a higher factor), then repeat the verification checks.
If it already looks clean:
stop. More upscaling isn’t “more quality.” It’s more opportunity for artifacts.
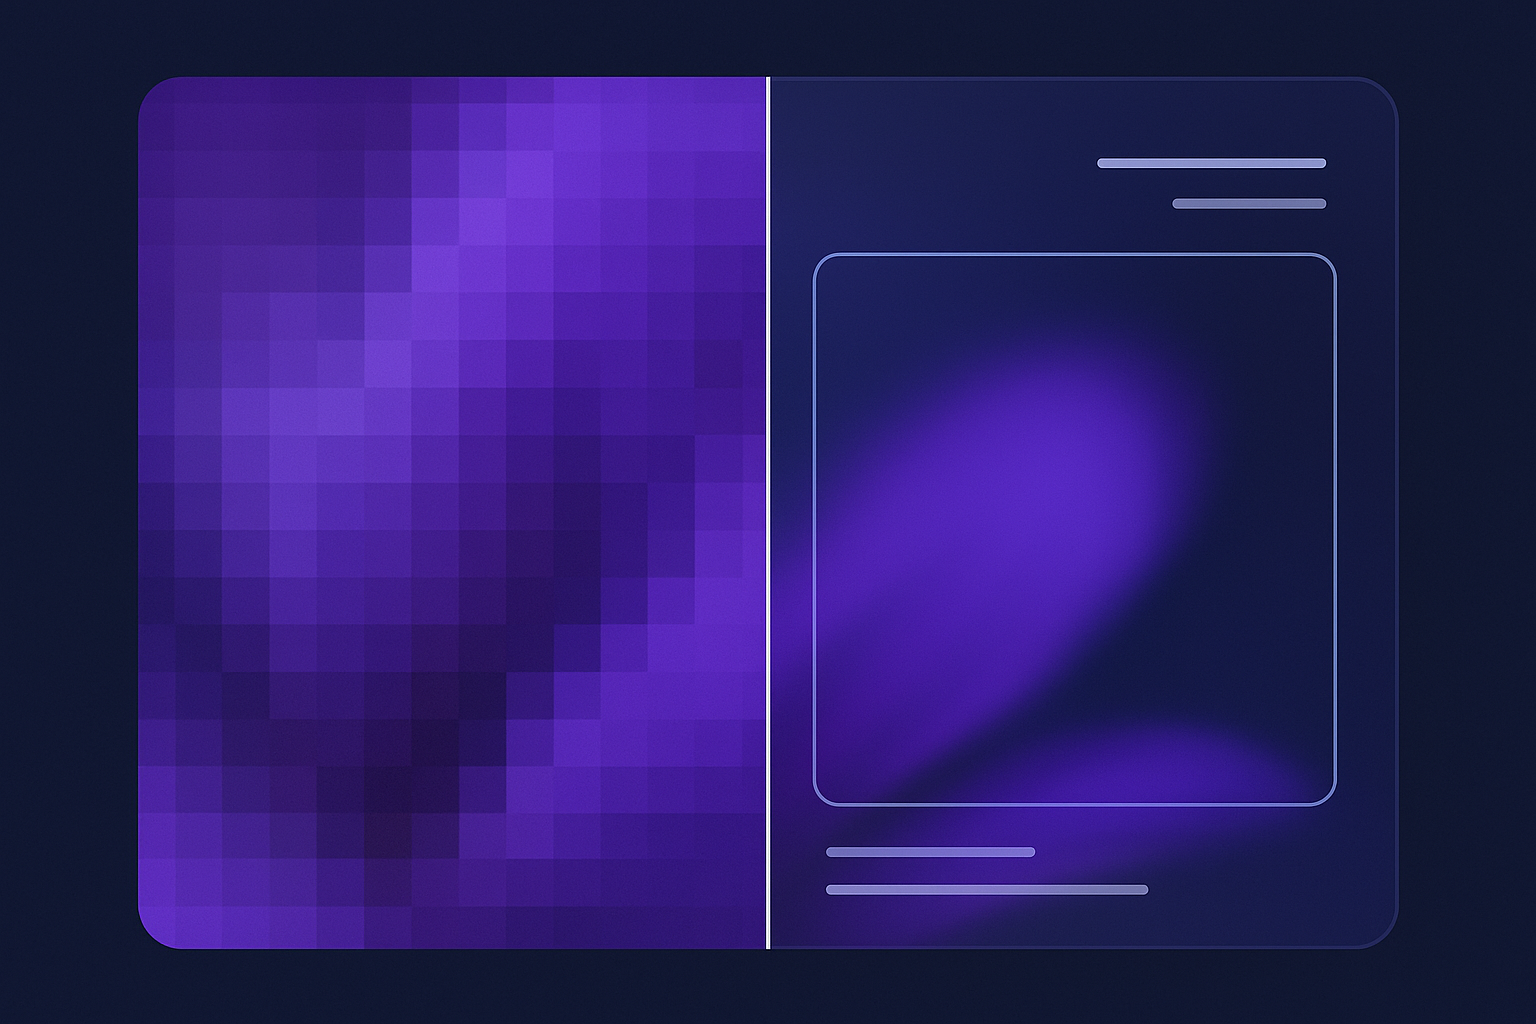
How to avoid the #1 transparent-PNG problem: halos and fringing
If you’ve ever upscaled a transparent PNG and seen a faint light/gray outline around the edges, that’s fringing (a halo). It’s usually caused by how the edge pixels blend into transparency (alpha).
A few practical ways to prevent it:
Always review on multiple backgrounds (white/black/color). This catches “png upscaler transparent background” failures fast.
Avoid exporting with a colored matte unless you know the final background color. Matted edges become visible halos on a different UI.
Keep edges clean before upscaling: if the original already has rough cutout edges, upscaling will amplify them.
If you need a manual cleanup reference, PhotoshopCAFE’s guide to halo removal and edge-fringe fixes in Photoshop is a practical overview of common techniques.
Troubleshooting: fix the issues UI designers actually hit
Problem 1: “My transparent PNG lost transparency”
This is a known failure mode in some upscaling workflows and tools. For example, users have reported cases where transparent PNGs export with a filled background during upscaling (see the Upscayl community thread on transparent PNG issues).
Try this:
Confirm the file you uploaded is a PNG with real transparency.
After download, test the output on a colored background in Figma.
If transparency is gone, try a different export route (or re-export the asset from the source file if possible).
Problem 2: “There’s a halo around the icon on dark mode”
This is the classic “fix halo around transparent png” scenario.
Try this:
Re-test on white/black/mid-tone backgrounds to see where it’s strongest.
If you’re in Photoshop, use a defringe/matting workflow (see the PhotoshopCAFE reference above).
If you can re-export, export without a background matte.
Problem 3: “UI text is bigger, but it’s still blurry”
Upscaling increases pixel count, but it can’t always recover crisp glyph structure—especially if the screenshot was heavily compressed.
Try this:
Upscale less aggressively (2×) and focus on a cleaner source.
If the screenshot came from a browser or a design handoff, re-capture at 2× device pixel ratio (Retina) if possible.
If the whole screenshot is soft, you may need a deblur/denoise step before or instead of upscaling.
Problem 4: “Edges look jagged or crunchy”
This usually happens when the model over-emphasizes contrast or tries to invent texture in flat UI shapes.
Try this:
Use a smaller scaling factor.
If your asset is truly a logo/icon, treat it as a graphic-design asset (not a photo). Let’s Enhance has a helpful overview on upscaling graphic design assets and why edge handling matters.
Problem 5: “Colors shifted slightly”
Color shifts can happen when the original is low quality or when compression artifacts confuse the model.
Try this:
Compare against the original in a side-by-side frame.
If brand colors matter, sample hex values before/after. If they drift, re-export from source.
Best practices for clean, repeatable PNG upscaling in a UI workflow
Use the smallest upscale that achieves the goal
For UI assets, “good enough” is often:
text readable in a spec
icons clean at 1× and 2× display scale
no transparency artifacts
Prefer edge-aware approaches
Upscaling UI graphics is mostly an edge problem. Many modern approaches focus on keeping boundaries sharp—often described as “edge-preserving” methods (see ImageUpsize’s explainer on edge-preserving interpolation).
You don’t need the math—just the implication: inspect edges first, not textures.
Build a “background test” component once
Create a simple frame in Figma with three rectangles:
white
near-black
saturated mid-tone (e.g., purple)
Drop every new transparent output onto all three before shipping it to a design system, dev handoff, or slide deck.
Key Takeaway: A png upscaler isn’t finished when the file downloads—it’s finished when it passes the background test and looks correct at 100%.
FAQ
What’s the difference between a PNG upscaler and a general image upscaler?
A PNG upscaler is typically used for PNG assets that include sharp edges, flat colors, text, and sometimes transparency (alpha). Those characteristics make UI screenshots, icons, and logos less forgiving than photos, so the workflow emphasizes edge cleanliness and transparency checks.
Can I upscale icons and logos instead of finding the original SVG?
Sometimes, yes—especially when the SVG is lost. But if you can recover the vector original, do it. Vector assets scale cleanly without the risk of halos or invented detail.
Why do halos show up around transparent PNGs?
Because the edge pixels between “fully opaque” and “fully transparent” can carry blended color information. When you place the asset on a different background (dark mode, brand color), that blended edge becomes visible.
Should I upscale 4× for UI screenshots?
Only if you’ve verified a smaller upscale doesn’t meet your need. For UI text, an aggressive upscale can create artifacts that are more distracting than the original blur.
Next steps
If you have a PNG UI screenshot or a transparent asset you need to clean up quickly, run it through Artedge AI PNG Upscaler and verify it with the background test:
Primary CTA: Try Artedge AI PNG Upscaler
Tags

Dr. Katherine L. Whitmore
Dr. Katherine L. Whitmore specializes in AI-powered image enhancement and e-commerce visual optimization. She writes practical, data-driven guides on improving product image clarity, meeting marketplace standards, and increasing conversions through high-quality visuals.
Ready to Enhance Your Photos & Videos?
Improve clarity, restore old images, and upscale to 4K with natural, artifact-free detail — in seconds.
Start Creating