Unblur Image Online: Fix Blurry Photos Without Over‑Sharpening
Complete guide to unblur image online—quick, free no‑signup fixes and artifact‑safe workflows to restore photos without halos or fake faces. Learn step‑by‑step tips and tools.
Blurry photo, tight deadline, no desktop software? Here’s how to unblur an image online fast—while keeping it natural. This pillar guide focuses on controllable deblurring that avoids the usual pitfalls: sharpening halos, ringing around edges, plastic skin, and “fake face” artifacts.
Key takeaways
You can unblur images online quickly, but push sharpening too far and halos or fake-looking faces appear. Start moderate, preview at 100%, and iterate.
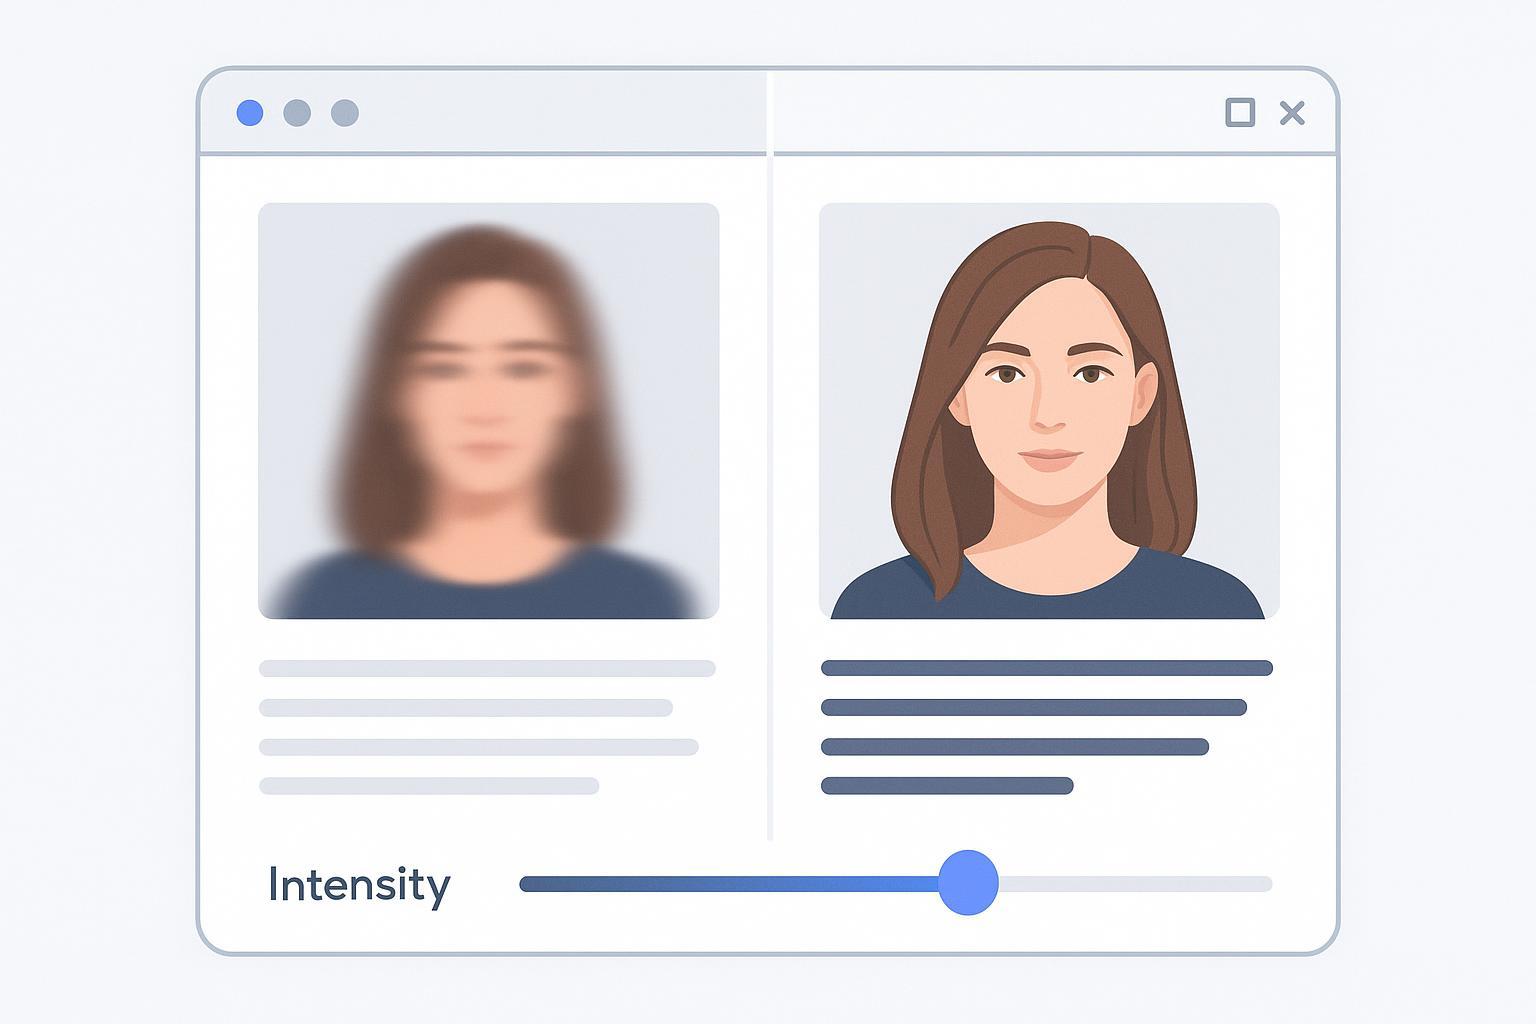
Prioritize controls that let you adjust intensity, combine denoise + deblur, and use face-aware moderation to preserve natural texture.
For the “free/no-watermark/no-signup” intent, verify each tool’s policy on its official page before relying on it; many tools change quotas or add marks over time.
Quick Fix: Unblur image online in under a minute
If you just need a fast result, use a browser-based tool and keep your adjustments conservative. Upload your image to a reputable online editor with a sharpen or deblur control, set strength to low or medium, and enable any reduce‑noise option. Then zoom to 100% and scan high‑contrast edges (eyelashes, product logos, text). If you see bright outlines or ripples, lower intensity. For faces, prefer portrait modes when available; avoid tools that replace features with overly smooth, generative textures. Export and review at the final display size. If it still feels soft, run one more light pass rather than one heavy pass.
Policy check note for the free/no-watermark/no-signup intent: before relying on a tool, open its pricing/help/FAQ page to confirm whether exports are watermark‑free and whether sign‑up is required. Tool policies shift frequently. As market context, see Canva’s public feature overview in its own words on unblurring photos in the browser in the page titled “Unblur your images” from Canva, which explains its approach and limitations: Canva – Unblur Image. Use context links like this to understand capabilities; do not infer watermark/signup status from third‑party blogs.
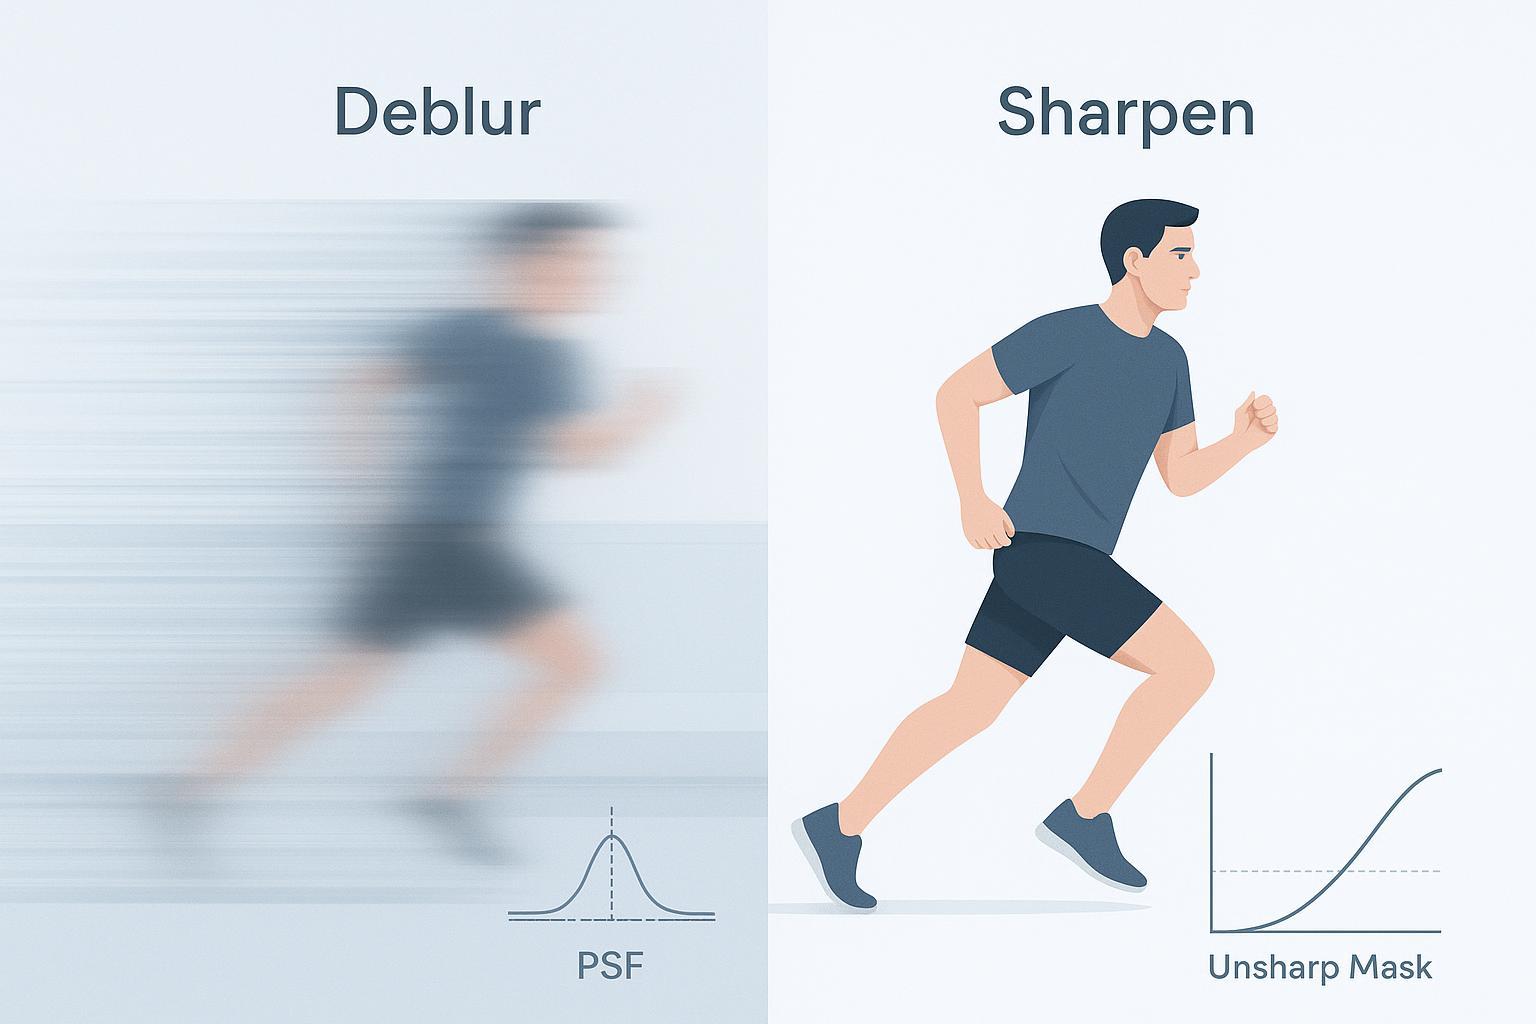
How blur happens—and why halos show up
Most photo blur lands in three buckets: motion blur (the camera or subject moved mid‑exposure, leaving directional streaks), defocus blur (the lens focused in front of or behind your subject, softening edges in all directions), and compression plus noise (small files and low light add speckle and blockiness that mimic blur). When you over‑sharpen, algorithms push edge contrast too far, creating bright and dark outlines known as halos or ringing. Skin can turn waxy as models try to “invent” detail. The fix is moderation plus noise‑aware sharpening so edges look crisp without glowing or rippling.
Which method should you try first?
Think of it like triage: for portraits where identity fidelity matters, choose a conservative, face‑aware deblur with mild denoise; for text screenshots or document snaps, prioritize edge‑preserving sharpening with noise control so letters remain OCR‑friendly; and for motion or soft focus, start with a general deblur and nudge strength slowly—directional deconvolution helps when available, but don’t expect miracles on severe streaks. If you’re uncertain, try a mild overall clarity pass first, then specialize. Two light passes usually beat one aggressive pass.
Artifact‑safe unblurring: keep results natural
Pair deblur with denoise, iterate in small steps, and use subject‑aware controls. Clean a bit of noise first so sharpening works on true edges, apply a low or medium strength and review at 100% before stacking another light pass, and enable portrait or text‑optimized modes when appropriate. Watch for halos (bright borders along dark edges), ringing (faint ripples near sharp lines), and over‑smoothing (plastic skin or identical pores). If any appear, back off strength, increase denoise slightly, or switch profiles.
Step‑by‑step workflows by blur type
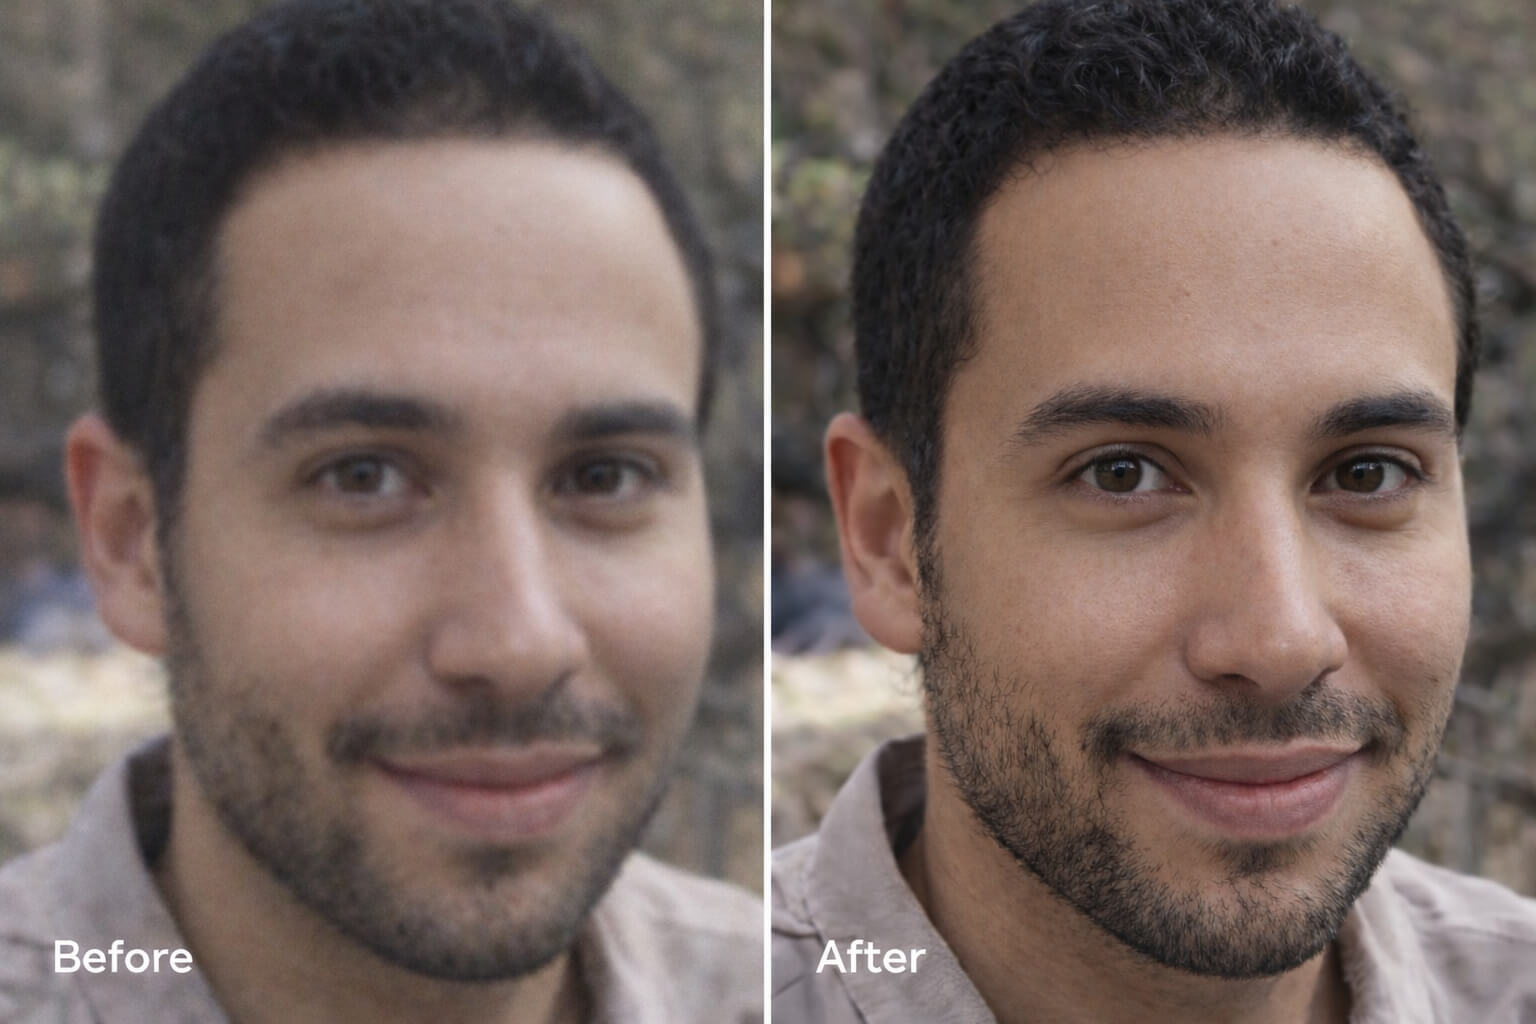
Portraits and faces
Recover clarity while preserving identity and natural skin texture. Begin with a gentle deblur paired with low‑to‑moderate denoise, then check eyelashes, hairline edges, and lips for halos. If your tool offers face‑aware modes, enable them but keep intensity restrained to avoid hallucinated features or heavy smoothing. Finish, if needed, with a tiny clarity bump—only after confirming no halos at 100% zoom.
Neutral micro‑example: For a quick online run, tools such as Artedge AI can be used to apply a conservative, portrait‑safe deblur. Upload, choose a portrait or deblur mode, keep intensity around the lower‑middle range, toggle any reduce‑noise option, and evaluate at 100%. If edges glow, step the slider down and re‑export. For hands‑on deblurring guidance, see the product page: AI Unblur Image.
Text and screenshots
Aim for readable letters without fringing—ideal for OCR or sharing. Apply edge‑preserving sharpening with noise control and zoom to 200–300% to inspect stems and serifs for light/dark outlines. If compression blocks are visible, lightly denoise before sharpening so letter edges don’t ring. Prefer subtle micro‑contrast over global sharpening and stop as soon as letters look clean and readable. For more details on sharpening safely, review: Sharpen Image Online.
Motion and defocus
Reduce streaking or uniform softness without inventing fake detail. Start with a general deblur; if your tool supports motion/deconvolution controls, align the blur direction if visible. Keep expectations realistic on long directional streaks—small improvements in micro‑contrast can still make an image usable. Combine with a touch of denoise to avoid ripples along high‑contrast edges. When motion or soft focus dominates, explore the dedicated walkthrough: Remove Blur from Image.
Old photos and mild damage
Revive clarity while respecting film grain and paper texture. Clean mild noise and stains first, then apply a conservative deblur—over‑sharpening can make grain look like sand. For faces in historical photos, keep identity fidelity paramount and avoid heavy generative face tools unless your aim is purely aesthetic. Finish with a gentle contrast curve to restore perceived sharpness without edge halos.
A mini comparison matrix you can use to pick a tool
Below is a compact checklist of criteria to evaluate when choosing any online unblur tool. Use it to compare options on their own official pages.
Criterion | Why it matters | How to check quickly |
|---|---|---|
Intensity control + preview at 100% | Prevents over‑sharpening and halos | Look for real‑time sliders and zoom tools |
“Reduce noise” or denoise pairing | Lowers halo/ringing risk | Confirm a noise option is present and adjustable |
Face‑aware/portrait mode | Preserves identity and skin texture | Toggle on/off and inspect eyelashes, pores |
Watermark/signup policy | Affects workflow speed and output usability | Read official pricing/FAQ/help pages |
Privacy handling | Impacts sensitive images | Check whether uploads are stored, retention time, deletion policy |
Export formats and limits | Determines quality and throughput | Verify max resolution, allowed file types, and quotas |
For a broad market context (non‑endorsement), practitioner roundups such as Pixelbin’s overview can help you discover options; always confirm details on the original tool sites: Pixelbin – Best AI tools for image deblurring.
Troubleshooting: common issues and quick fixes
Halos around edges often come from pushing sharpness too far—lower strength, enable or increase denoise slightly, and favor subject‑specific modes (portrait/text). Plastic skin or a “fake face” look points to aggressive face restoration; reduce or disable it and choose conservative settings that keep pores and fine hair believable. If you notice faint ripples near small text (ringing), apply light denoise before sharpening and back off global sharpness, favoring edge‑preserving or text‑optimized profiles. When the image still feels soft after a light pass, stack a second low‑intensity pass instead of cranking a single pass to maximum.
Privacy and file handling online
Treat cloud processing and retention as the default unless a tool clearly states otherwise. Before uploading sensitive images, skim the provider’s help or policy pages to see whether files are stored and for how long, how deletion works, whether samples may be used for training or marketing, and what watermarks or quotas apply to exports. If any of this is unclear, switch to a local editor or a service with transparent, documented policies.
FAQ
What does “unblur image online” actually do?
Online tools apply sharpening, deblurring, and sometimes denoising to increase edge contrast and restore detail perception. The best results come from moderate settings that avoid halos and over‑smoothing.
Can I unblur a severely motion‑blurred photo?
You can often improve clarity, but long directional streaks rarely recover “tack‑sharp” detail. Try a conservative deconvolution if available, then add a subtle clarity boost.
How do I avoid halos when sharpening?
Combine light sharpening with gentle denoise and always preview at 100%. Stop increasing strength the moment outlines appear around edges.
Is face restoration safe for identity fidelity?
Only if kept conservative. Strong generative face tools can alter identity. If fidelity matters, use portrait‑aware modes but avoid replacements or heavy smoothing.
What’s the best way to unblur text screenshots?
Light denoise followed by edge‑preserving sharpening. Zoom in to check stems/serifs for fringing. Stop as soon as letters look clean and readable.
Do free online tools add watermarks?
Policies vary and change. Check the tool’s official pricing/help/FAQ page for current watermark and signup rules before you commit.
Should I upscale before or after deblurring?
Usually deblur first, then upscale if needed. Upscaling soft, noisy input can magnify artifacts.
Why do results look different on my phone vs. laptop?
Mobile viewers downscale images and apply their own rendering. Judge artifacts at 100% zoom on a calibrated display when possible.
Can I batch‑process a folder of blurry photos?
Some tools support batch or APIs. Verify quotas and watermarks beforehand, and test a few samples to confirm artifact safety.
What file type should I export?
Use PNG or high‑quality JPG for photos, and PNG for text/screens when crisp edges matter. Avoid heavy recompression.
Next steps
Hands‑on deblurring workflow: start here with the online tool overview: AI Unblur Image
For motion or out‑of‑focus photos, see: Remove Blur from Image
Need subtle sharpening while staying halo‑free? Review: Sharpen Image Online
If you manage visual assets often, bookmark this guide and your preferred tool’s help page so you can quickly verify policy changes before your next “unblur image” task.

Dr. Katherine L. Whitmore
Dr. Katherine L. Whitmore specializes in AI-powered image enhancement and e-commerce visual optimization. She writes practical, data-driven guides on improving product image clarity, meeting marketplace standards, and increasing conversions through high-quality visuals.
Ready to Enhance Your Photos & Videos?
Improve clarity, restore old images, and upscale to 4K with natural, artifact-free detail — in seconds.
Start Creating