How to Enhance Photo Quality Online (Denoise + Sharpen) in 60 Seconds
Learn a zero-learning-curve, 60-second online workflow to denoise and sharpen product photos for Amazon/Shopify—natural results and export-ready.
Need a cleaner, crisper product image fast? Here’s a zero‑learning‑curve, sub‑60‑second online workflow to remove noise, add gentle sharpness, and export for Amazon or Shopify—without plastic skin, halos, or other artifacts. Time: ~60s per image (network and image size may vary). Difficulty: Beginner.
Key takeaways
A true 60‑second flow: Upload → Auto denoise → Gentle sharpen → 100% preview → Export for Amazon/Shopify.
Keep it natural: Prefer conservative strengths, edge‑aware sharpening, and a 100% zoom check to avoid waxy smoothing and halos.
Ship with confidence: Export at 1600–2048 px in sRGB as JPEG/WebP; meet Amazon/Shopify zoom and clarity expectations.
The 60‑Second Workflow to Enhance Photo Quality Online
Upload your photo to a web enhancer that supports denoise and sharpen.
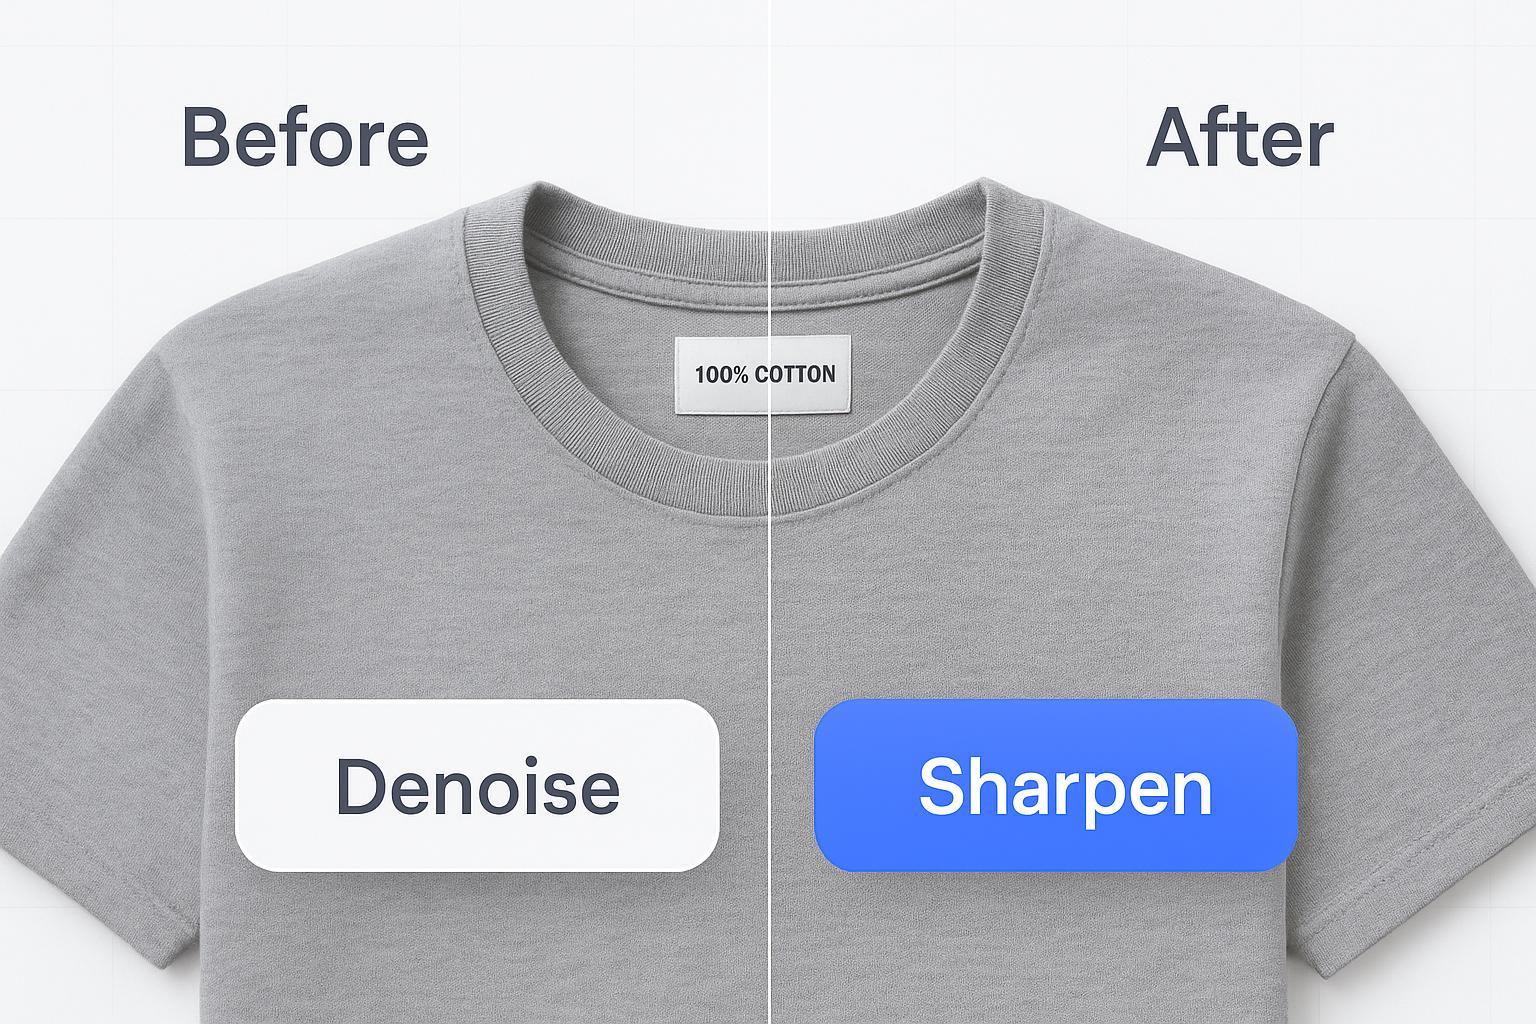
Run auto denoise to clean grain/compression noise.
Apply gentle, edge‑aware sharpen (or a combined preset) to restore crisp contours.
Preview at 100% on edges, textures, and label text. If it looks natural, proceed.
Export as JPEG/WebP in sRGB at 1600–2048 px (square for Shopify if needed) and keep file size lean.
Tip: For a simple pass, you can use a tool like Artedge AI to upload, preview, and download in one tab—keep settings conservative and always inspect at 100%.
Step‑by‑Step With Guardrails
Upload with safe defaults
Back up your original, then upload a copy. Plan to export in sRGB for consistent web color. Keep the browser tab open so you can repeat the same settings quickly across images.
Denoise first: start clean
Noise reduces perceived sharpness. Clean it first so you don’t sharpen the noise. Begin with a low or “standard” denoise strength, and increase only until grain and compression blocks reduce without smudging textures. If you prefer a dedicated path, try a focused tool for this step—see how to denoise image online.
Why first? Community workflows often favor denoise before sharpen to avoid amplifying noise. See practical discussions from Lightroom and DxO communities summarizing this sequence in 2024–2026.
Then apply gentle, edge‑aware sharpen
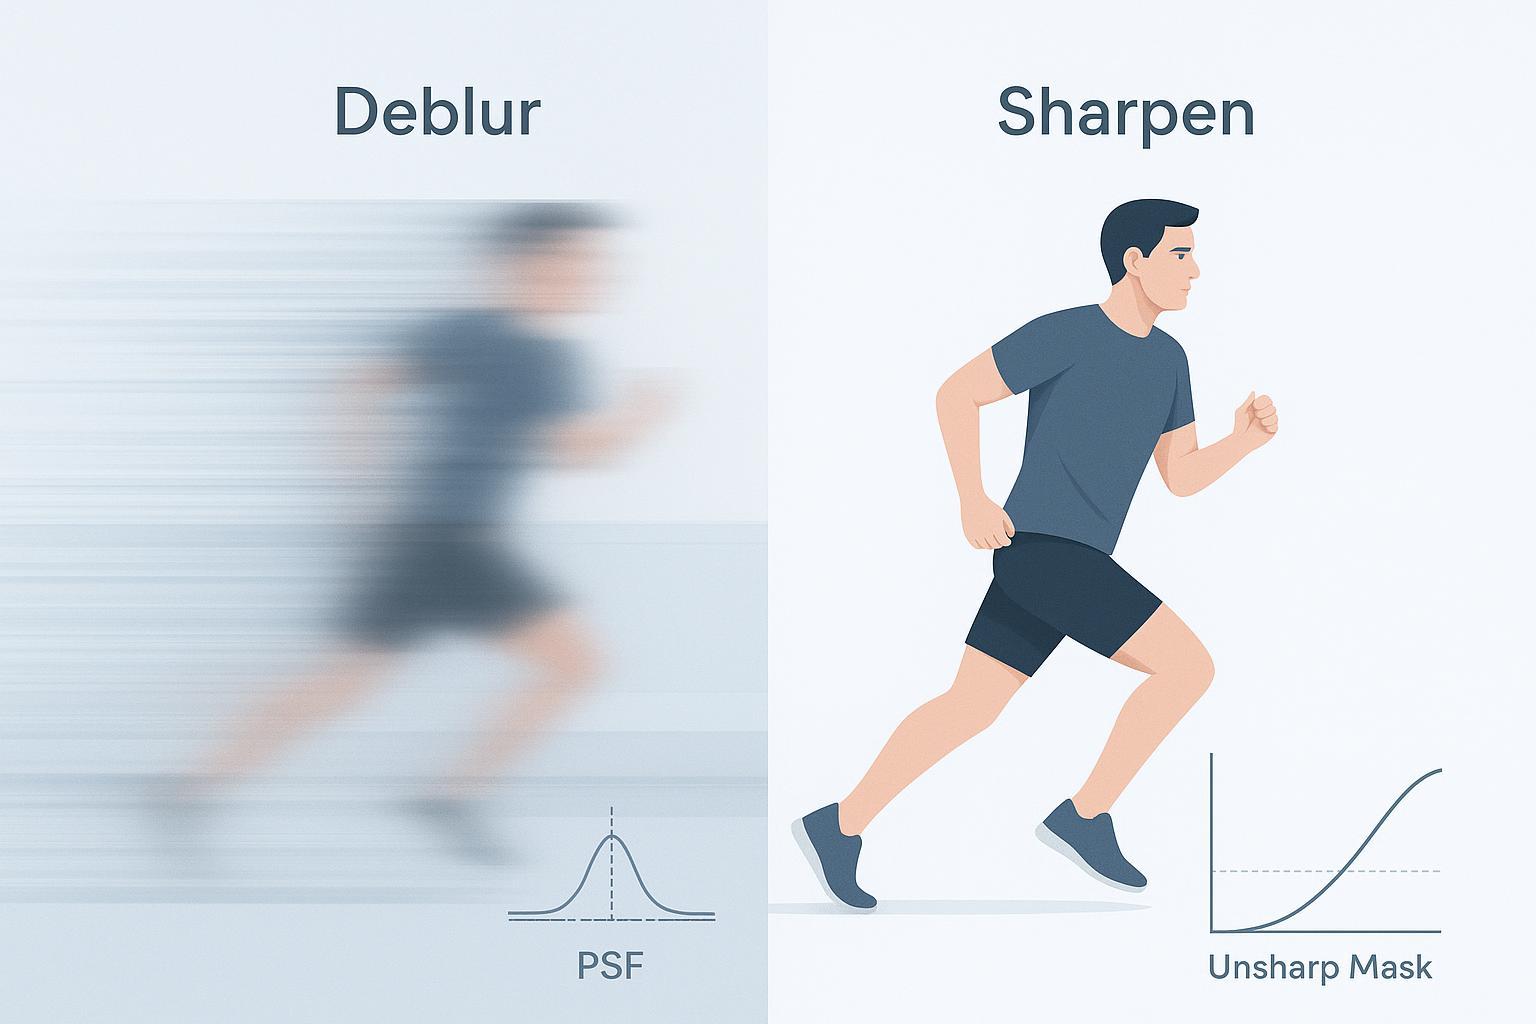
Use edge‑aware or deconvolution‑style sharpening with a small radius. The goal: crisper edges without halos or ringing. Keep amounts modest; if text edges start to glow, back off. If you’re exploring a dedicated sharpening step, here’s where to sharpen photo online.
Preview at 100%
Zoom to 100% and inspect three zones: product contours and metallic lines (look for halos/ringing); fabric or textured materials (preserve micro‑texture; avoid waxiness); small labels or barcode text (improve legibility without jagged edges). If anything looks artificial, reduce denoise strength or sharpening radius/amount and re‑preview.
Export for Amazon or Shopify
Amazon: Prefer images ≥1000 px per side for zoom (many sellers choose 1600 × 1600 or larger); keep the main image on a pure white background. According to Amazon’s public guidance, images must be within 500–10,000 px on the longest side. See Amazon’s summary in the product photos guidance (public page, 2026).
Shopify: The official guidance recommends 2048 × 2048 px for product photos (1:1), supports up to 5000 × 5000 px, and typically enables zoom above 800 × 800 px. See Shopify’s image sizes overview (2026 update).
Formats and color: Export JPEG or WebP in sRGB. WebP often yields smaller files at similar quality.
Keep the final file size lean (often ~300–500 KB if quality allows) to speed page loads while retaining crisp zoom.
Quick Settings and Decisions
Think of this like a fast decision tree you can run in your head while previewing at 100%:
Slightly soft, low noise: Apply light edge‑aware sharpen first, then a touch of denoise if needed (backgrounds only). Keep radius small; stop at the first “crisp enough.”
Normal noise, average softness (most cases): Denoise first (low–moderate), then gentle sharpen. If halos appear, lower sharpen radius/amount.
Very noisy or high‑ISO/compressed: Use stronger denoise first, then add minimal sharpening to re‑introduce edge clarity. If textures look plasticky, roll denoise back one notch.
Conservative starting points (adjust by eye at 100%):
Denoise: “Low/Standard” strength; raise until noise recedes but fabric texture still reads.
Sharpen: Small radius with modest amount; avoid glowing edges or stair‑stepping on tiny text.
Troubleshooting: Artifact → Cause → Quick Fix
Symptom | Likely cause | Quick fix |
|---|---|---|
Waxy/plastic look on textures | Over‑aggressive denoise | Lower denoise strength; increase threshold; denoise selectively on backgrounds; reintroduce light edge‑aware sharpening. |
Halo or ringing around edges | Sharpen radius/amount too high | Reduce radius and amount; prefer edge‑aware or masked sharpening; always evaluate at 100% zoom. |
Small label text still blurry | Excess smoothing or too little resolution | Ease off denoise; add selective micro‑contrast/sharpen to text regions; consider exporting at 1600–2048 px; keep compression moderate. |
Color looks off on the web | Wrong color space or heavy compression | Export in sRGB; avoid extreme compression; verify on a standard display. |
For technique context, see Photography Life’s sharpening overview.
Speeding Up Repeats and Small Batches
Keep one browser tab open and process images back‑to‑back using similar settings; name outputs consistently (e.g., sku1234_srgb_2048.jpg). If your connection allows, open 2–3 tabs to overlap upload/preview/export. Every 5–10 images, compare before/after at 100% to catch creeping artifacts early. Maintain /originals and /enhanced_srgb_2048 folders so you never overwrite the source.
Throughput tip: On a typical connection, a single online enhancement often completes in ~10–45 seconds, leaving time for a 100% preview and export within about a minute. Treat this as a target, not a guarantee.
Privacy and Safety in One Minute
Check HTTPS and a clear privacy policy that explains retention/deletion and whether uploads are used for AI training.
Strip sensitive EXIF (e.g., location) when appropriate.
Avoid uploading confidential images; review terms if you handle children’s photos or regulated content.
Prefer tools that let you delete uploads. For general guidance, see the U.S. FTC’s consumer resources on how websites and apps use your information and the COPPA FAQ.
FAQ
Can I really enhance Amazon product images online in 60 seconds? Often, yes. Many web tools process in seconds; with a quick 100% check and export, a single image commonly fits in ~1 minute. Timing depends on network speed, server load, and image size.
Will denoise remove product texture? It can if pushed too far. Use low–moderate strength and preview textiles and fine patterns at 100%. If textures look smeared, step back one level and add minimal, edge‑aware sharpening.
How do I avoid sharpening halos? Use a small radius and moderate amount; prefer edge‑aware sharpening. If edges glow or look outlined, reduce radius first, then amount.
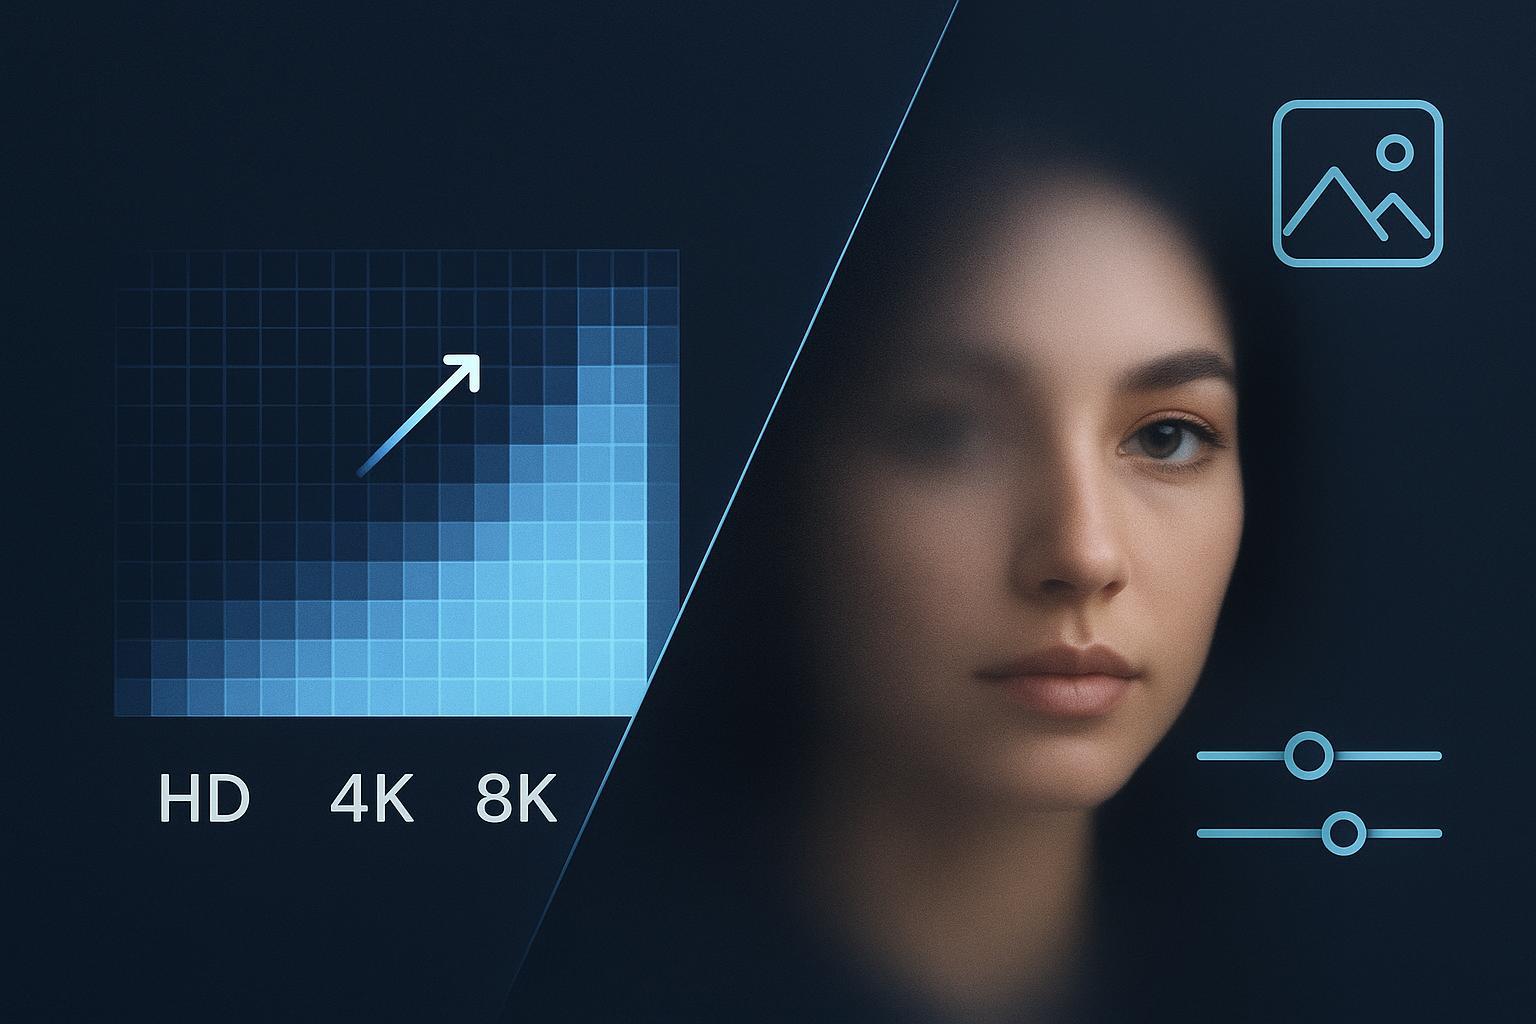
Do I need to upscale before exporting? If your source is below platform zoom thresholds, you can upscale modestly and then apply light output sharpening before export. Keep sRGB color and moderate compression. For dedicated upscaling, you can explore specialized tools after enhancement.
Next steps
If you need a quick online pass for denoise + gentle sharpen with a 100% preview and export, you can try Artedge AI. For deeper control, also explore targeted tools for denoise and sharpening, then export to sRGB JPEG/WebP at 1600–2048 px to match Amazon or Shopify guidance.

Dr. Katherine L. Whitmore
Dr. Katherine L. Whitmore specializes in AI-powered image enhancement and e-commerce visual optimization. She writes practical, data-driven guides on improving product image clarity, meeting marketplace standards, and increasing conversions through high-quality visuals.
Ready to Enhance Your Photos & Videos?
Improve clarity, restore old images, and upscale to 4K with natural, artifact-free detail — in seconds.
Start Creating