HD Image Converter vs AI Photo Enhancer: What’s the Difference?
HD Image Converter vs AI Photo Enhancer (2026): a quick triage to decide upscaling (4K/8K output) vs restoration (deblur, denoise, detail recovery) and route to the right tool.
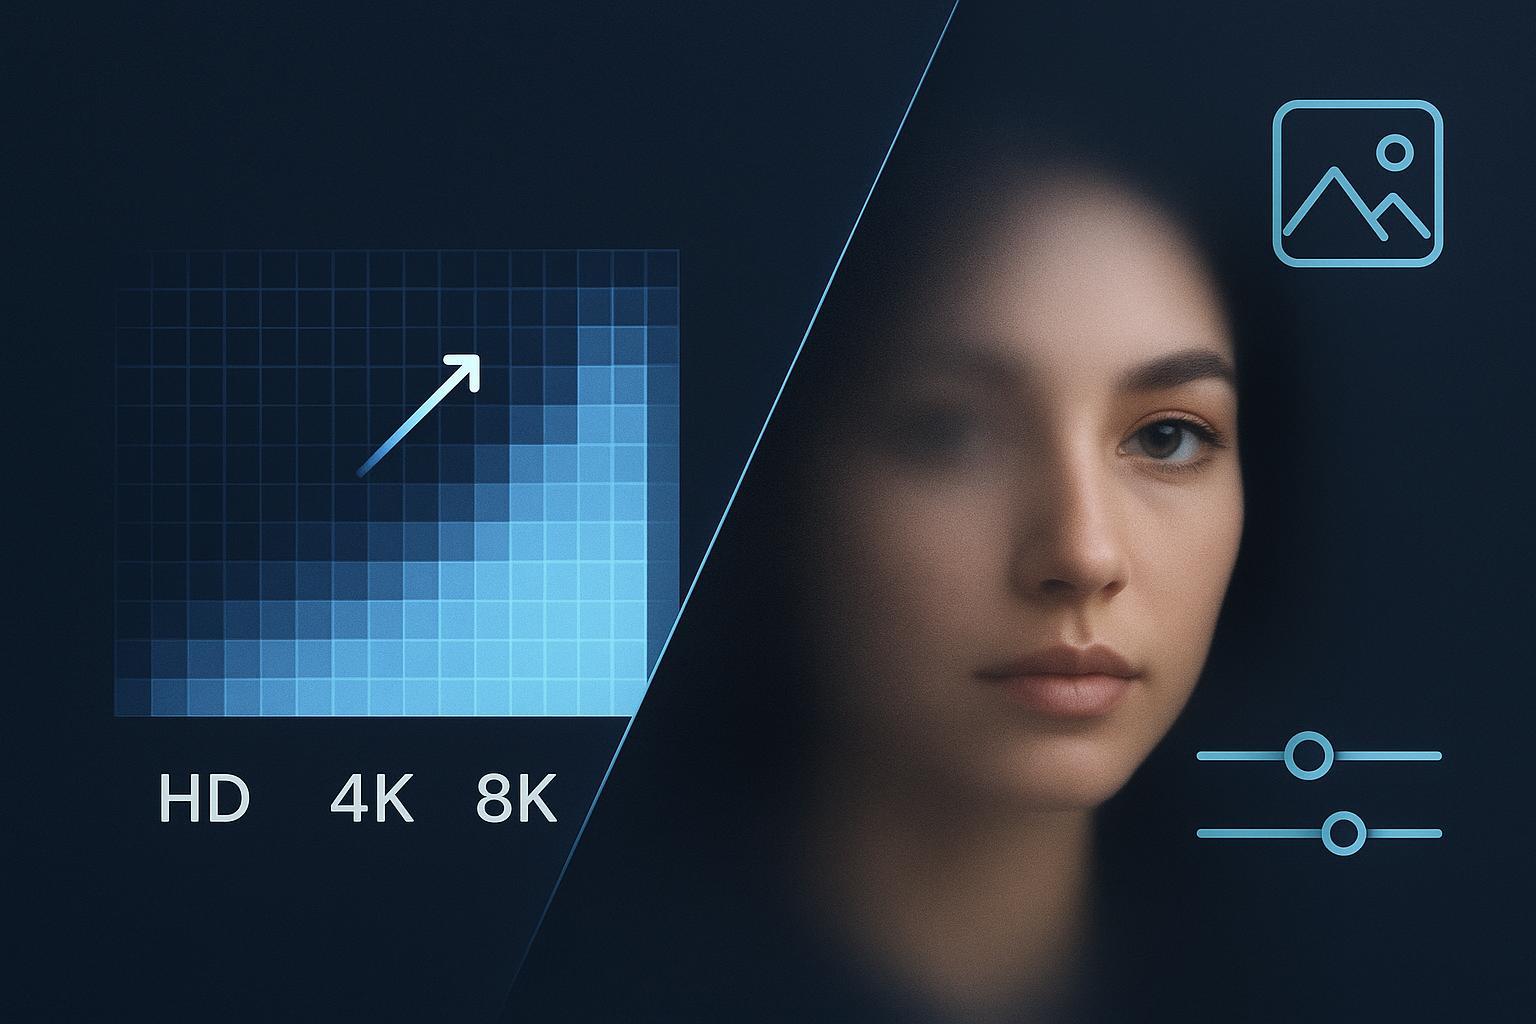
If you landed here wondering which tool you actually need, here’s the short version: an HD Image Converter specializes in increasing resolution and output size (think HD, 2K, 4K, even 8K targets), while an AI Photo Enhancer focuses on restoring visual quality—reducing blur, noise, and compression artifacts and bringing back natural detail and color. Pick the one that matches your input condition and your output goal, and you’ll save time.
Key takeaways
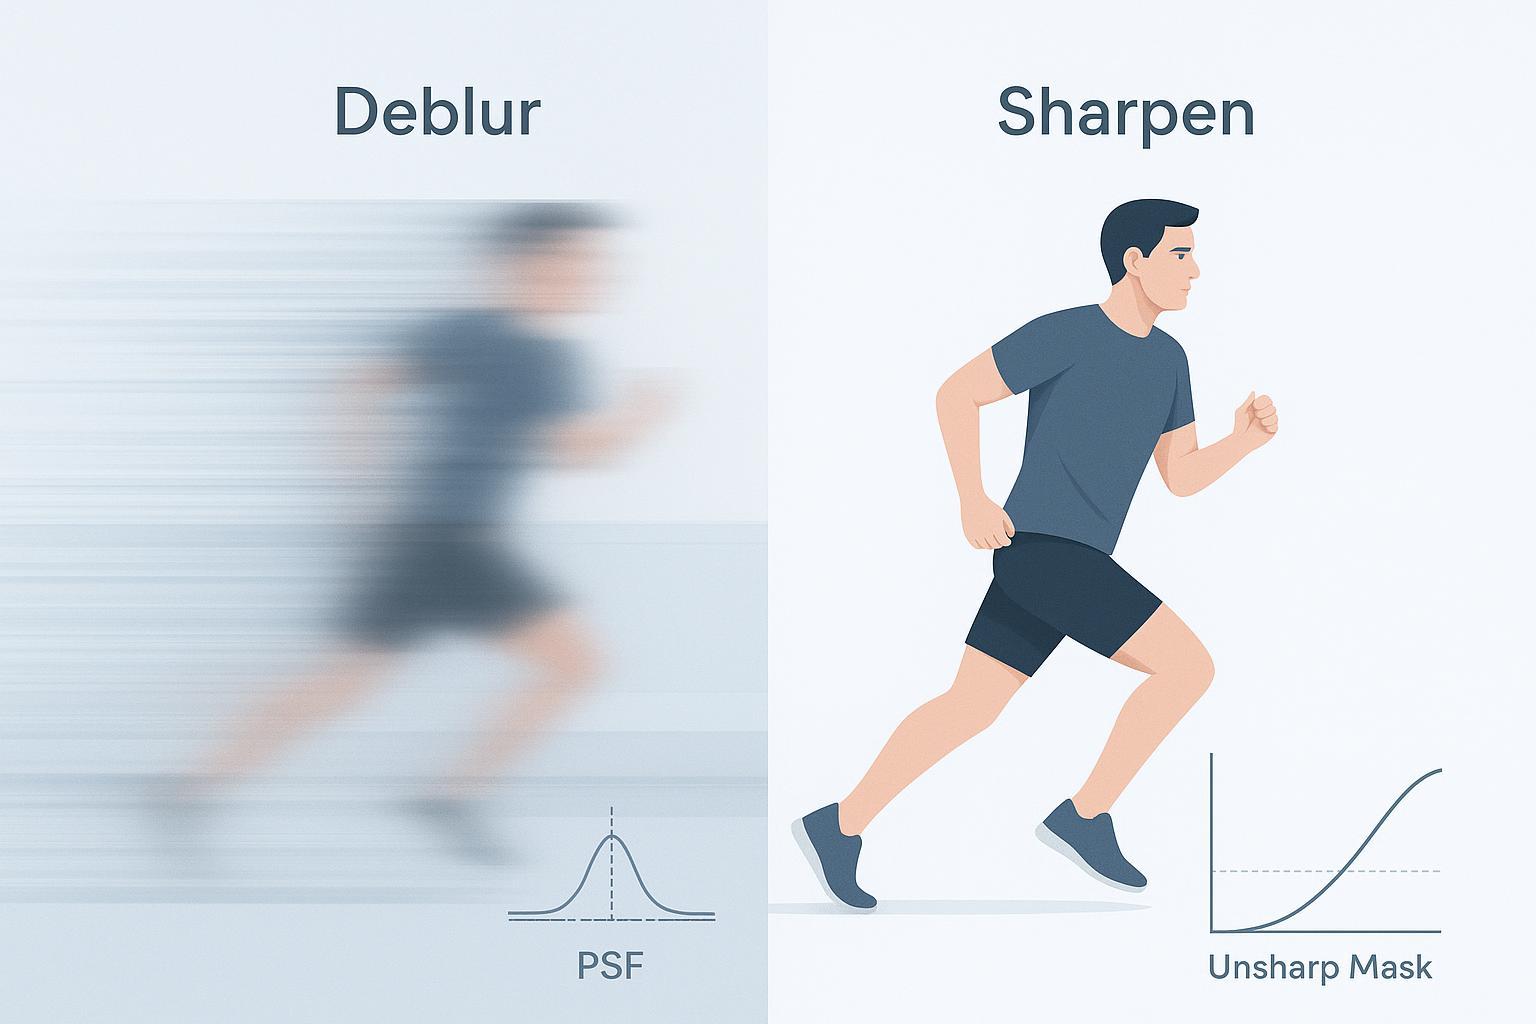
HD Image Converter = resolution and size output (HD/4K/8K). AI Photo Enhancer = clarity restoration (denoise, deblur, deartifact, tone/detail).
Clean but small input? Choose the converter. Blurry/noisy/compressed input? Choose the enhancer.
Strict output spec (4K/8K print or screens) → converter. Portrait realism and face fidelity → enhancer.
Need both? Restore first, then upscale. This sequencing tends to reduce halos and ringing compared with a single-step upscale, supported by guidance from NVIDIA and creative tool docs.
Quick routes: Upscale need → HD Photo Converter. Restore need → AI Photo Enhancer.
Self-check: 3 quick questions to route you
Is your image blurry, noisy, or full of blocky JPEG artifacts?
Yes → Start with an AI Photo Enhancer: Restore clarity
No → Go to Q2
Do you need a specific larger output (1080p, 4K, or 8K) for print or display?
Yes → Use an HD Image Converter: Upscale to target spec
No → Enhancer will likely deliver more visible improvements now
Is face/skin realism critical (portraits, archives)?
Yes → Enhancer first; then upscale if needed
No → Choose based on Q1–Q2
Can’t decide? Here’s the deal: when in doubt on compressed or blurred sources, enhance first and then convert.
Quick verdict: When to pick an HD image converter vs an AI photo enhancer
Choose an HD image converter when your input is clean-but-small and your priority is hitting a size/output spec like HD, 4K, or 8K. Super‑resolution tech exists primarily to increase spatial resolution with minimal tuning. Adobe’s Super Resolution documentation describes a 2× linear upscale that’s purpose-built for higher output sizes—separate from denoise or deblur features, which are different AI Enhance options. See Adobe’s explanation in the Camera Raw “Enhance” docs (2024–2026) in the official guidance on Super Resolution.
Choose an AI photo enhancer when the image itself is degraded—motion blur, defocus, high ISO noise, or heavy JPEG artifacts. Restoration-focused tools prioritize denoise, deblur, and deartifacting, often with face-aware handling for more natural portraits. Industry guides consistently recommend cleanup before any big upscale; for example, the NVIDIA developer workflow chains Artifact Reduction before Upscaling.
Where to start on Artedge AI: Upscale route → HD Photo Converter. Restore route → AI Photo Enhancer.
Side-by-side comparison: What each category does best
As of 2026‑03‑20. Vendor capabilities and pricing change frequently; always check official pages.
Dimension | HD Image Converter (Upscaling) | AI Photo Enhancer (Restoration) | Notes / Evidence |
|---|---|---|---|
Input condition fit | Best with clean-but-small images; adds pixels to reach HD/4K/8K | Best with blurry/noisy/compressed inputs; removes artifacts before or without upscaling | Cleanup-before-upscale guidance appears across industry sources including Runway’s upscaling guide and the NVIDIA developer blog (2021) |
Primary output goal | Hit target sizes/resolutions (1080p, 2K, 4K, 8K); precise export control | Improve perceptual quality (clarity, tone, contrast, textures); optional light upscale | Adobe’s Super Resolution docs separate resolution increase from denoise/deblur |
Deblur / denoise / deartifact | Limited, often secondary | Strong, with dedicated modes; face-aware options common | Restoration-first approach reduces halos/ringing on compressed inputs (see NVIDIA chain above) |
Max scale / output ceiling | Common 2×/4×/8×; many tools cap at 4K–8K+ depending on plan | Usually modest upscale; main value is cleanup, not maximum size | Roundups note typical factors and caps; see LetsEnhance’s HD converters overview (2026) |
Face & portrait fidelity | At high scales, can produce plastic/over‑sharpened looks | Typically better skin/eye/hair realism at conservative settings | Portrait tests highlight fidelity differences; see PetaPixel’s 2024 comparative notes |
Detail vs. artifact balance | Excels at adding detail on clean inputs; risk of halos when pushed | Excels at suppressing artifacts; avoids overcooked textures | Balance depends on input—enhance first if artifacts present |
Speed & batch throughput | Often optimized for bulk resizing and standard exports | Can be slower per image due to heavier restoration passes | Quantitative timings vary; treat as implementation‑dependent |
Workflow simplicity | Focused controls for target size; straightforward exports | More controls (denoise, deblur, tone), but many tools offer “auto” modes | Topaz positions integrated enhancement suites to simplify steps |
Privacy & processing | Varies: desktop/local vs cloud; policies differ by vendor | Same | Examples: local desktop (Topaz Photo); cloud tools store data under policy; see each vendor’s privacy page |
Integration / API | Many upscalers expose APIs/automation for pipelines | Mixed; some enhancers have APIs, others are desktop‑only | Examples in API roundups: Cloud services and Claid/LetsEnhance APIs |
Best-fit scenarios (choose with confidence)
E‑commerce and batch catalogs: If your product photos are already clean and consistent but need larger outputs for marketplaces or print, start with an HD image converter to reliably hit 4K. Tools in this category are typically friendlier to batch processing. For Artedge users, the HD Photo Converter reliably reaches 4K output and offers flexible export controls suitable for publishing workflows (see also the AI Image Upscaler guide).
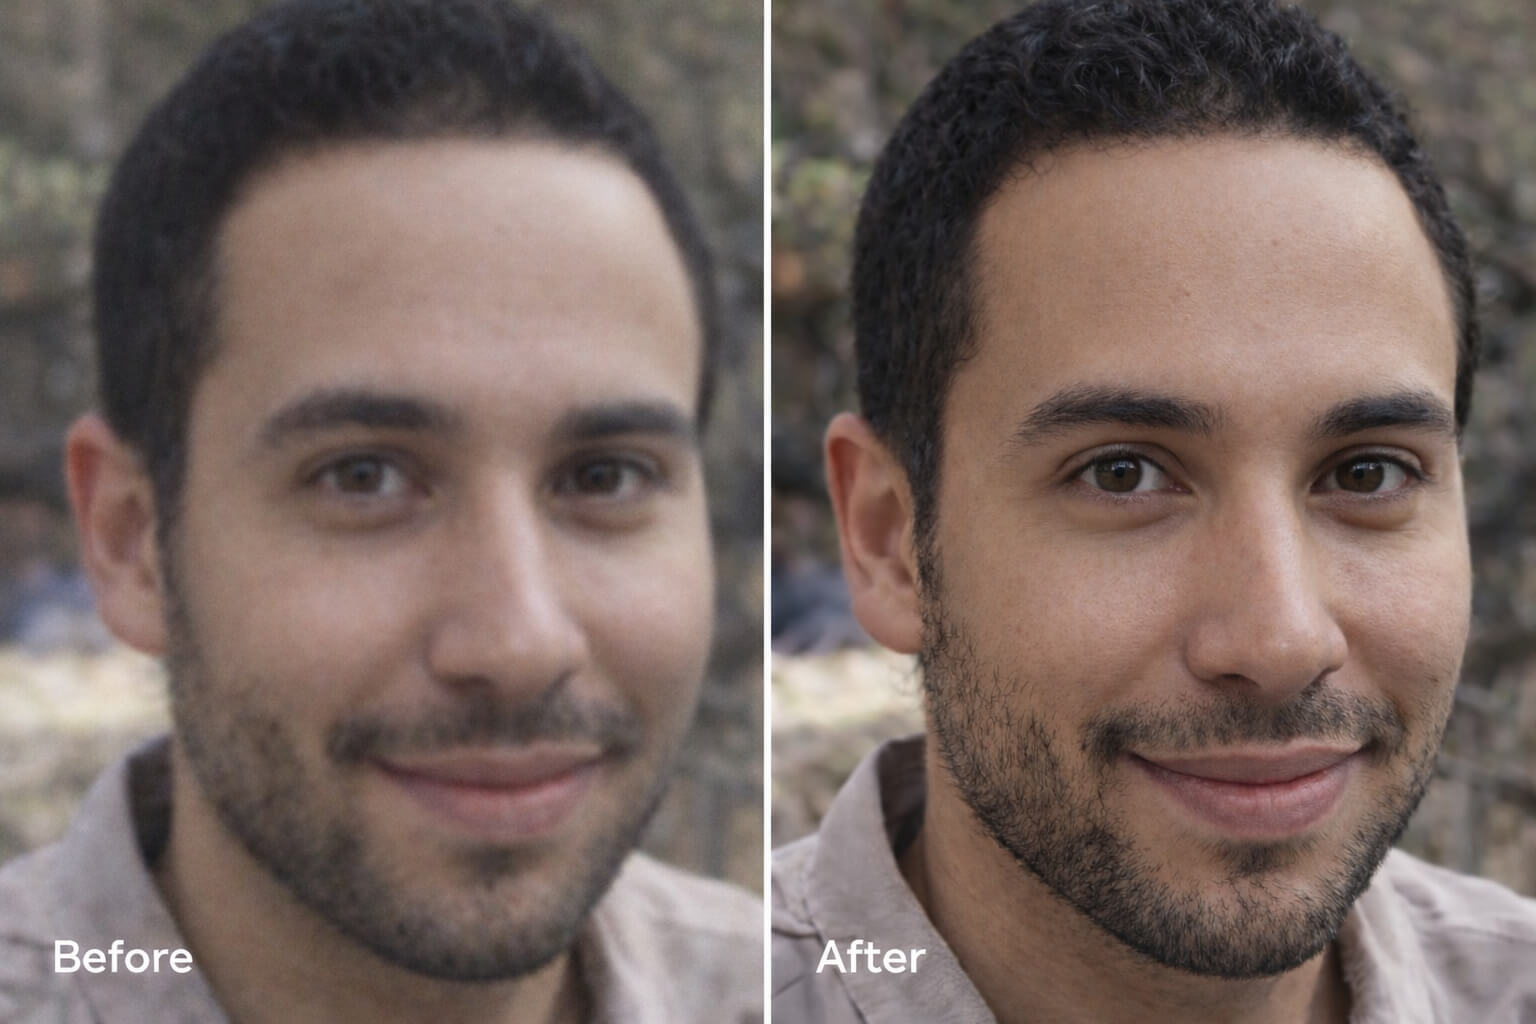
Portraits, archives, and scanned photos: Prioritize an AI photo enhancer to restore natural skin, eyes, and hair while reducing noise and deblurring subtle motion or focus issues. External tests suggest portrait fidelity degrades at aggressive upscale factors; conservative enhancement preserves realism better. If a larger output is still required, follow with an HD converter. See Artedge’s Enhance photo quality overview and the Unblur image guide.
Print‑spec 4K/8K targets: If your main constraint is a fixed resolution for print or large screens, choose a converter to hit the exact pixel dimensions. If the source has compression blocks or ringing, run an enhancer first to avoid amplifying those defects. For specific targets, you can explore Artedge’s 4K upscaler and HD Photo Converter.
Severely compressed or pixelated images: Begin with deartifacting to smooth blocks and mosquito noise, then upscale. Artedge’s Unpixelate image explainer covers this pattern; after cleanup, a converter can refine edge clarity at the desired size.
When you need both: Enhance first → Convert. This two‑step sequence tends to reduce halos and ringing on compressed images compared with a single, aggressive upscale pass.
Recommended workflow: Enhance first, then upscale
Think of it this way: you wouldn’t paint over dust on a wall—you’d clean the surface first. Image pipelines work the same way. Multiple sources advise cleanup before large upscales or sharpening. The NVIDIA developer blog (2021) demonstrates chaining Artifact Reduction before Upscaler; Runway’s guide (2025) and CapCut’s tutorial (2025) echo this practice. On Artedge AI, that means starting with the AI Photo Enhancer to denoise/deblur/deartifact, then exporting at your target size via the HD Photo Converter.
Pricing and plan caveats (as of 2026‑03‑20)
Across both categories, pricing models vary: free trials or credits, monthly subscriptions, usage‑based credit packs, and occasional one‑time desktop licenses. Entry tiers commonly start in the single‑digit USD/month range and scale with output resolution, batch limits, or API access. Because prices and caps change frequently—and can differ by region—treat any figure you see online as provisional and verify on the vendor’s official page before purchasing. Category roundups and vendor docs provide current examples; see the LetsEnhance overview of HD image converters (2026) and each tool’s pricing page.
Routing reminder: If your goal is a bigger file at a specific size, head to HD Photo Converter. If your goal is realism and clarity restoration, start with AI Photo Enhancer.
FAQs
Which is better for restoring blurry photos: an HD image converter or an AI photo enhancer? An AI photo enhancer. Deblur and denoise are restoration tasks; upscaling alone won’t fix motion or focus blur. Cleanup before any major upscale is recommended by guides such as Runway’s how‑to.
Can I upscale straight to 4K without introducing halos? Sometimes, but results improve when you deartifact/denoise first and then upscale. This two‑step approach reduces halos and ringing compared with a single aggressive pass, aligned with the NVIDIA workflow.
When should I use an HD image converter instead of a photo enhancer? When the input is clean but too small and your priority is a specific output dimension like 1080p, 4K, or 8K. Adobe’s Super Resolution docs illustrate the resolution‑first nature of upscaling compared to denoise or deblur.
Do enhancers and converters work together? Yes. For portraits or compressed images, enhance first to restore realism and remove artifacts, then convert to reach your target size. For additional tips, see Artedge’s AI Photo Enhancer FAQs and limits.
Related resources and next steps
Upscale route: HD Photo Converter
Restore route: AI Photo Enhancer
Learn the fundamentals: AI Image Upscaler — Ultimate Guide
Improve portraits and face fidelity: Enhance photo quality
Fix motion/defocus blur: Unblur Image — Ultimate Guide
Hit specific targets: 4K Upscaler
Expert note: This comparison is intended as a category‑level triage guide. Features and pricing change quickly; results vary by input. For the fastest path, answer the self‑check above and follow the suggested route.

Dr. Leo K. Anderson
Dr. Leo K. Anderson writes about AI photo enhancement, image upscaling, video quality improvement, and photo restoration. He focuses on practical, test-driven guides that help creators, e-commerce teams, and everyday users get clearer, more usable visual results with less effort.
Ready to Enhance Your Photos & Videos?
Improve clarity, restore old images, and upscale to 4K with natural, artifact-free detail — in seconds.
Start Creating