Photo Enhancer FAQ: What an AI photo enhancer Can and Can’t Fix
For creators: clear answers on what AI photo enhancers can fix, their limits, quick triage steps, and thumbnail export tips to avoid artifacts.
AI enhancement is powerful, but it isn’t magic. This FAQ lays out clear yes, no, and it depends answers for creators and social teams who need fast, repeatable cleanup for images and video thumbnails. You’ll get a practical decision tree, safe default settings, and export tips that preserve quality across platforms.
Think of AI like a skilled restorer: it can infer missing structure and clean up noise, yet it cannot resurrect information that was never captured. With the right expectations and order of operations, you can lift clarity without plastic faces, halos, or mush.
Key takeaways
Start with diagnosis, not guesses. Identify the main defect first, then choose the workflow.
Safer order of operations: denoise first, then gentle deblur or sharpen, then upscale if needed, with a final subtle sharpen.
Moderate noise, mild compression, and 2× upscaling usually look natural. 4× can work with care; beyond that, risk rises fast.
Severe motion blur or strong defocus is rarely fixable cleanly; expect artifacts or identity drift in faces.
Watch for red flags during checks at 100 percent zoom: halos around edges, waxy skin, banding, and ringing.
Export matters as much as enhancement. Match platform dimensions and keep reasonable file sizes to avoid re-compression damage.
What can an AI photo enhancer reliably fix?
In everyday creator workflows, AI handles moderate sensor noise, mild compression blocks, gentle cleanup of small JPEG artifacts, and 2× upscaling from a reasonably clean base quite well. Color casts and mild fading typically respond to simple white balance and contrast adjustments. The sequence matters because each step amplifies the next; placing denoise before sharpening and scaling keeps artifacts at bay. For general workflow principles on sequencing, see Adobe’s guidance in the Lightroom ecosystem under performance and workflow tips in the relevant HelpX documentation: Adobe HelpX workflow principles.
Decision tree — identify the defect and choose the path
Noise or visible grain from high ISO
Diagnosis: Speckled texture across midtones and shadows, especially visible at 100 percent zoom.
Triage rule: If noise is moderate, use conservative denoise first, then a light sharpen. Avoid heavy smoothing on faces.
Workflow: Apply denoise in a modest range first so you don’t smear detail. After the image is cleaner, add a small amount of edge recovery with sharpen or deblur. If you need more pixels for layout or thumbnails, consider a 2× upscale after cleanup, then finish with a very subtle sharpen to restore crispness. Sequencing this way helps prevent noise from being amplified by later steps, a point reinforced in creator tooling guides like the Adobe HelpX workflow reference above.
Expected outcome: Cleaner shadows with preserved edge definition. Red flags include waxy textures, smeared hair, and halos along high-contrast edges. If you see them, roll back strength rather than piling on more fixes.
Compression blocks and mosquito noise from over-saved JPEGs
Diagnosis: Blocky squares in flat areas and a buzzing outline near text or edges, often from repeated saves or social platform recompression.
Triage rule: Use artifact reduction or a gentle denoise before any sharpening. Prefer multiple light passes over a single heavy pass.
Workflow: Clean compression artifacts first with conservative settings. Add only a modest sharpen after cleanup. If you must upscale, do it after artifacts are minimized so you don’t enlarge the defects. Keep an eye on edges—over-sharpened files tend to grow bright halos and faint ripples known as ringing.
Expected outcome: Smoother flats and less edge buzz without losing real detail. If halos or ringing appear, reduce sharpening radius and amount.
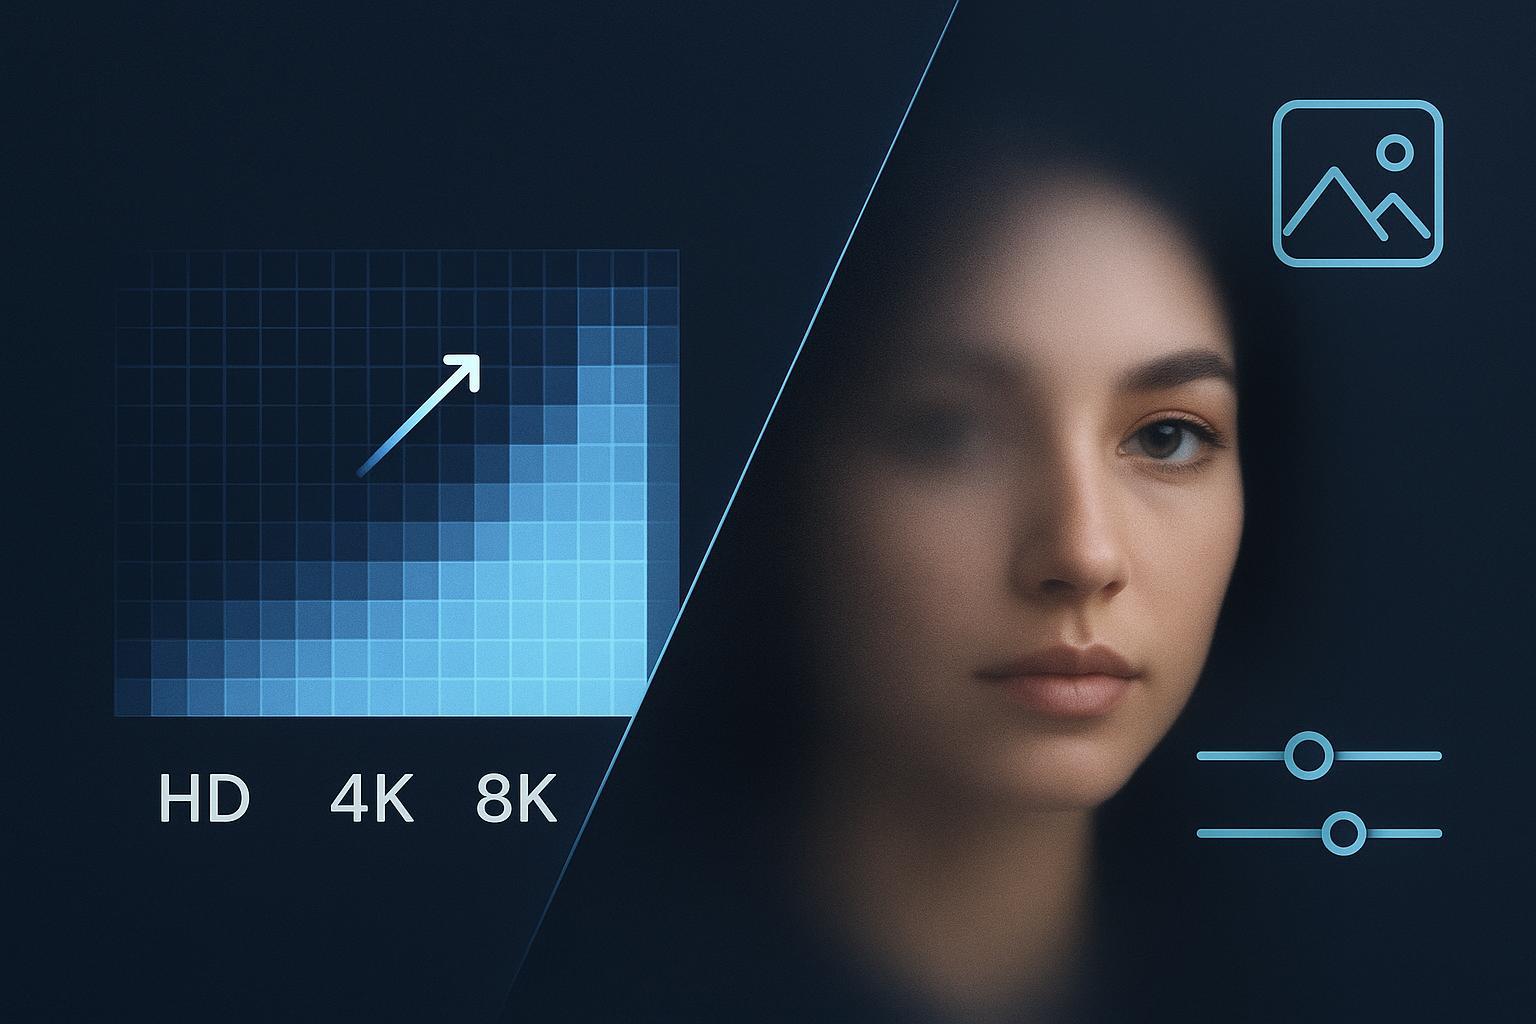
Low resolution or visible pixelation
Diagnosis: Jagged diagonals, blocky text, and staircase edges that look coarse at 100 percent.
Triage rule: From a reasonably clean base, 2× upscaling is commonly safe; 4× can work with careful tuning. Going beyond that often invents detail.
Workflow: Remove noise or artifacts first, then upscale. Inspect faces and fine textures after a 2× step; if they remain natural, consider a cautious move to 4×. If your source is tiny or heavily compressed, accept that some details will be synthesized and may look “too perfect.” For a focused, task-based path when you need a simple quality bump with more pixels, you can use an internal tool page such as the Image Upscaler to guide decisions on resolution targets and artifact reduction.
Expected outcome: Increased clarity and cleaner edges suitable for thumbnails and social crops. Red flags include over-smooth skin, repeating texture patterns, or text that still looks muddy—signs that the input lacked recoverable detail.
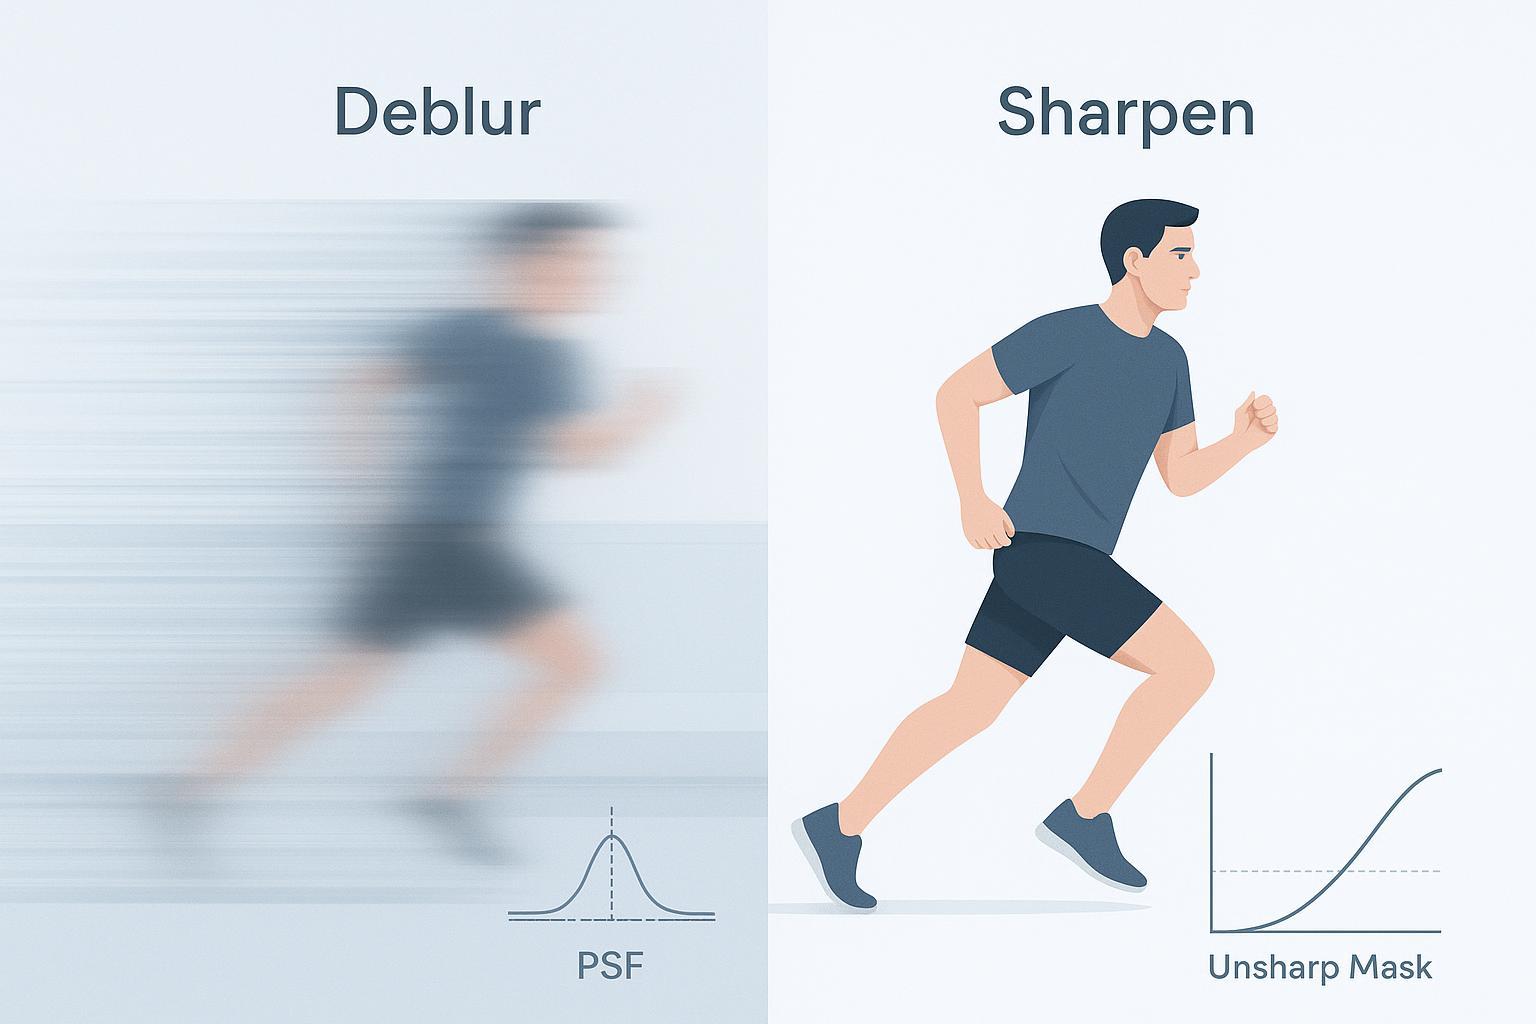
Motion blur versus missed focus
Diagnosis: Motion blur shows directional streaks from subject or camera movement; missed focus has a soft, uniform lack of crisp edges without a clear direction.
Triage rule: Light motion blur or slight misfocus may be partially recoverable; severe cases usually aren’t. Aim for gentle deblur and modest sharpening, not miracles.
Workflow: Start with denoise only if the image is also noisy. Use a conservative deblur or sharpen pass to recover edge acuity. Avoid aggressive settings on faces to prevent identity drift or “mask-like” results. If you need a practical, neutral starting point for testing a mild unblur path in a real tool, you can try Artedge AI as a reference environment, then compare with your existing editor to validate outcomes.
Expected outcome: Slightly crisper edges that hold up at social sizes. Red flags include doubled edges, ringing halos, and altered facial features. When blur is strong, reshooting is often the only clean fix.
Color cast, fade, and limited contrast
Diagnosis: Unwanted tint across the image, washed-out blacks, or dull highlights that make the picture look flat.
Triage rule: Correct white balance and exposure first, then add gentle contrast and local pop. Keep skin tones natural.
Workflow: Use white balance tools to neutralize casts, then adjust exposure and contrast to open shadows and protect highlights. Apply subtle clarity or local contrast selectively. Be careful with heavy moves in 8-bit files, which can cause banding in gradients. Export in a high-quality format to avoid reintroducing compression issues.
Expected outcome: More accurate color and punch without clipping or banding. If gradients break up into steps, reduce adjustments and re-export at higher quality.
Can AI make tiny on-screen text or logos readable?
Often, no. If the original capture never resolved the characters clearly, an enhancer may guess shapes rather than recover truth. Upscaling can improve legibility when the base image is clean and only slightly undersized, but heavily compressed or minuscule text usually remains unreliable. For rights and policy reasons, avoid removing or altering watermarks or logos you do not own; under U.S. law, altering copyright management information may violate DMCA section 1202. You can review the statutory context via the U.S. Copyright Office in Title 17 documentation here: U.S. Copyright Office Title 17.
Thumbnails and exports that avoid mushy results
For YouTube, widely referenced creator guidance continues to recommend a 16 by 9 thumbnail at 1280 by 720 pixels with a file size at or under 2 MB in JPG, PNG, or GIF. You can find current creator tips on improving thumbnails and testing variants on the official help property here: YouTube Help on A/B testing thumbnails. For Instagram, creators commonly rely on 1080-pixel widths with aspect ratios that match the placement, documented in the platform’s help center overview here: Instagram Help guide to posting formats. A quick myth-buster for exports: DPI does not affect how images render on screens; pixel dimensions and file format do.
Video note on flicker when enhancing per frame
When each frame is processed independently, small differences in exposure, color, or detail estimation from frame to frame can look like flicker in motion. You can reduce this by using temporal smoothing or deflicker tools, and by stabilizing color relative to a reference frame. Adobe documents practical effects for temporal smoothing and color stabilization in After Effects, which many creators adapt to short-form workflows: Adobe HelpX assorted animation and related tools. Test a short clip before you run a long batch and avoid aggressive per-frame sharpening that accentuates flicker.
Quick quality check before you batch a large set
Inspect a 100 percent crop of faces, edges, and gradients before and after each major step.
If you spot halos, ringing, waxy skin, or banding, back off strength and prefer two lighter passes to one heavy pass.
Validate exports on the target platform’s preview so you see how recompression affects the result.
Closing and next steps
Here’s the deal: AI enhancement shines when you pair realistic goals with a careful sequence—clean first, sharpen gently, then scale only as far as the content supports. Keep your eye out for telltale artifacts, and treat success as looking natural rather than ultra-crisp at any cost. If you regularly deliver UHD thumbnails or hero images, consider testing a small batch with a neutral 4K upscaling workflow and verify results side by side in your current toolchain. A concise place to start is the reference page for resolution targets and cleanup steps here: 4K Upscaler.

Dr. Katherine L. Whitmore
Dr. Katherine L. Whitmore specializes in AI-powered image enhancement and e-commerce visual optimization. She writes practical, data-driven guides on improving product image clarity, meeting marketplace standards, and increasing conversions through high-quality visuals.
Ready to Enhance Your Photos & Videos?
Improve clarity, restore old images, and upscale to 4K with natural, artifact-free detail — in seconds.
Start Creating