How to Increase Image Resolution Without Blur (Simple Guide)
Step-by-step beginner guide to increase image resolution without blur—when to resize, use AI upscalers, denoise/deblur first, and export for web or print.
If your last attempt to make a photo bigger turned it into a soft, blocky mess, you’re not alone. Most blur comes from two things: stretching pixels too far with basic resizing, or enlarging a noisy/blurred source so the flaws grow with it. The fix is to choose the right path—sometimes you only need to change document size (no new pixels), sometimes an AI upscaler is the right move, and sometimes quick cleanup (denoise/deblur) must happen first.
Key takeaways
Resize without resampling when you already have enough pixels; you’re only changing print size/PPI, not adding pixels, so sharpness is preserved.
Use an AI upscaler for real pixel gains (start with 2x–4x), then add only subtle sharpening.
Clean first, then enlarge: denoise or gently deblur before upscaling to avoid magnifying defects.
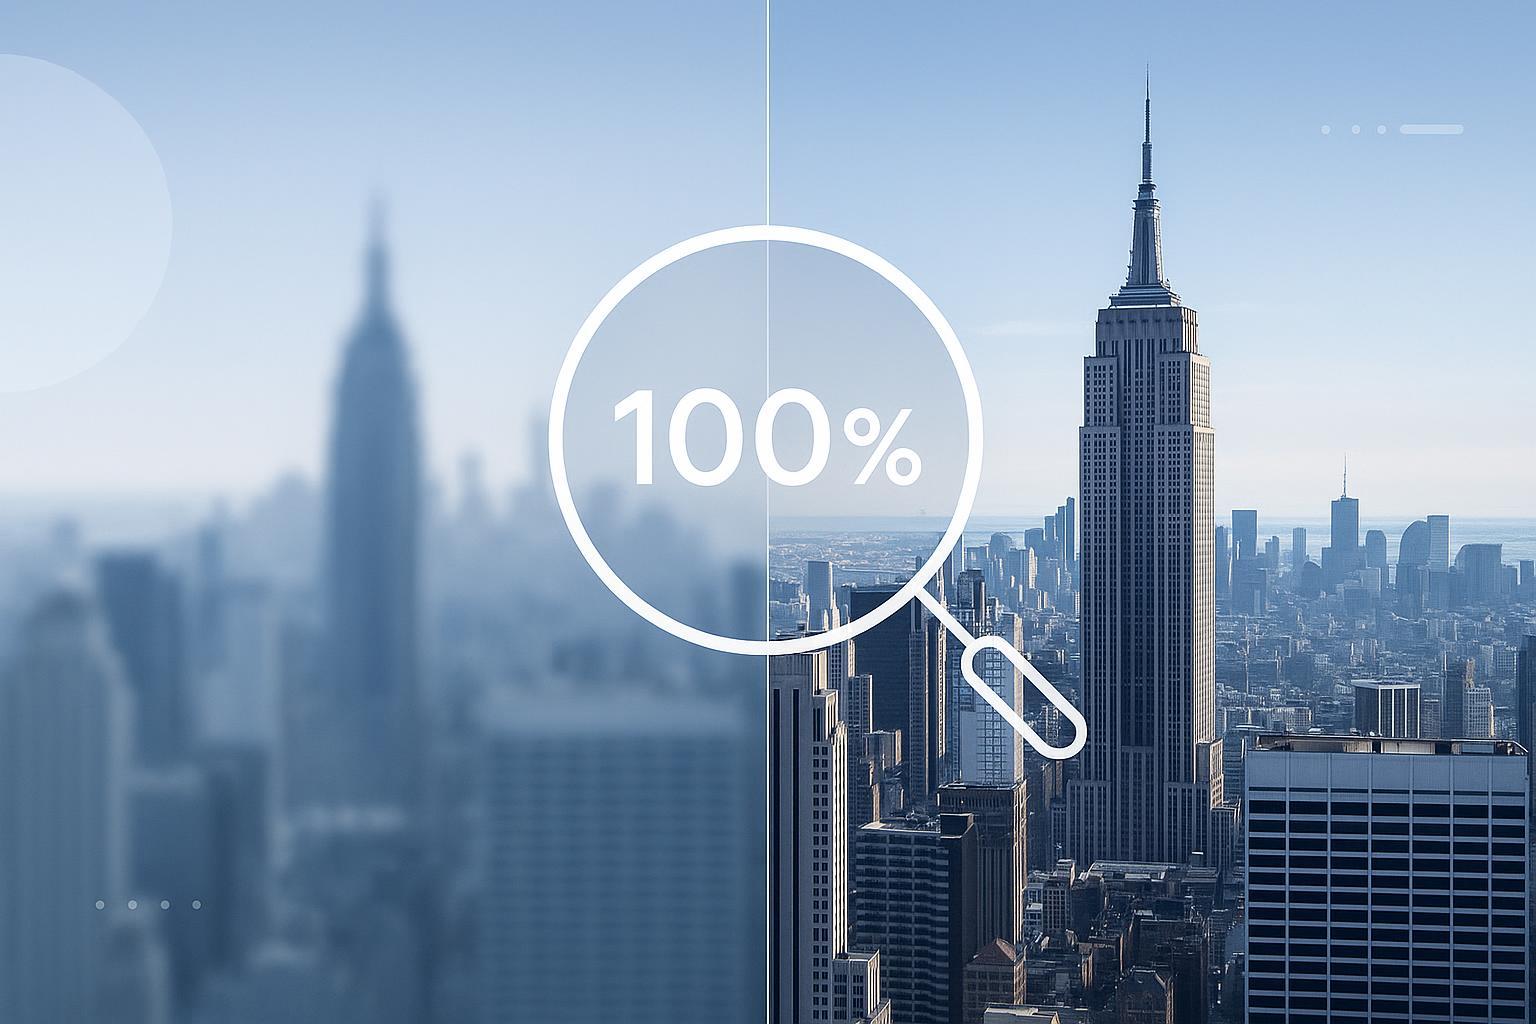
Validate results at 100% zoom and watch for halos, plastic skin, or ringing; back off if you see them.
For print, think pixels first (inches × ~300 PPI). If you meet the pixel count, don’t resample—just set PPI.
Quick decision guide — resize, upscale, or reshoot?
Start with what you have and what you need. Pixels are the image’s actual width × height in pixels. PPI (often called DPI in casual speech) controls how densely those pixels map when printing. Changing PPI alone (with resampling OFF) doesn’t add pixels—it simply redistributes them on paper.
If your current pixel dimensions already meet the target output, don’t create new pixels. Set print size/PPI or place the image at the correct size and you won’t add blur.
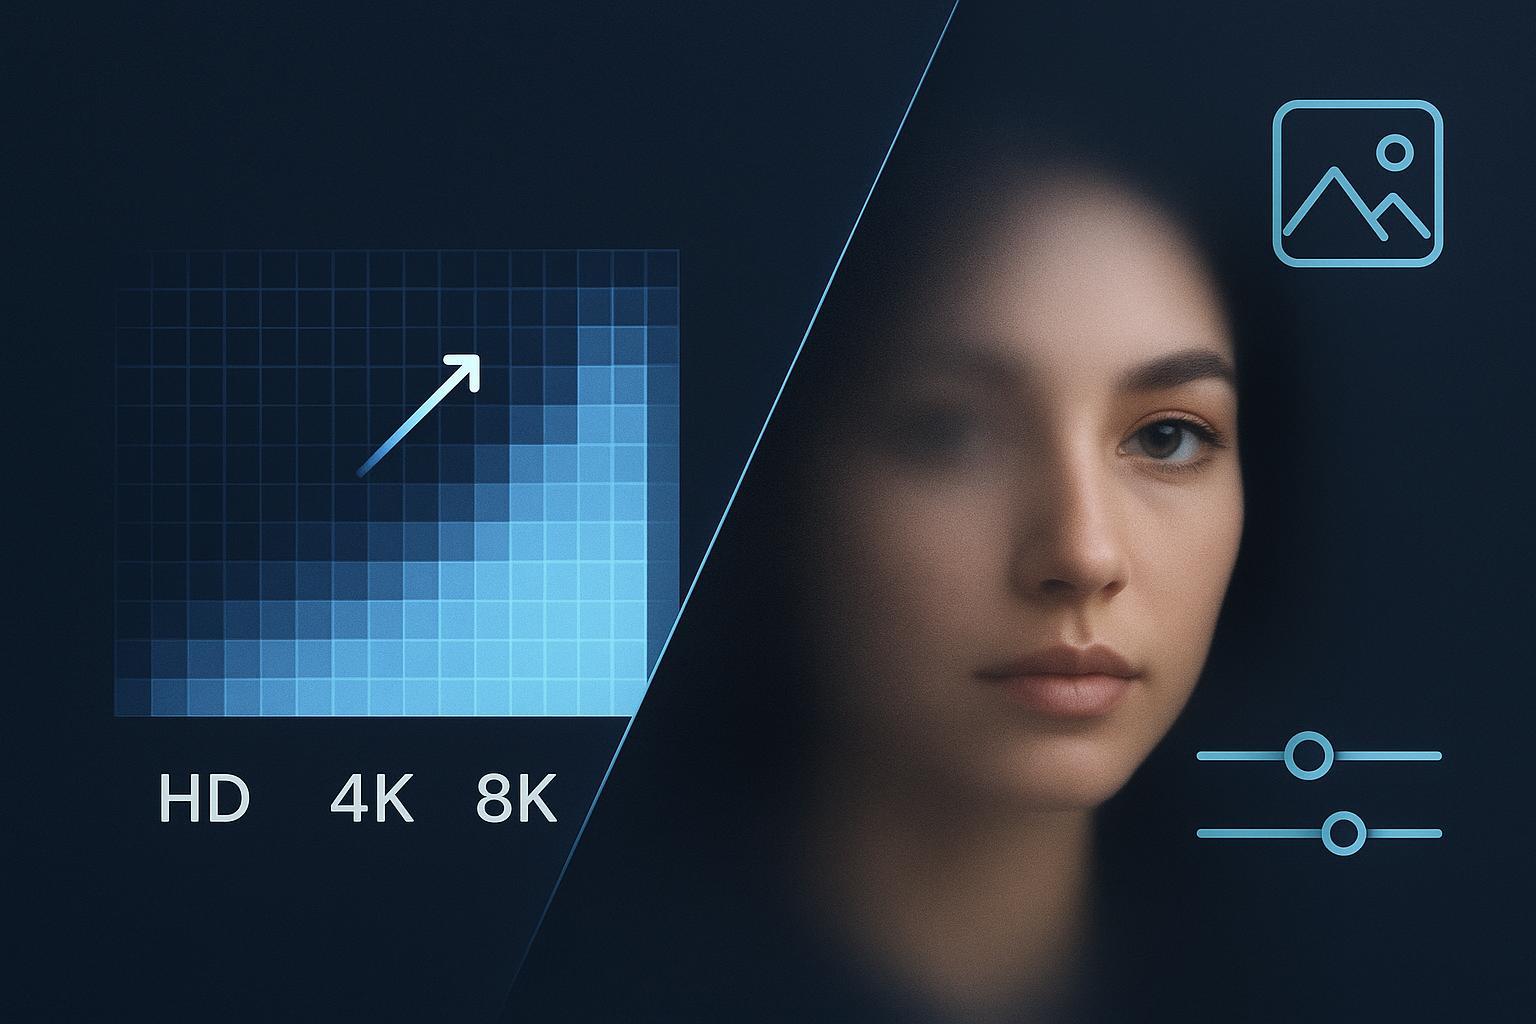
If you need more pixels (e.g., doubling the longest edge), choose an AI upscaler. Modern AI methods generally preserve edges and fine textures better than classic bicubic for big jumps.
If the source is blurry/noisy/compressed, fix that first (deblur/denoise), then upscale, then add a touch of sharpening.
If the file is extremely small (e.g., a tiny thumbnail) or fidelity must be exact (IDs, small text, logos), consider reshooting/scanning rather than extreme upscaling.
For background on resampling methods in Photoshop and where to choose them, see Adobe’s overview in the Image Size dialog and resampling options under Preserve Details 2.0 (Adobe, 2026): Resampling options in Photoshop.
Step-by-step: Increase image resolution without blur
Diagnose your starting point (1–3 minutes)
Check pixel dimensions (e.g., 2000 × 3000 px). Compare to your target (screen pixels or inches × ~300 PPI for close-view prints). If you already meet the target, you may only need to set PPI.
Inspect at 100% zoom for noise, motion/defocus blur, and JPEG artifacts.
Pre-clean if needed: denoise and gentle deblur (1–5 minutes)
Remove obvious noise and mild blur so you don’t amplify defects during upscaling. For a focused deblurring walkthrough, see the educational guide Unblur Image: Ultimate Guide.
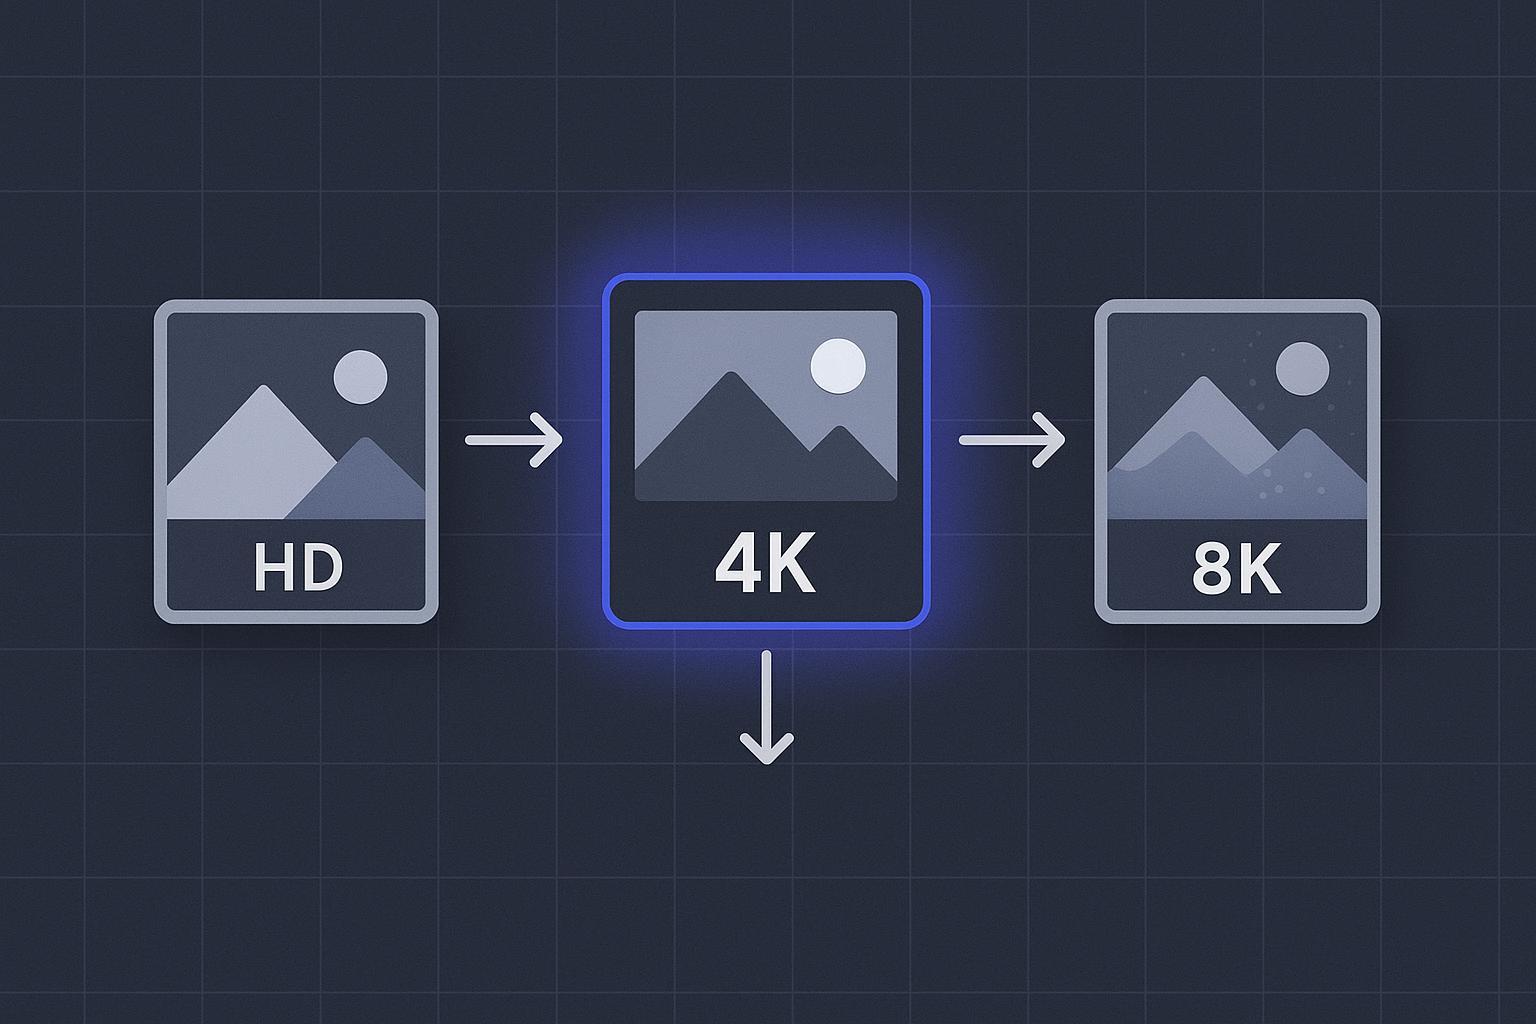
Upscale to add pixels (start with 2x; consider up to 4x)
Prefer AI upscaling for large increases. Learn the concept and options in this explainer: AI Image Upscaler: Ultimate Guide to 4K/8K Upscaling.
Avoid extreme single jumps beyond 4x. If you need much larger output, do it in stages and validate after each pass.
Validate at 100% (and 200%) zoom
Check edges, skin, foliage, hair, and text. If you see plastic textures, halos, ringing, or blockiness, try a different model/setting or a smaller scale.
Add subtle sharpening only if necessary
Apply light, targeted sharpening after upscaling. Adobe documents Smart Sharpen controls (Amount/Radius/Reduce Noise) and the Lens Blur removal mode for fewer halos (Adobe, 2026): Smart Sharpen in Photoshop.
Export for your destination
Web/social: Use JPEG or WebP with quality tuned to avoid new artifacts; avoid multiple re-saves.
UI/graphics or transparency: Use PNG (lossless). Adobe explains when to choose each format (Adobe, 2026): Supported file formats in Photoshop.
Practical example: a safe 2x workflow in one minute
You have a 1500 × 1000 px photo that needs to be larger for a website hero.
Pre-check at 100% zoom; if you see mild noise, clean it lightly.
Use an AI upscaler to 2x (to ~3000 × 2000 px). Inspect for artifacts; if textures look too smooth, try a different model or lower strength.
Apply a touch of sharpening only if needed; keep radius small to avoid halos; re-check edges and skin.
One way to do this online: open the Image Upscaler on Artedge AI, choose 2x with Noise Reduction enabled, preview at 100%, then download. Keep the approach conservative—if artifacts appear, switch models or scale down.
Troubleshooting: if it still looks soft
Symptom | Likely cause | Fix |
|---|---|---|
“Plastic” skin or smeared textures | AI model too aggressive; denoising too strong | Try a more detail-preserving model; reduce denoise; reintroduce micro-contrast with gentle Smart Sharpen |
Halos around edges | Oversharpening or large-radius settings | Lower sharpening Amount/Radius; use Smart Sharpen with Remove: Lens Blur; validate at 100% |
Jagged text/logos after enlarge | Raster-only source; interpolation stair-stepping | Recreate as vector or rescan; if raster is all you have, try Preserve Details 2.0 and very small-radius sharpening |
Blocky JPEG artifacts amplified | Low-quality original; repeated re-saves | Denoise/artifact reduction before upscaling; export once at higher quality or use WebP |
Prints look soft | Not enough pixels for size at ~300 PPI; PPI/pixels confusion | Upscale first to meet pixels, then set PPI; avoid mixing up printer DPI with image PPI |
4K and printing, in brief
Going to 4K or 8K means aiming for much larger pixel counts. For big jumps, staged upscales with validation between steps help you catch artifacts early. Adobe’s AI upscalers commonly offer 2x or 4x options; choose conservatively and inspect results.
For print, plan from the paper size backward. Multiply inches by your target PPI (about 300 for close viewing) to get required pixels. If your image already meets that pixel count, turn resampling OFF and set PPI/size; no new pixels are created. Adobe explains print resolution planning and why ~300 PPI is a common guideline (Adobe, 2026): Resolution specs for printing images.
FAQ
What’s the difference between resizing and resampling? Resizing without resampling changes document size/PPI but keeps the same pixel count—sharpness stays the same. Resampling changes the pixel count by adding or removing pixels; enlarging risks blur unless you use a high-quality method.
How do I increase image resolution without losing quality? Start by checking if you already have enough pixels. If yes, don’t resample. If not, use an AI upscaler (2x–4x), clean noise/blur first, then add only subtle sharpening and export once at high quality.
Why does AI sometimes make faces or textures look fake? Some models can over-smooth or invent plausible details. If you see a “plastic” look, switch models or reduce strength, scale down (2x instead of 4x), and add restrained sharpening to bring back micro-contrast.
Is 2x or 4x better for quality? 2x is safer and usually cleaner. 4x can work on clean, detailed sources, but artifact risks rise. When in doubt, try 2x first, validate, then consider going higher.
Do I need 300 PPI for every print? It’s a solid rule for close-view prints, but viewing distance matters. Posters viewed from farther away can look good at lower PPI. What matters most is total pixels relative to print size.
Next steps and resources
Learn the controls and trade-offs of AI upscalers in a single place: the educational AI Image Upscaler: Ultimate Guide to 4K/8K Upscaling.
When you’re ready to try a quick upscale online, start with Artedge AI, inspect the preview at 100%, and keep sharpening gentle.
For Photoshop-specific techniques like Smart Sharpen and print resolution planning, Adobe’s help center links throughout this guide provide step-by-step references.

Dr. Katherine L. Whitmore
Dr. Katherine L. Whitmore specializes in AI-powered image enhancement and e-commerce visual optimization. She writes practical, data-driven guides on improving product image clarity, meeting marketplace standards, and increasing conversions through high-quality visuals.
Ready to Enhance Your Photos & Videos?
Improve clarity, restore old images, and upscale to 4K with natural, artifact-free detail — in seconds.
Start Creating