How to Convert a Photo to HD Online: A Natural-Looking 60-Second Workflow
Learn how to convert a photo to HD online in about 60 seconds—natural-looking results with simple steps, 100% preview checks, and fast download.
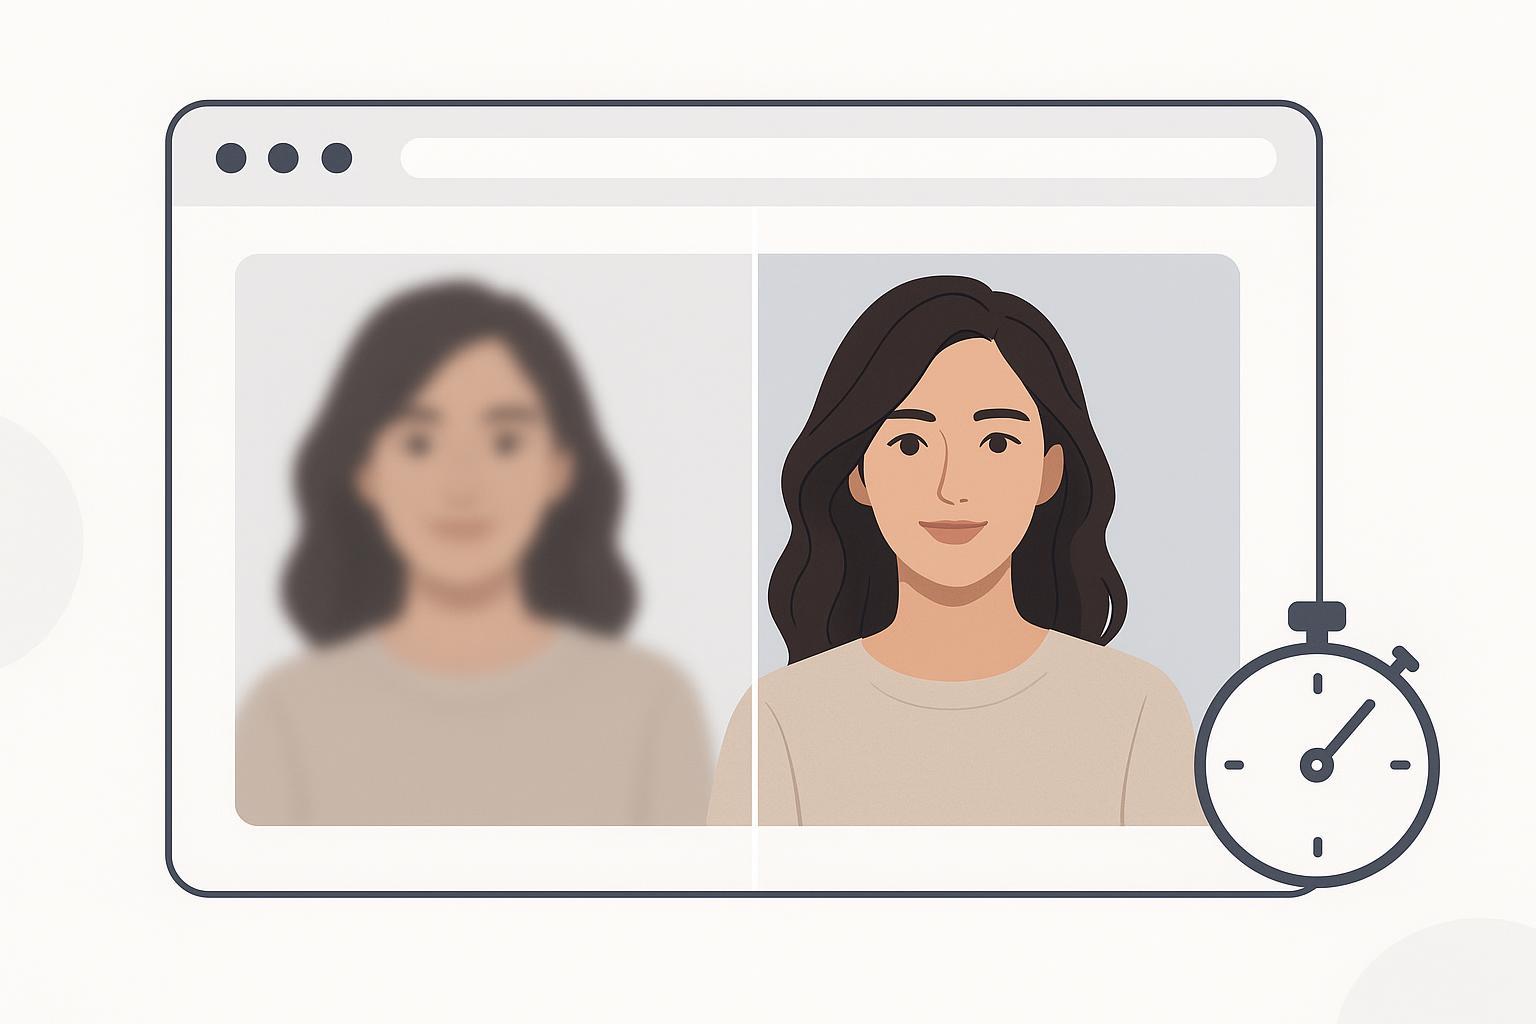
Need to turn a soft or low-res image into something crisp—fast? Here’s a simple, online workflow you can complete in about a minute. The goal isn’t “maximum sharpness at all costs.” It’s a natural look: clean edges, realistic skin, readable text, and no halos.
Key takeaways
A quick, 4-step online process can convert photo to HD while keeping textures natural.
Favor Natural/Balanced presets and denoise-before-sharpen to avoid plastic skin and halos.
Always preview at 100% zoom. If you see halos or waxiness, switch to milder settings or try 2× instead of 4×.
For prints, check pixel dimensions with simple 300 PPI math; for social, stick to platform-safe sizes.
How to convert photo to HD in 60 seconds
You can complete this in about a minute for a single image, depending on file size and connection.
1) Upload your image
Start from the highest-quality source you have (least compression if possible). Online HD tools typically accept JPG/JPEG, PNG, and WebP; larger inputs may take a few extra seconds to process. On the first-mention brand example, most single images are processed “in seconds,” and the HD tool page states most conversions finish in about 5–7 seconds. See details on the Artedge AI HD Photo Converter page.
2) Choose a natural preset (not “over-sharp”)
Pick a Natural or Balanced mode. If there’s a Face Enhance toggle, start with Low for soft portraits and leave it off if the face is already sharp. Industry guidance recommends denoise-before-sharpen to prevent halos and waxy textures; see consensus notes from pixls.us (Darktable discussion) and Let’s Enhance’s denoising explainer.
3) Preview at 100% and check critical zones
Zoom to true 1:1. Inspect hairlines, product edges, and text baselines. Do you see bright/dark outlines (halos), ringing on edges, or overly smooth skin? If yes, step down the sharpening strength or switch to a milder preset. When inputs are marginal, prefer 2× upscale over 4×.
4) Download and save
Export PNG or high-quality JPG for screens. For print use, verify you have enough pixels: inches × 300 = target pixels. Example: 8 × 10 inches ≈ 2400 × 3000 px.
Before–after examples (natural, not overdone)
Below are illustrative panels showing typical improvements when you convert photo to HD using a natural-first approach. They are simplified examples to demonstrate what to check at 100%.
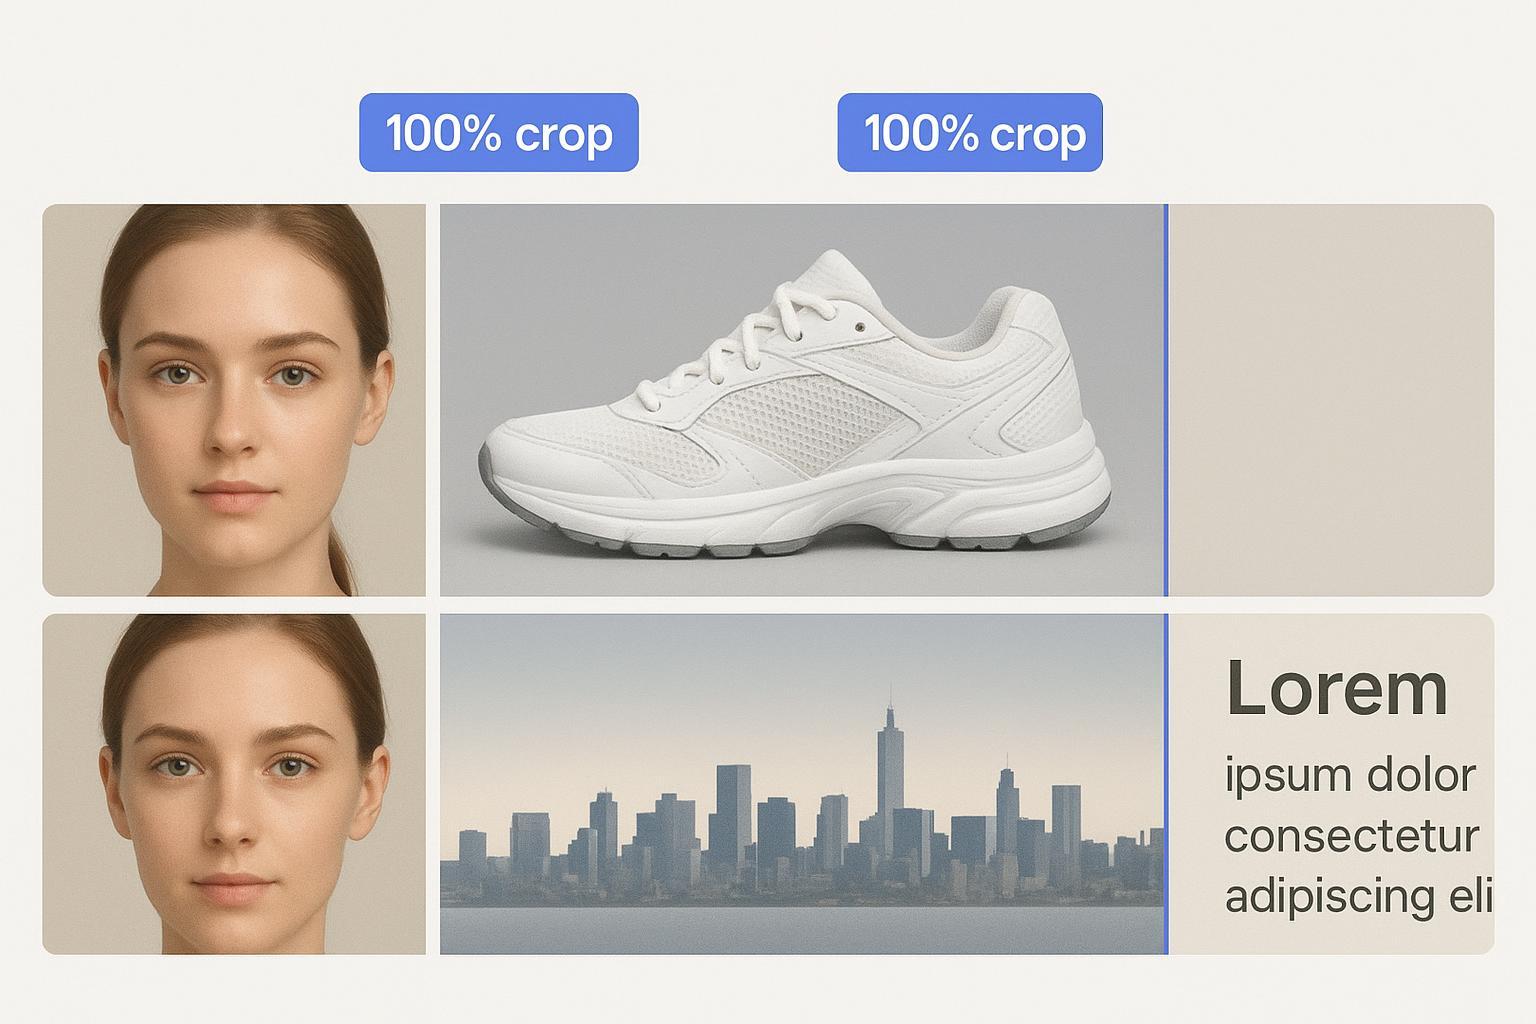
These examples highlight: portrait details (lashes, hairlines) without plastic sheen; product stitching and logos without glowing edges; social covers with fewer compression artifacts; and scan text with clearer baselines and no halo glow. Need true 4K specifics and options? See the Image Upscaler for 4K outputs.
Settings that keep results natural
Small choices make a big difference—like seasoning a dish. Start with Natural/Balanced, then add sharpness only if edges remain soft after a 100% preview. Denoise before you sharpen to reduce halo risk and keep textures believable (supported by community experts and tool guides linked earlier). If you’re working on a portrait, keep Face Enhance set to Low for soft faces; if pores or eyebrows look painted, back it down or switch it off. For deeper control on portraits, the AI Face Enhancer guidance explains how to restore subtle details without plastic skin. If 4× introduces artifacts, try 2×; for very large results, some advanced users prefer chaining two gentle 2× passes rather than one aggressive 4×.
Output planning: print and social sizes
For close-view prints, 300 PPI is a safe target; pixels = inches × 300. Example sizes: 4×6 = 1200×1800; 5×7 = 1500×2100; 8×10 = 2400×3000. Handy references include Toolstud’s DPI reference and OmniCalculator’s pixels-to-print guide. For social, common safe sizes in 2026 include Instagram at 1080-wide standards (square 1080×1080, portrait 1080×1350, stories/reels 1080×1920), X/Twitter at 1600×900, and LinkedIn at 1200×627 or 1080×1080—summarized by Hootsuite’s image size guide. For YouTube thumbnails, the official size is 1280×720 per YouTube Help.
Troubleshooting quick fixes
Waxy or plastic skin? Lower Face Enhance or switch to a Natural/Balanced preset, and only add a touch of grain after export if needed. Seeing halos on edges? Reduce sharpening strength or radius, choose a milder preset, and ensure you denoise before sharpening. Still dealing with residual blur? Try a gentle unblur/sharpen pass first, then upscale and stick to 2× if 4× is unstable. Text looks fuzzy or glows? Increase contrast or thresholding and export PNG for OCR to re-check legibility. Noticing color cast or banding? Apply mild color correction and avoid heavy clarity on smooth gradients.
What’s next
If you’re ready to act, run your single image through the Artedge AI HD Photo Converter using a mild preset, zoom to 100% to verify edges and skin, then download. You’ll keep the natural look while gaining clean detail and screen-ready resolution.

Dr. Leo K. Anderson
Dr. Leo K. Anderson writes about AI photo enhancement, image upscaling, video quality improvement, and photo restoration. He focuses on practical, test-driven guides that help creators, e-commerce teams, and everyday users get clearer, more usable visual results with less effort.
Ready to Enhance Your Photos & Videos?
Improve clarity, restore old images, and upscale to 4K with natural, artifact-free detail — in seconds.
Start Creating