AI Image Upscaler Online: Increase Resolution Without Blur (4K/8K Guide)
Master online AI image upscaling for social ads—workflows, presets, and tuning to achieve natural, artifact‑free 4K/8K results. Read the complete guide.
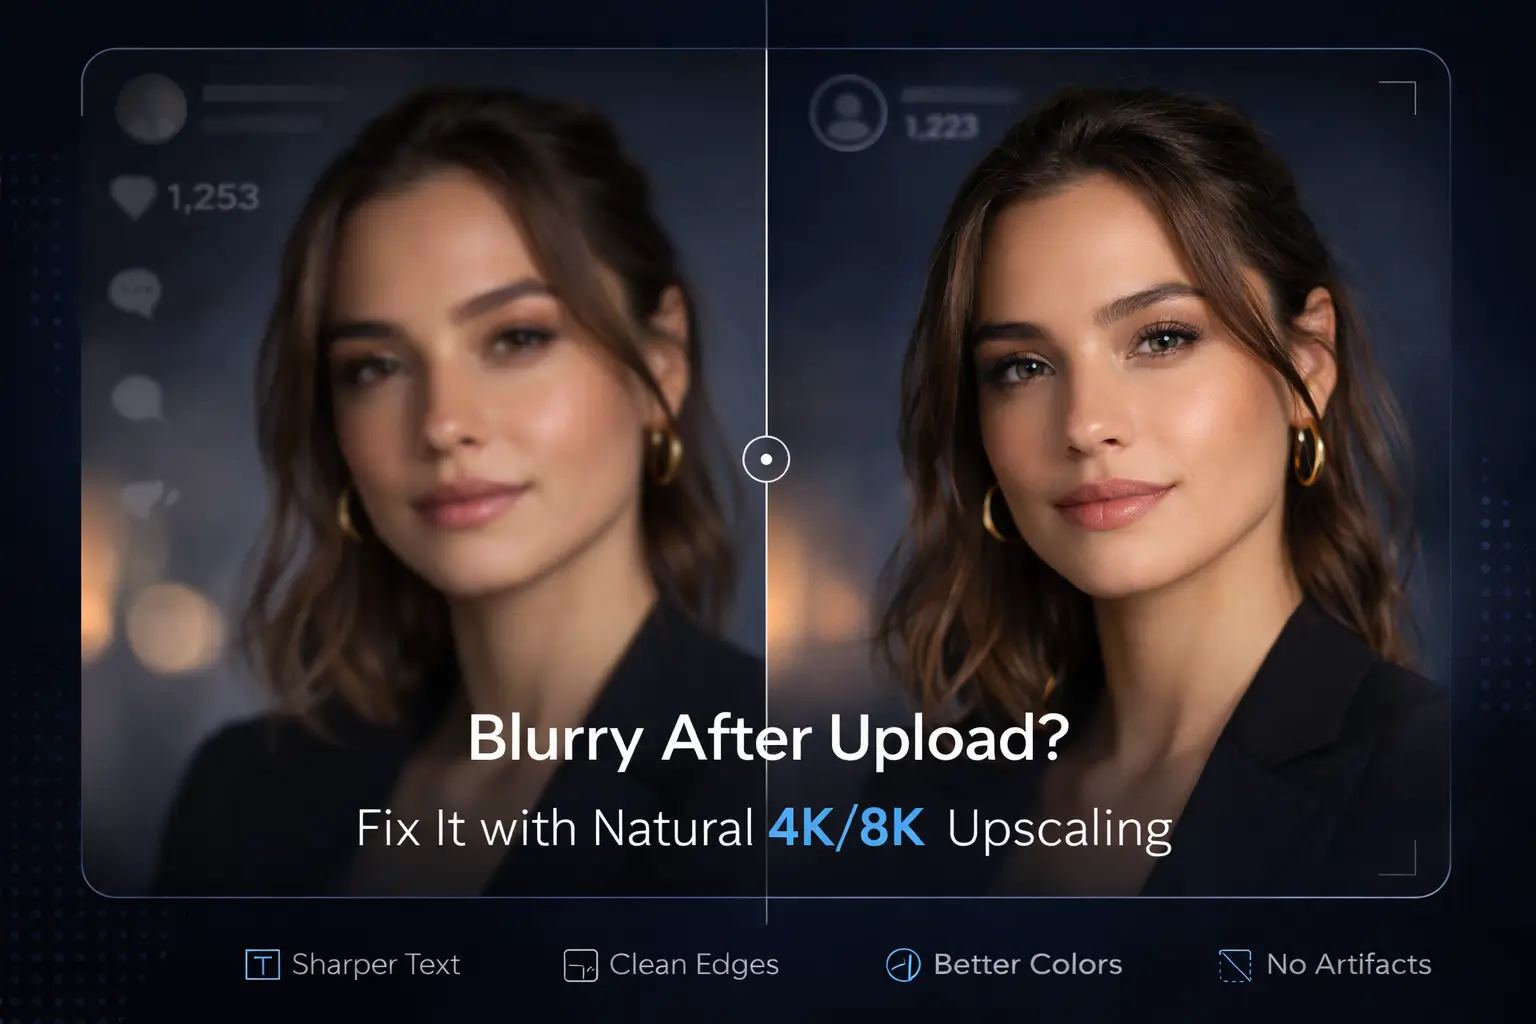
If your social ads or posts look soft after upload, you’re not alone. Platforms recompress images, often adding blur, ringing, and mosquito noise. This guide shows a practical, online workflow to upscale images to 4K/8K while keeping skin and textures natural—no crispy halos, no plastic faces.
Key takeaways
Match platform aspect ratio and export the exact target size to minimize server-side resampling.
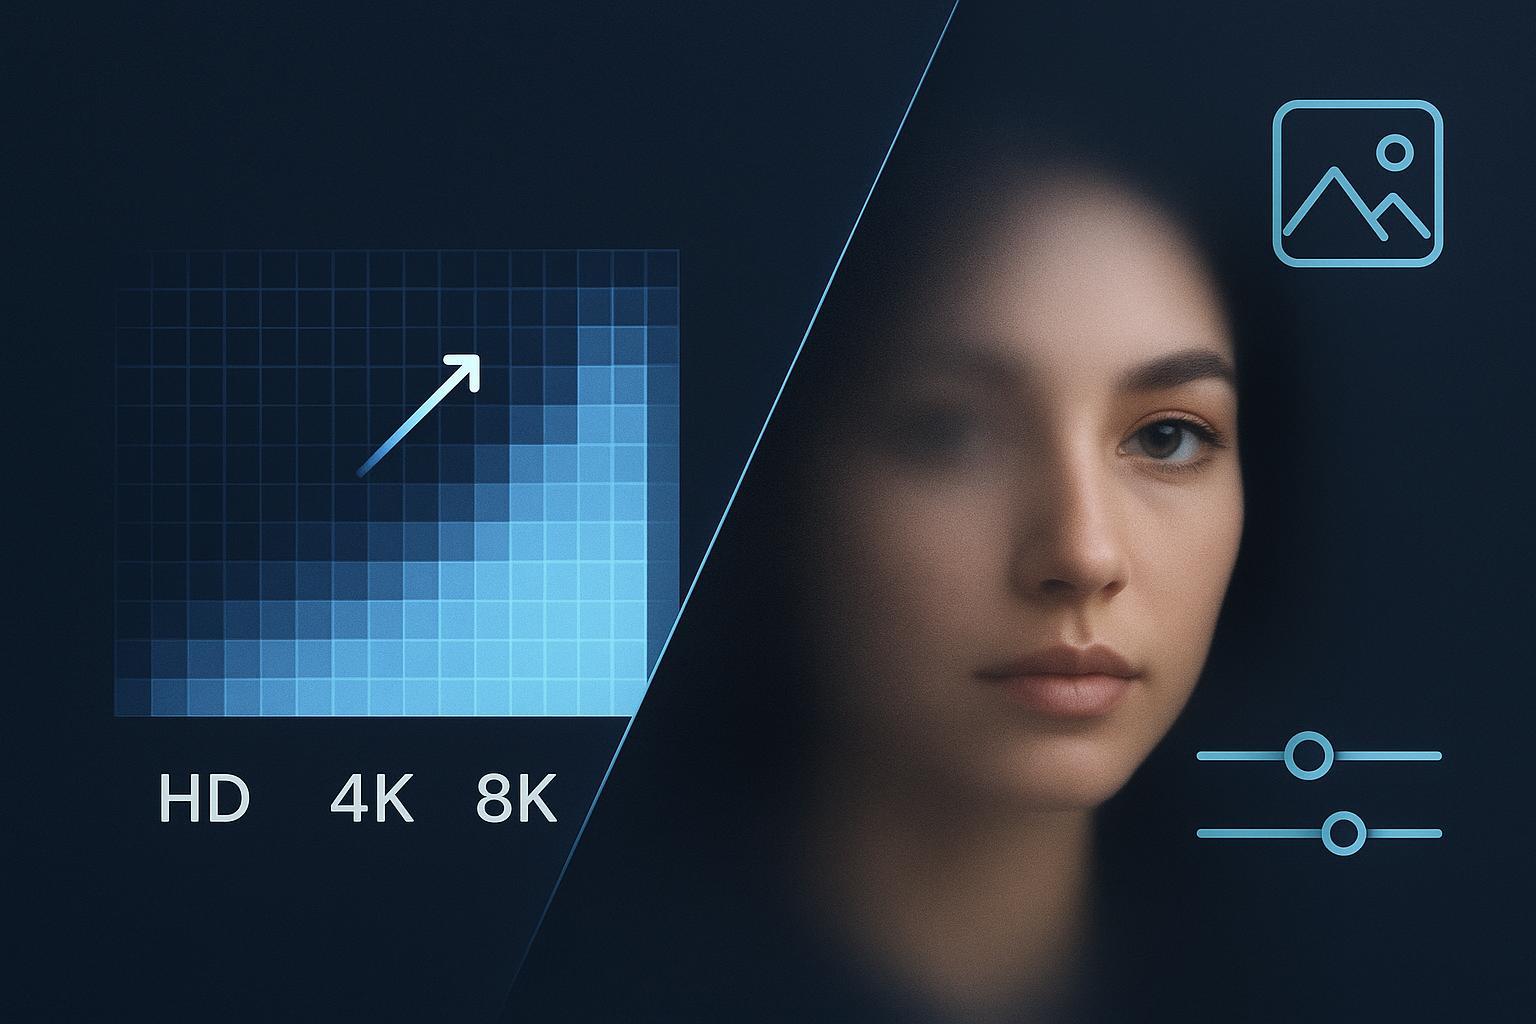
Use an AI image upscaler with portrait/text-aware modes; start with 2× or 4×, then review at 200–300% before committing to 8×.
Keep sharpening subtle: favor low-radius, low-amount adjustments and avoid global, heavy Unsharp Mask.
Standardize color with sRGB, use high-quality JPEG/WebP/PNG as appropriate, and re-check after upload.
For batches, maintain a small “golden set” of sample images to validate settings whenever you change models or parameters.
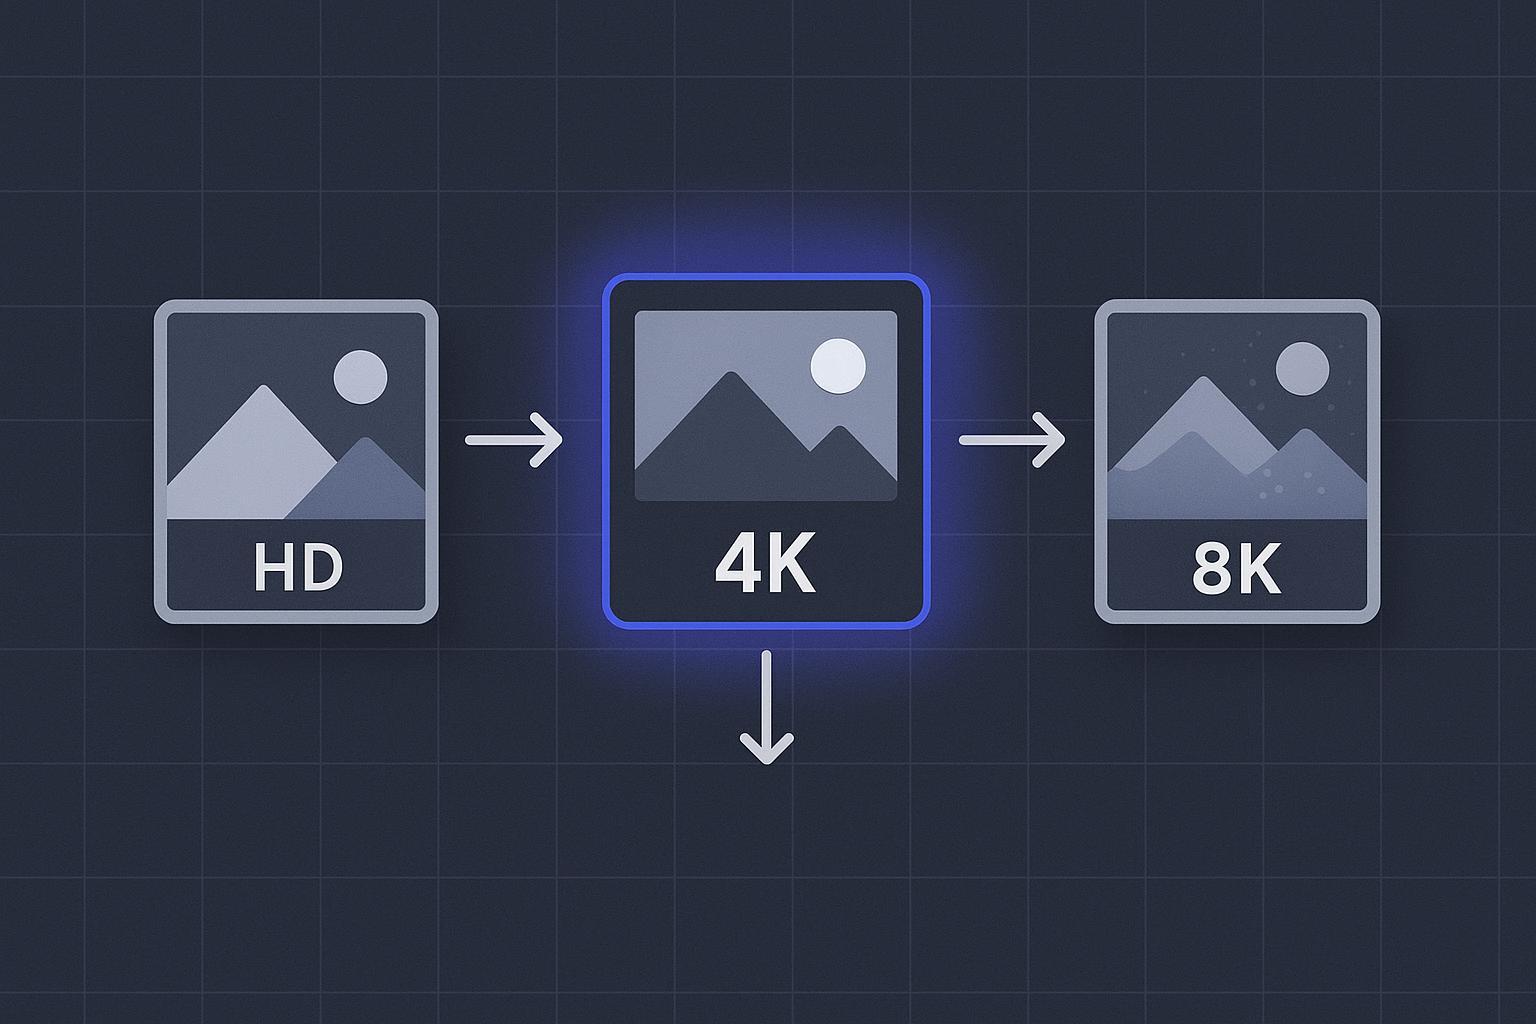
What is an AI image upscaler?
An AI image upscaler increases pixel dimensions while preserving perceived detail using learned patterns from similar imagery. In practice, that means small portraits, product shots, and ad graphics can be enlarged for 4K or even 8K use without the smeared edges and stair-steps you’d get from naive resizing. The key is choosing models and settings that enhance real texture rather than inventing “crispy” detail.
Why social and ads amplify blur and noise
Social networks and ad platforms reshape and recompress creatives to fit countless placements and bandwidth constraints. If your upload isn’t the exact size or profile they expect, it’s resampled—often with extra compression. That’s when fine edges (hairlines, logos, small text) turn to mush and smooth areas band or block up. The fix is simple in theory: prepare the exact target size and keep artifacts low before the platform touches your file.
How AI upscaling works—without the “crispy” look
AI super‑resolution models learn how textures typically appear—skin pores, fabric weaves, typography edges—and predict missing detail when scaling up. Done well, the result feels natural. Pushed too far, it creates halos around edges, ringing near high contrast lines, or hyper‑detailed skin that looks uncanny. You’ll avoid that by:
Picking content‑aware models (portrait/face‑aware for people; detail‑preserving for text and products).
Preferring staged scaling (e.g., 2× → review → 2× again) over a single giant leap to 8×.
Using gentle, local sharpening instead of heavy, global sharpening passes.
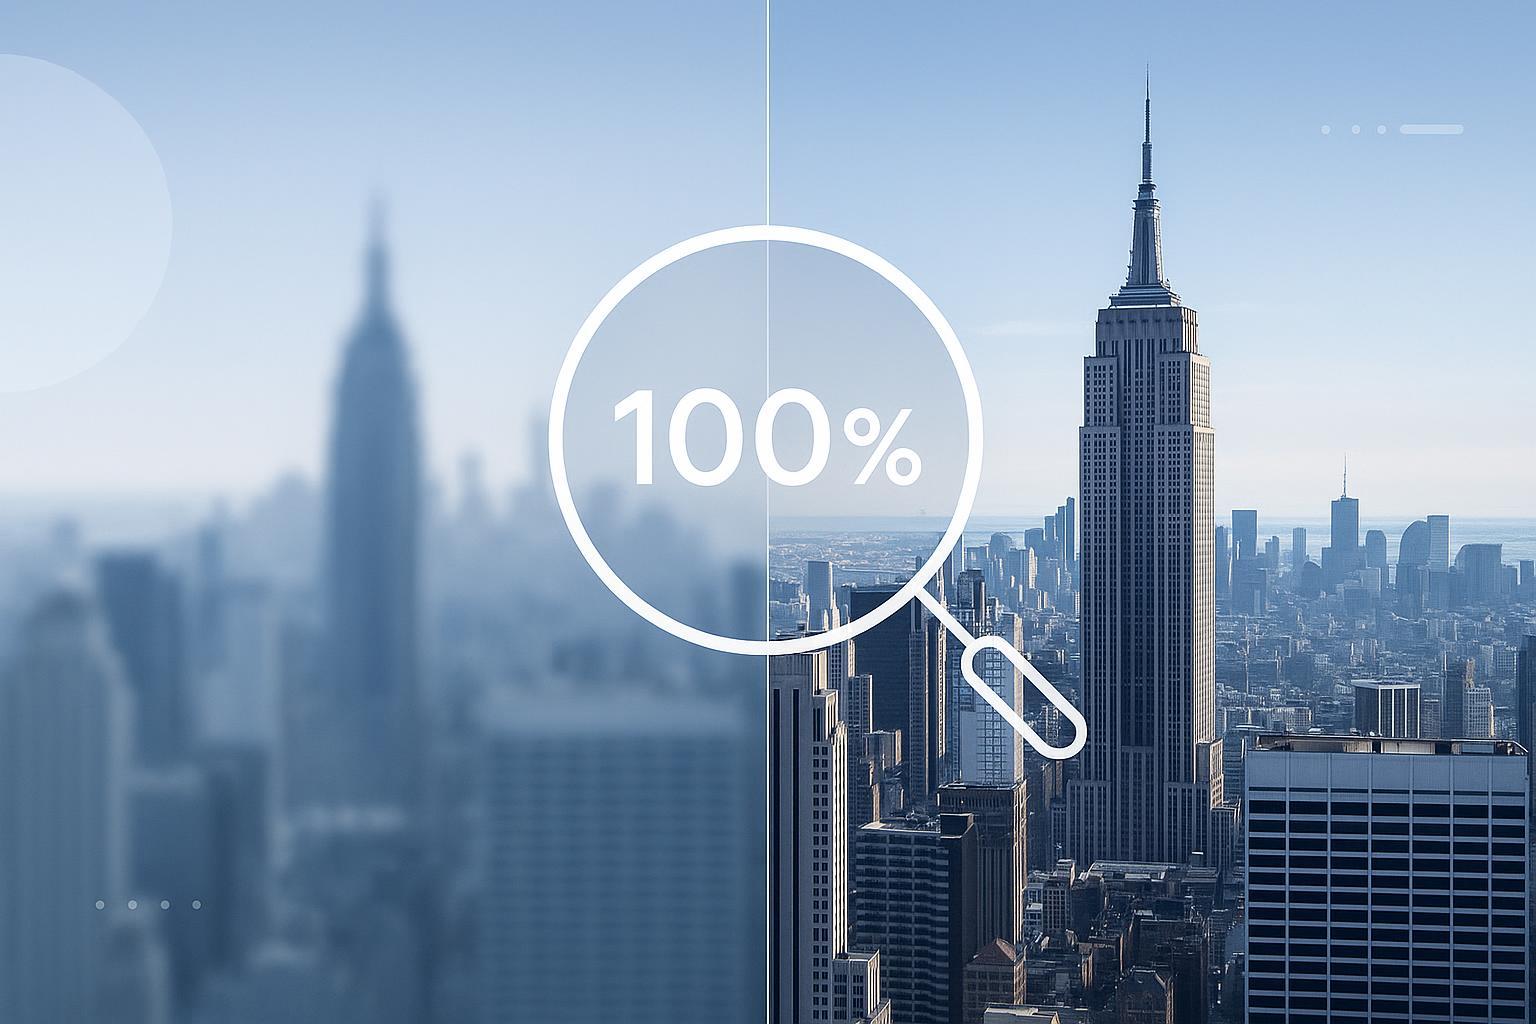
Inspecting at 200–300% zoom on high‑risk zones: hairlines, backlit edges, small labels, and smooth gradients.
A natural‑first workflow for 4K/8K upscaling
Follow this sequence to keep results clean and believable.
Preprocess (optional but recommended)
Apply mild denoise to suppress compression artifacts and mosquito noise.
If motion/defocus blur is present, try a conservative deblur; avoid aggressive deconvolution that causes halos.
Upscale
Start with 2× or 4× using an AI image upscaler tuned to your content (portrait‑aware for faces; detail‑preserving for labels/graphics).
For 8K outputs, consider staged steps (e.g., 2×, review, then another 2×). Stop if artifacts appear—increase scale only when the previous step is clean.
Refine
If needed, add low‑radius, low‑amount sharpening to key subjects only (eyes, product edges). Avoid global Unsharp Mask that brightens/darkens halos.
Spot-fix gradients (subtle dithering) and check edges for ringing before export.
Export
Deliver the exact pixel dimensions and aspect ratio the platform expects to reduce re‑sampling.
Use sRGB for broad compatibility. Choose format by content: JPEG or WebP (photos/portraits), PNG (logos/graphics/text overlays). Keep quality high to protect edges and gradients.
After uploading, compare the platform version to your local master and tweak if their compression exaggerates any artifacts.
Platform‑ready exports (principles you can trust)
Every network updates its specs, but these principles rarely change:
Exact size beats “close enough.” If you upload the target dimensions, the platform is less likely to blur your work.
Keep pre‑upload artifacts minimal—platform compression tends to exaggerate halos and banding.
Favor high‑quality settings and conservative chroma subsampling when small text or logos matter.
Embed or convert to sRGB to avoid dull or shifted colors across devices.
Recipes for portraits, products, and text
Portrait ads (faces, skin, hair)
Model: face/portrait‑aware mode.
Scale: 2× (review) then 2× again if needed; avoid jumping to 8× unless the source is strong.
Sharpening: tiny radius, low amount; enhance eyes/hair locally; avoid global crunch that makes pores look sandy.
QA: inspect hairlines, backlit edges of faces/shoulders, and cheeks/foreheads for plastic sheen or halos.
Product shots and labels
Model: detail‑preserving mode prioritizing edges and typography.
Scale: 2× or 4× depending on target. If small text must be legible, bias toward PNG or high‑quality JPEG/WebP.
Sharpening: selective edge enhancement; keep micro‑contrast moderate to avoid ringing near logos.
QA: check label edges, thin lines, and gradients on packaging; ensure no zippering or alias shimmer.
Banners with gradients and overlays
Model: low‑artifact/general mode.
Scale: 2× then review gradient smoothness before further scaling.
Sharpening: often unnecessary; prioritize banding control (slight dithering) over edge punch.
QA: scan large flat areas for banding and the meeting point between overlays and backgrounds for fringing.
Batch workflow and quality control
Build a golden set: 20–50 representative images (portraits, products, gradients). Any time you change models or parameters, run the golden set and compare crops.
Crop‑level checks: Zoom to 200–300% on hairlines, text, and gradients. Look for halos, plastic skin, aliasing, and banding.
Post‑upload spot checks: Validate a few placements on the live platform; if compression worsens artifacts, adjust export quality or size.
Light automation: Save presets or use scripts to lock in parameters and log versions so teams can repeat results at scale.
Troubleshooting common problems
Halos and ringing around edges
Cause: heavy global sharpening or aggressive deblur; double‑sharpening pre‑ and post‑upload.
Fix: reduce radius/amount; switch to local, subject‑only sharpening; avoid stacking sharpeners.
“AI plastic skin” or crispy pores
Cause: perceptual settings too strong or the wrong model for portraits.
Fix: choose a portrait‑aware mode; lower detail enhancement; add minimal denoise; sharpen only eyes/hair.
Banding in skies and gradients
Cause: low bitrate/quality or excessive compression.
Fix: export at higher quality; add subtle dithering; avoid unnecessary re‑encodes.
Color shifts or dullness after upload
Cause: profile/gamma mismatches or platform conversion.
Fix: standardize on sRGB; keep a consistent gamma; test a short run and adjust if needed.
Tooling options and how Artedge AI fits
You can achieve clean, natural upscales with several approaches: online tools (fast, no install), desktop apps (fine control), or APIs (automation at scale). For teams prioritizing an online workflow with portrait/text‑aware modes and batch‑friendly consistency, Artedge AI can be used as a practical option alongside others. Choose whichever tool lets you apply the workflow above with minimal artifacts and reliable export control.
FAQ
What’s the safest way to increase image resolution without losing quality?
Use an AI image upscaler set to 2× or 4×, review at 200–300% zoom, and keep sharpening subtle and local. Export the exact target size in sRGB and re‑check after upload.
Can I really get to 8K from a small image?
Sometimes, but only if the source supports it. Use staged steps and stop when artifacts appear—realism beats extreme scale.
JPEG, PNG, or WebP for ads?
Photos and portraits often look great as high‑quality JPEG or WebP. For logos, UI, or small text overlays, PNG or high‑quality WebP can protect edges.
Why do my images look worse after I post them?
Platforms resample and recompress. If your file size, profile, or dimensions don’t match what they prefer, the server does extra work—and adds artifacts. Delivering exact sizes at high quality helps.
If you’re ready to stop fighting post‑upload blur, adopt the natural‑first workflow here: preprocess lightly, upscale in sane steps, refine locally, and export exact sizes. Then sanity‑check a few live placements and lock the settings into a repeatable preset. That’s how you keep social and ad creatives sharp, believable, and on‑brand.

Dr. Leo K. Anderson
Dr. Leo K. Anderson writes about AI photo enhancement, image upscaling, video quality improvement, and photo restoration. He focuses on practical, test-driven guides that help creators, e-commerce teams, and everyday users get clearer, more usable visual results with less effort.
Ready to Enhance Your Photos & Videos?
Improve clarity, restore old images, and upscale to 4K with natural, artifact-free detail — in seconds.
Start Creating